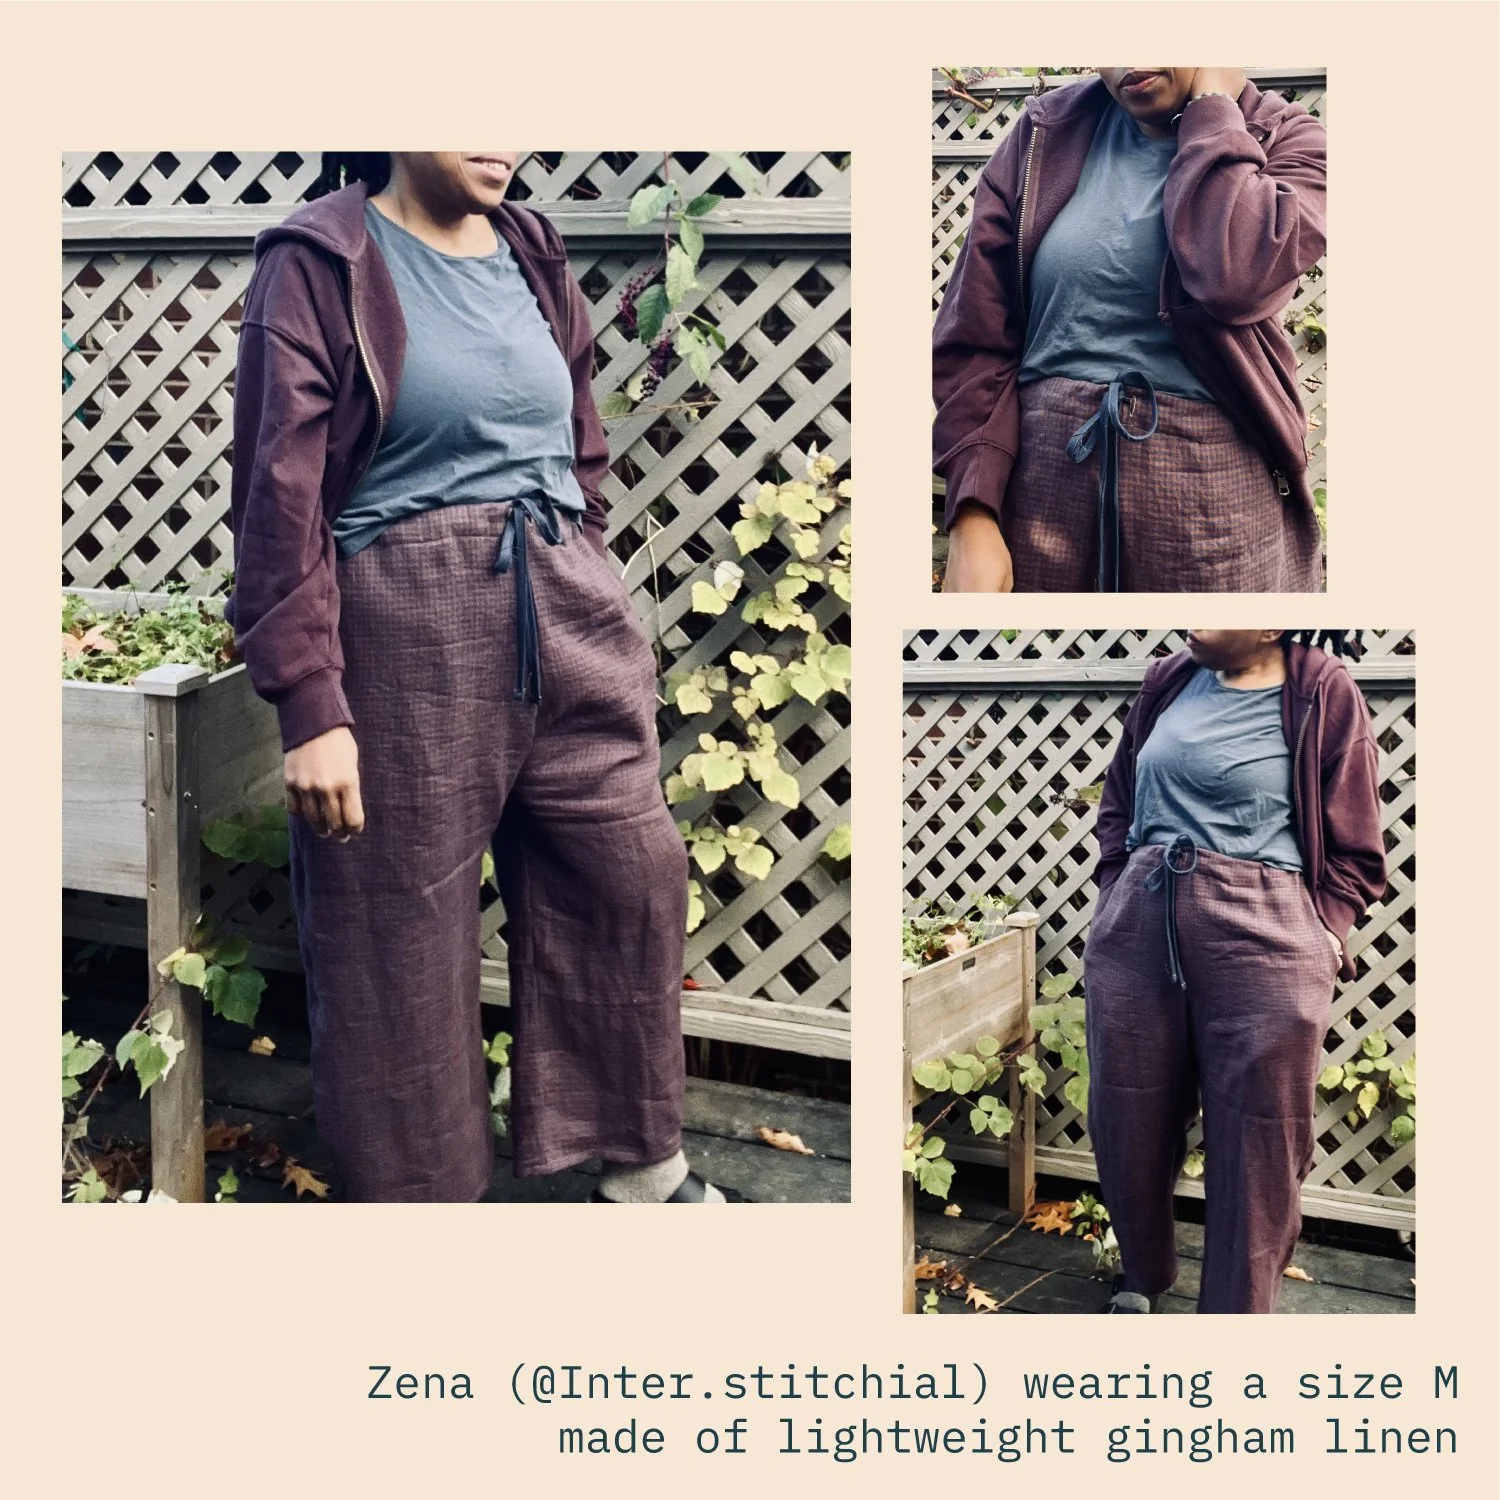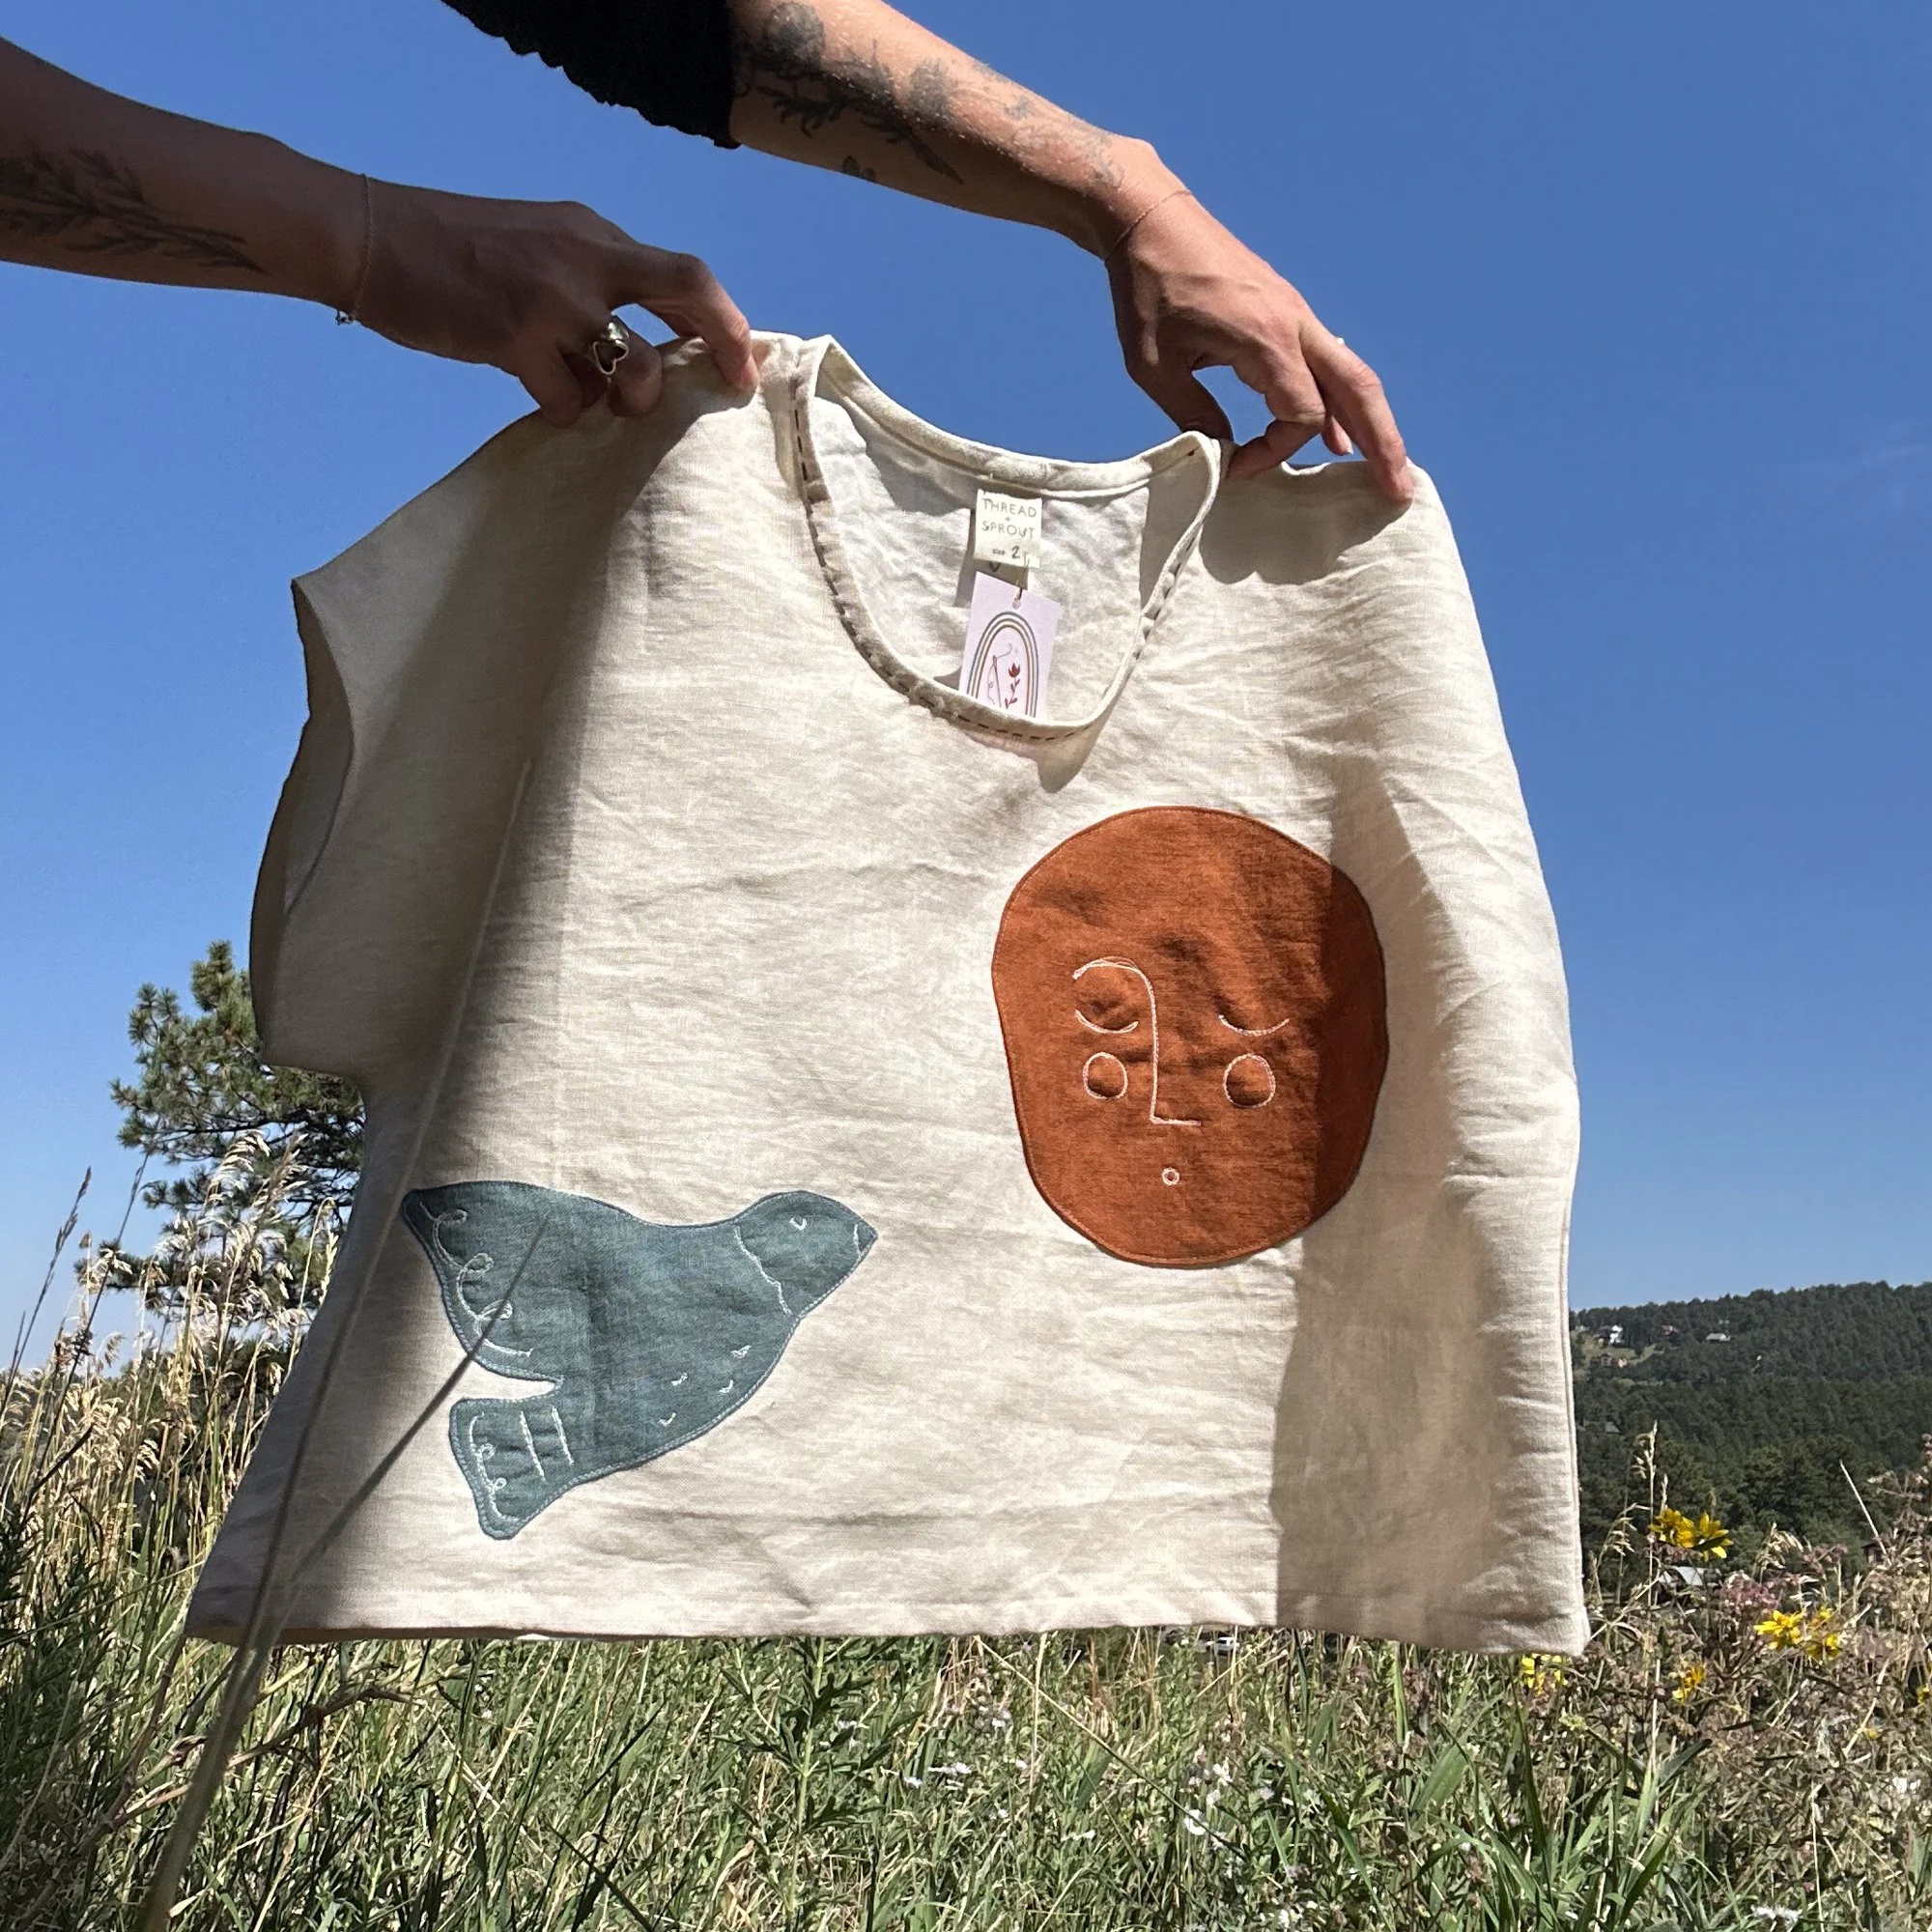
 Image 1 of 10
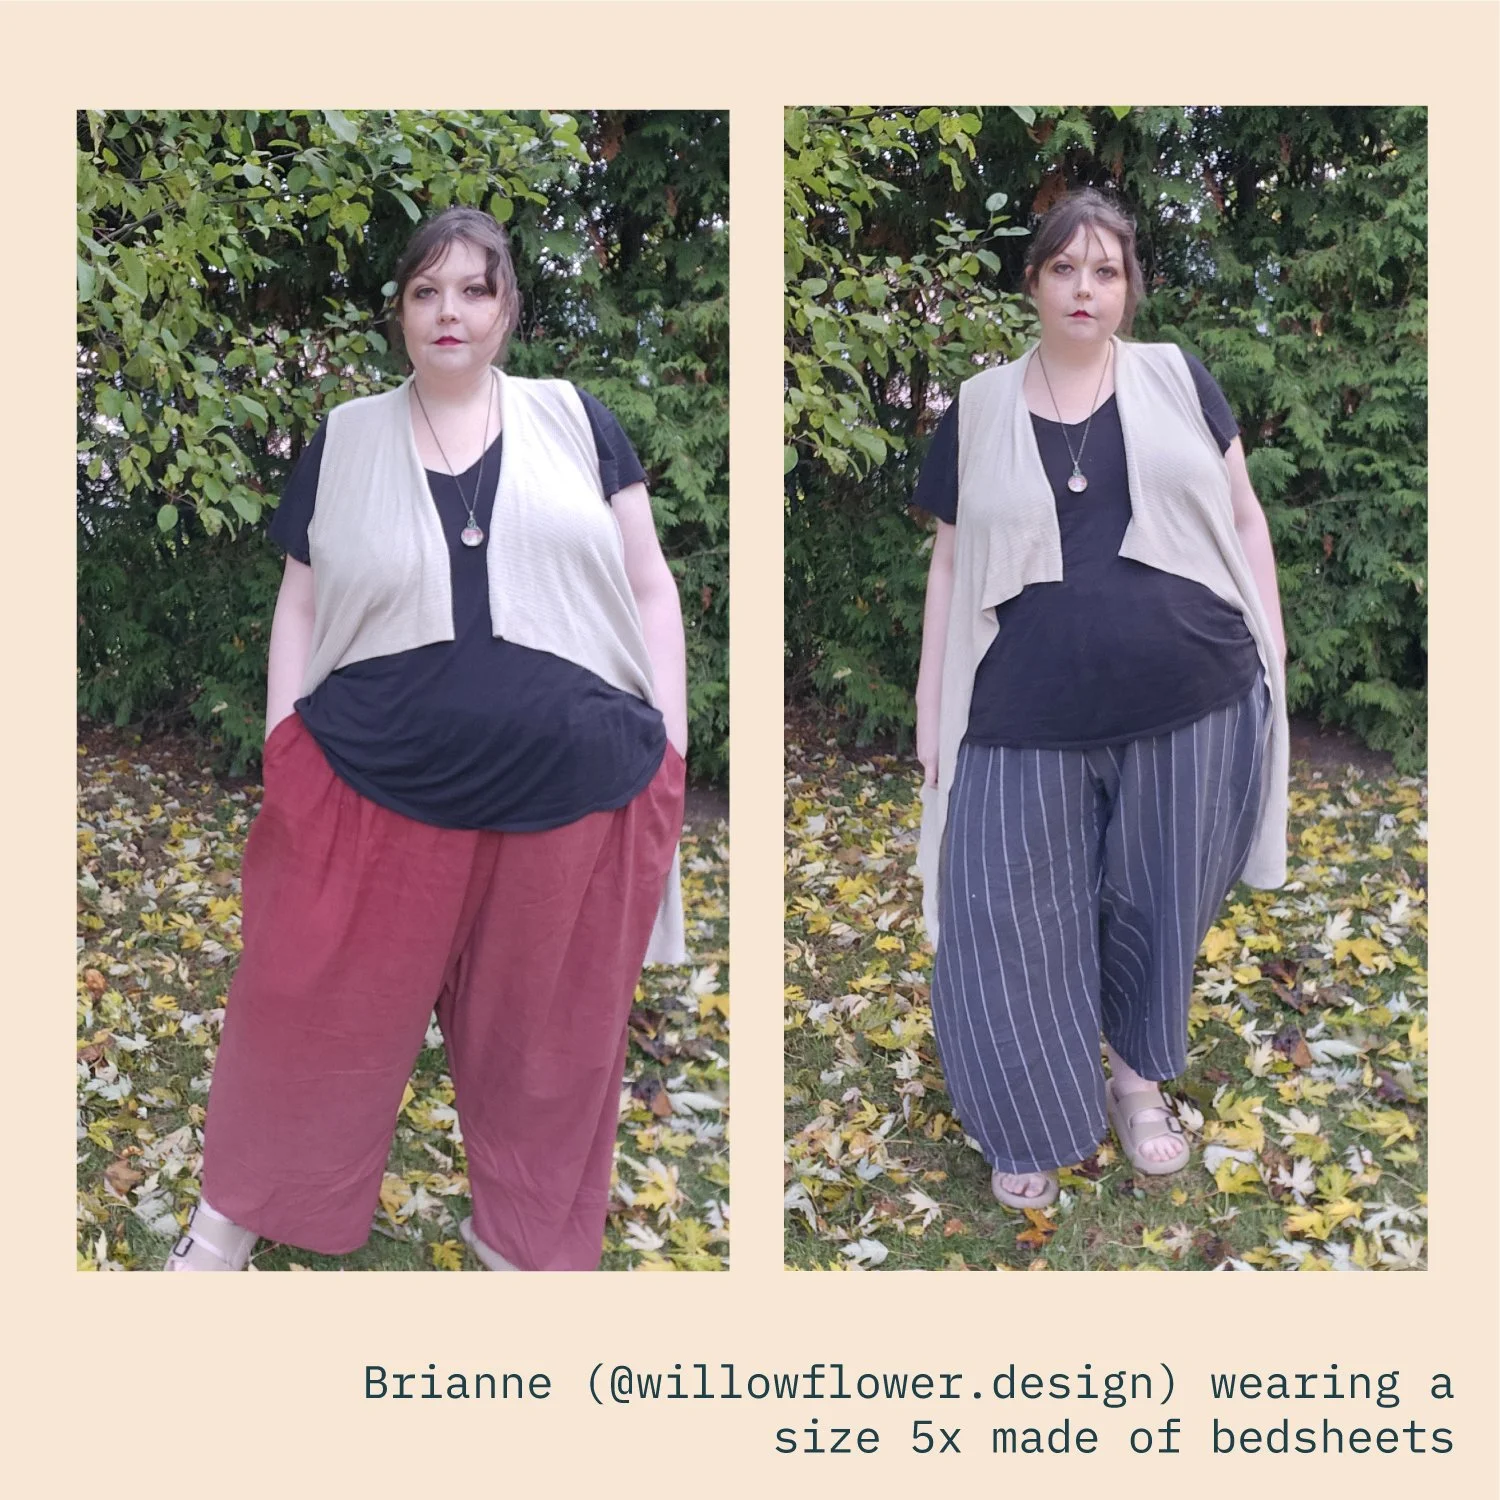
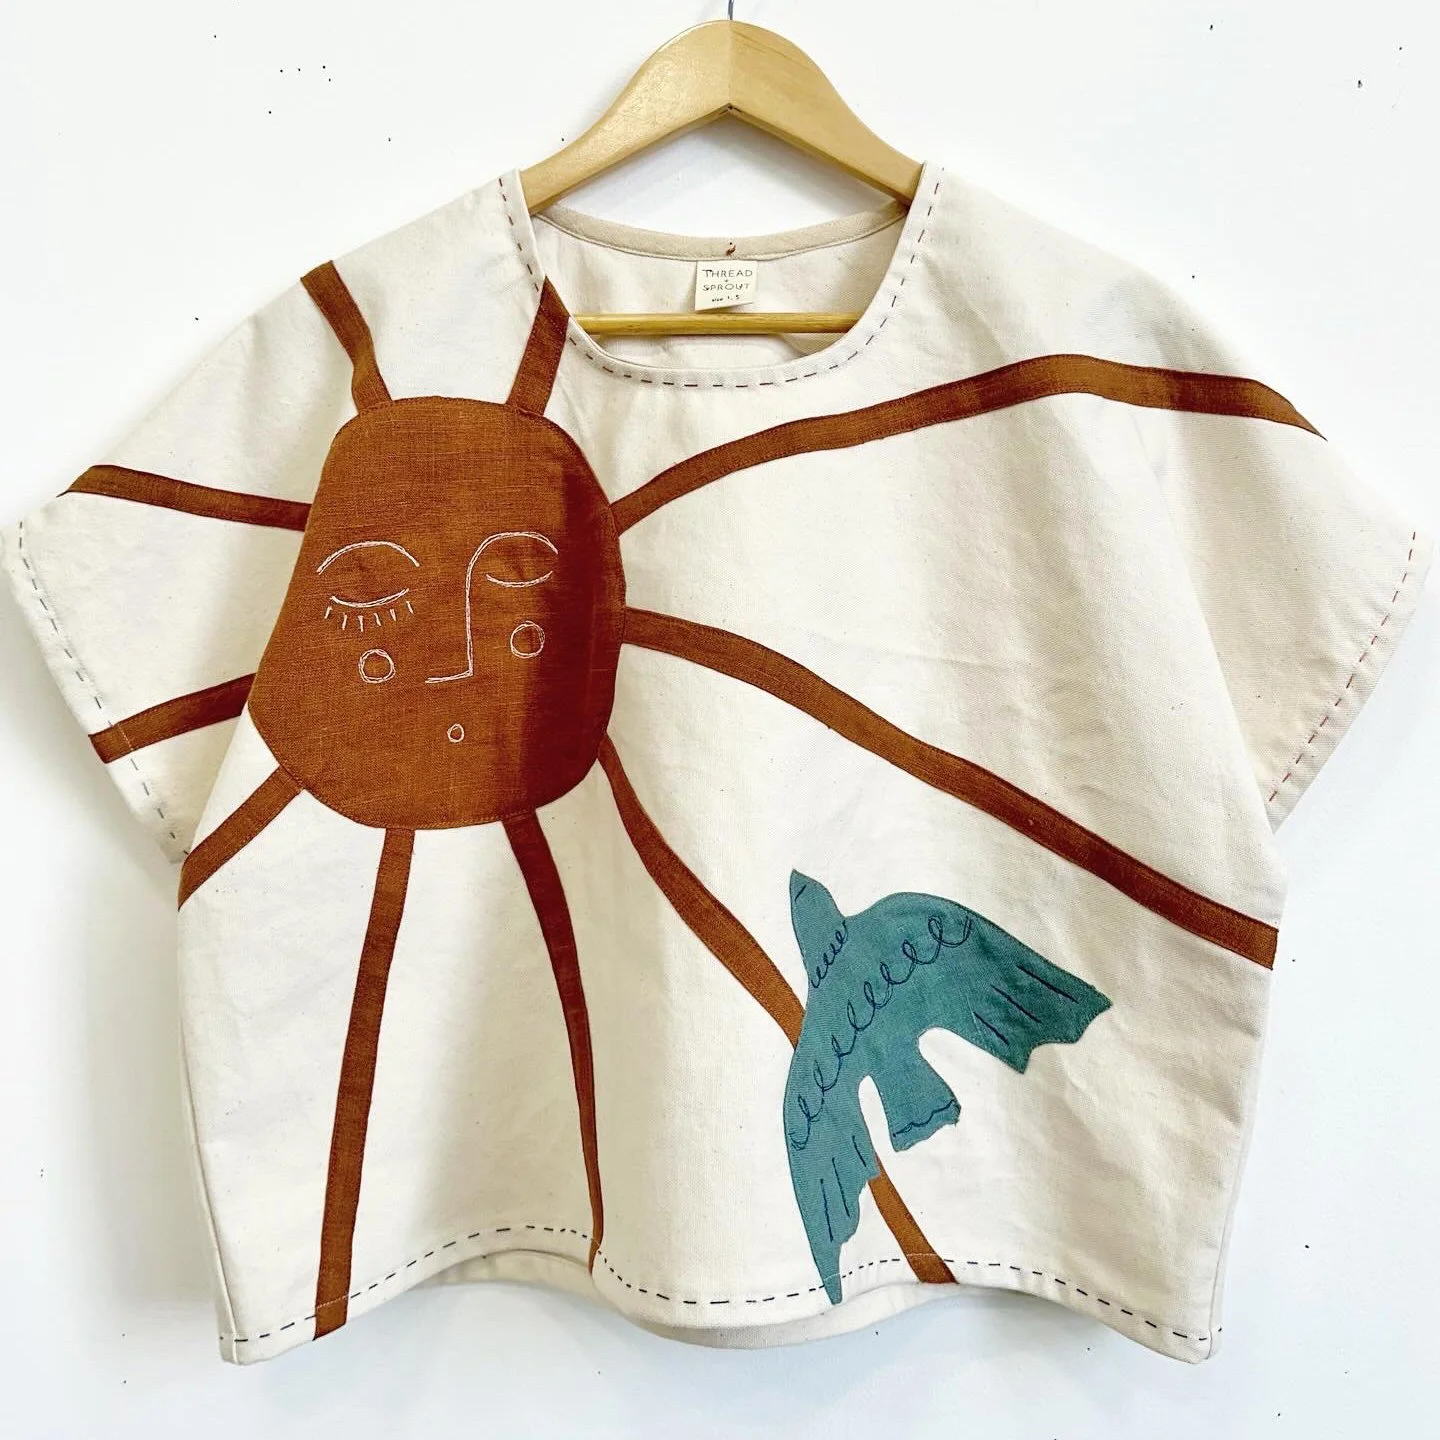
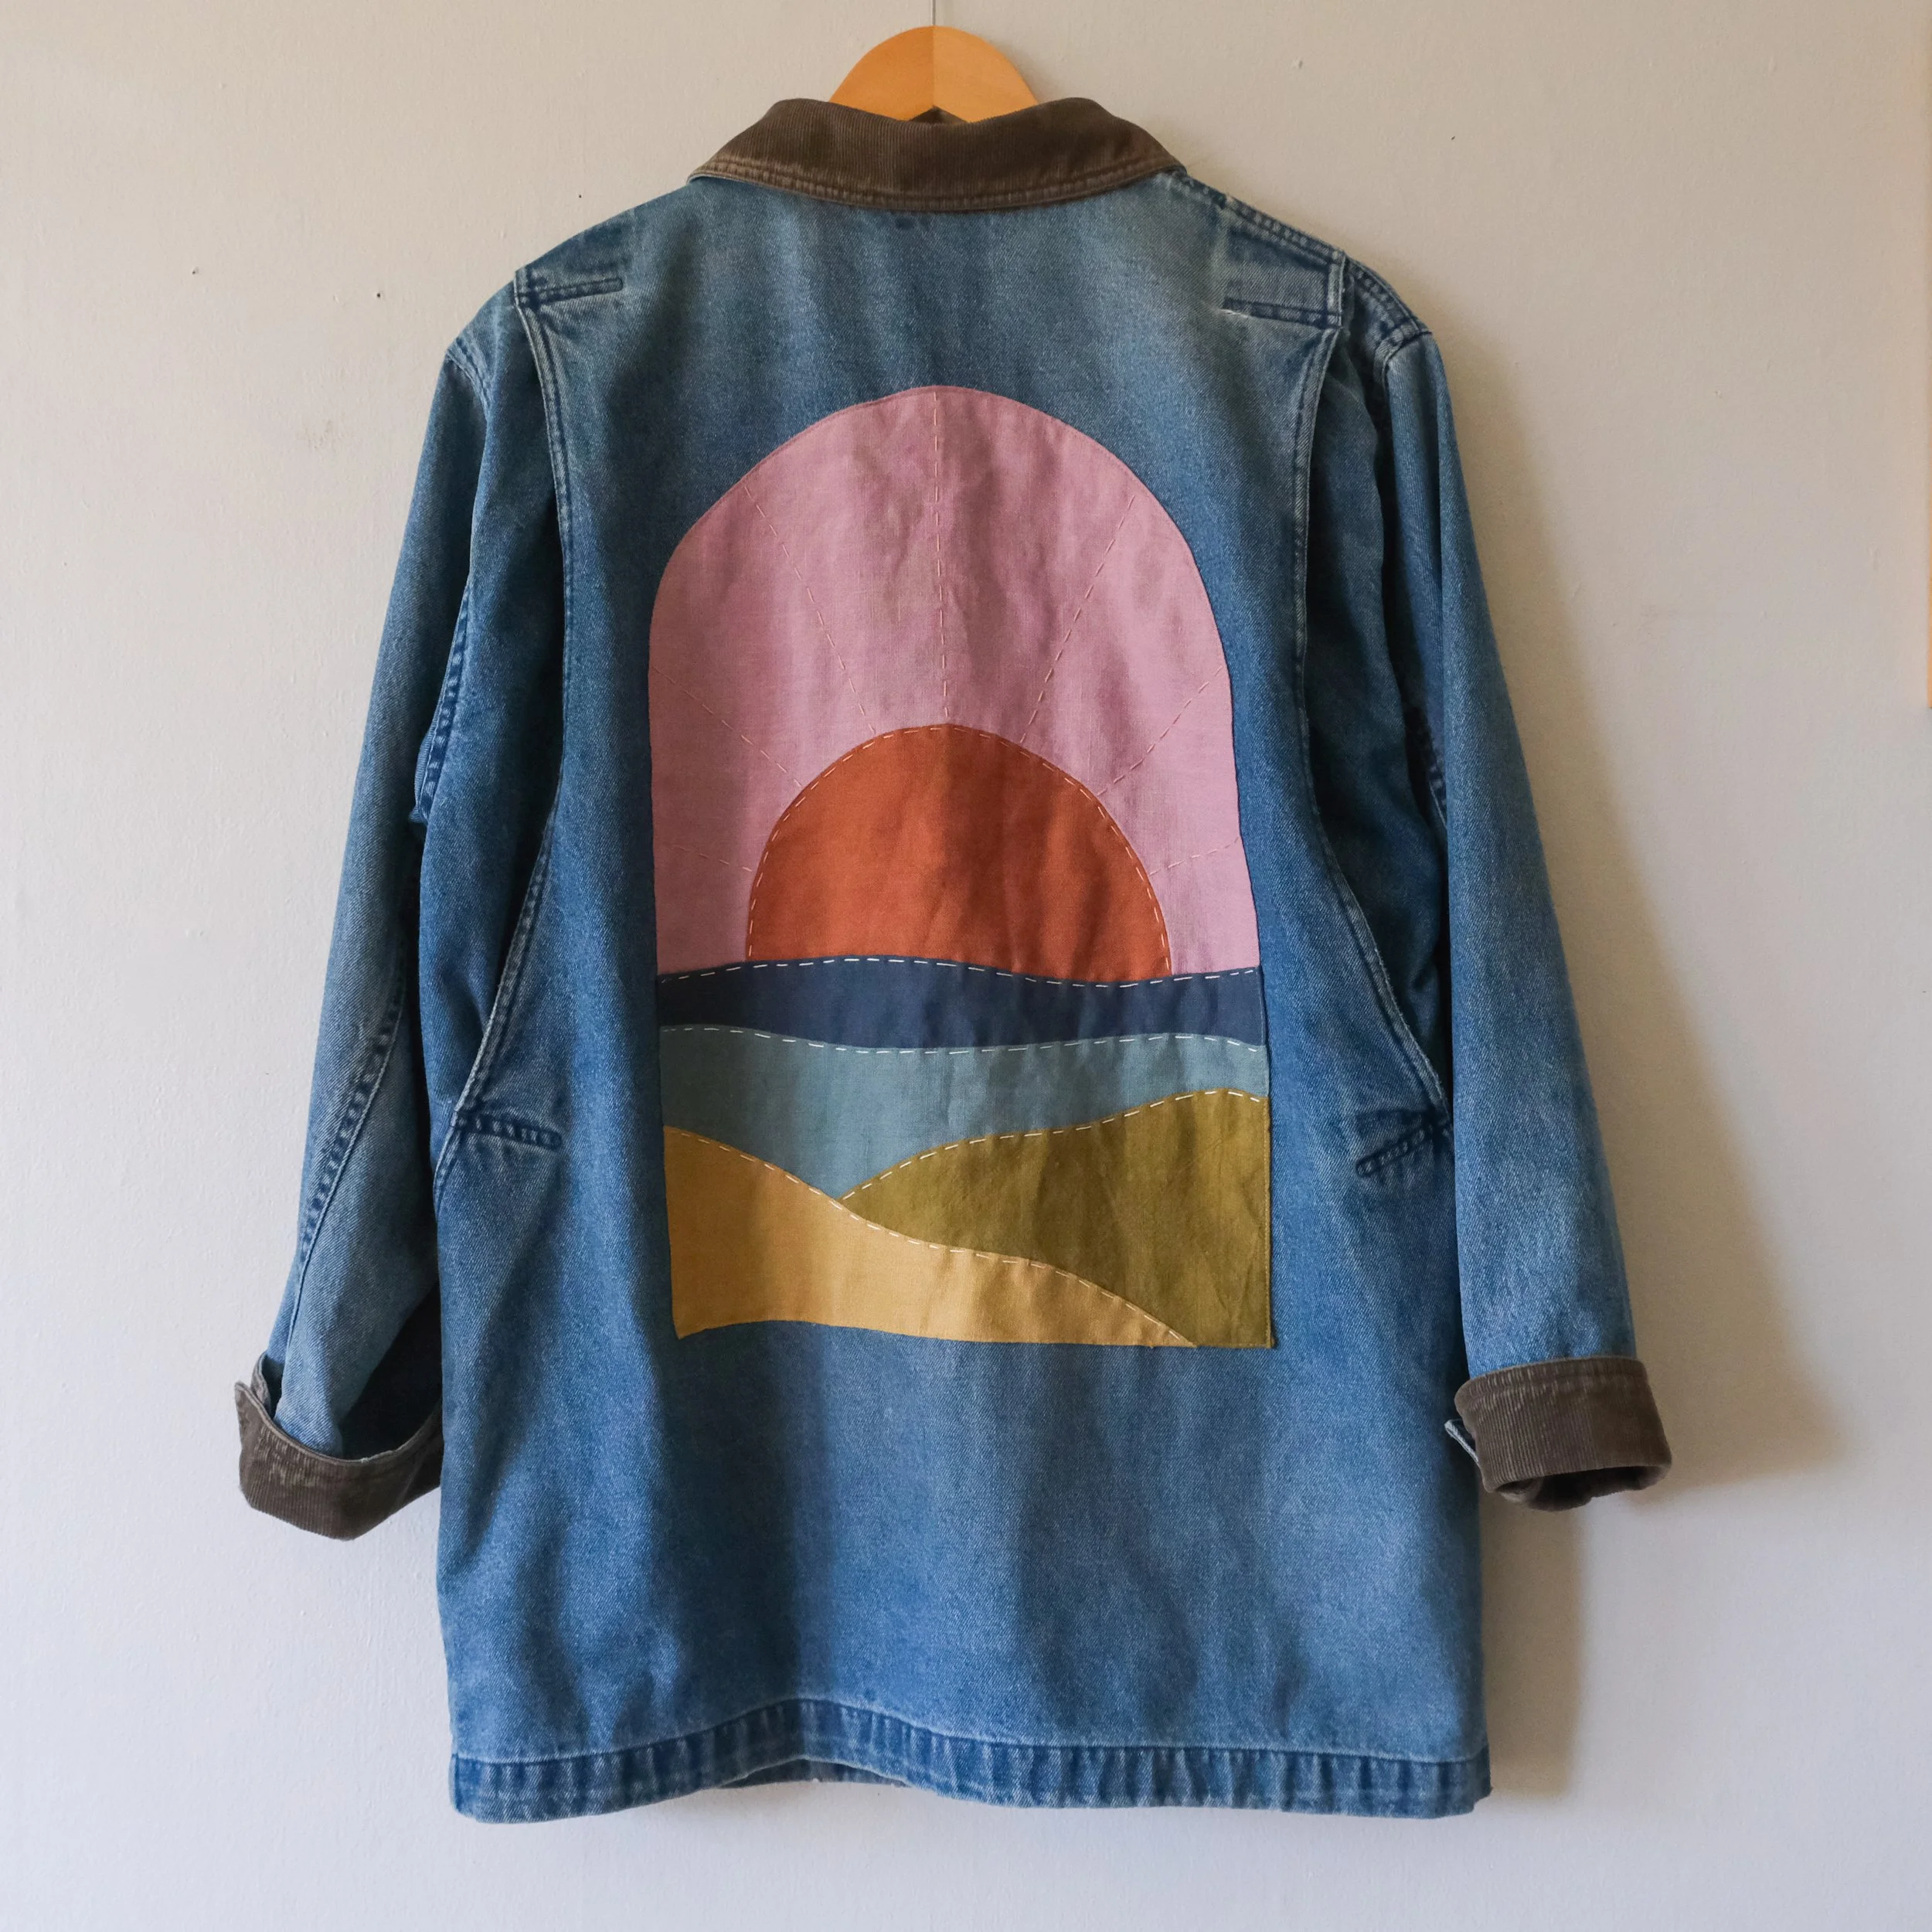 Image 2 of 10
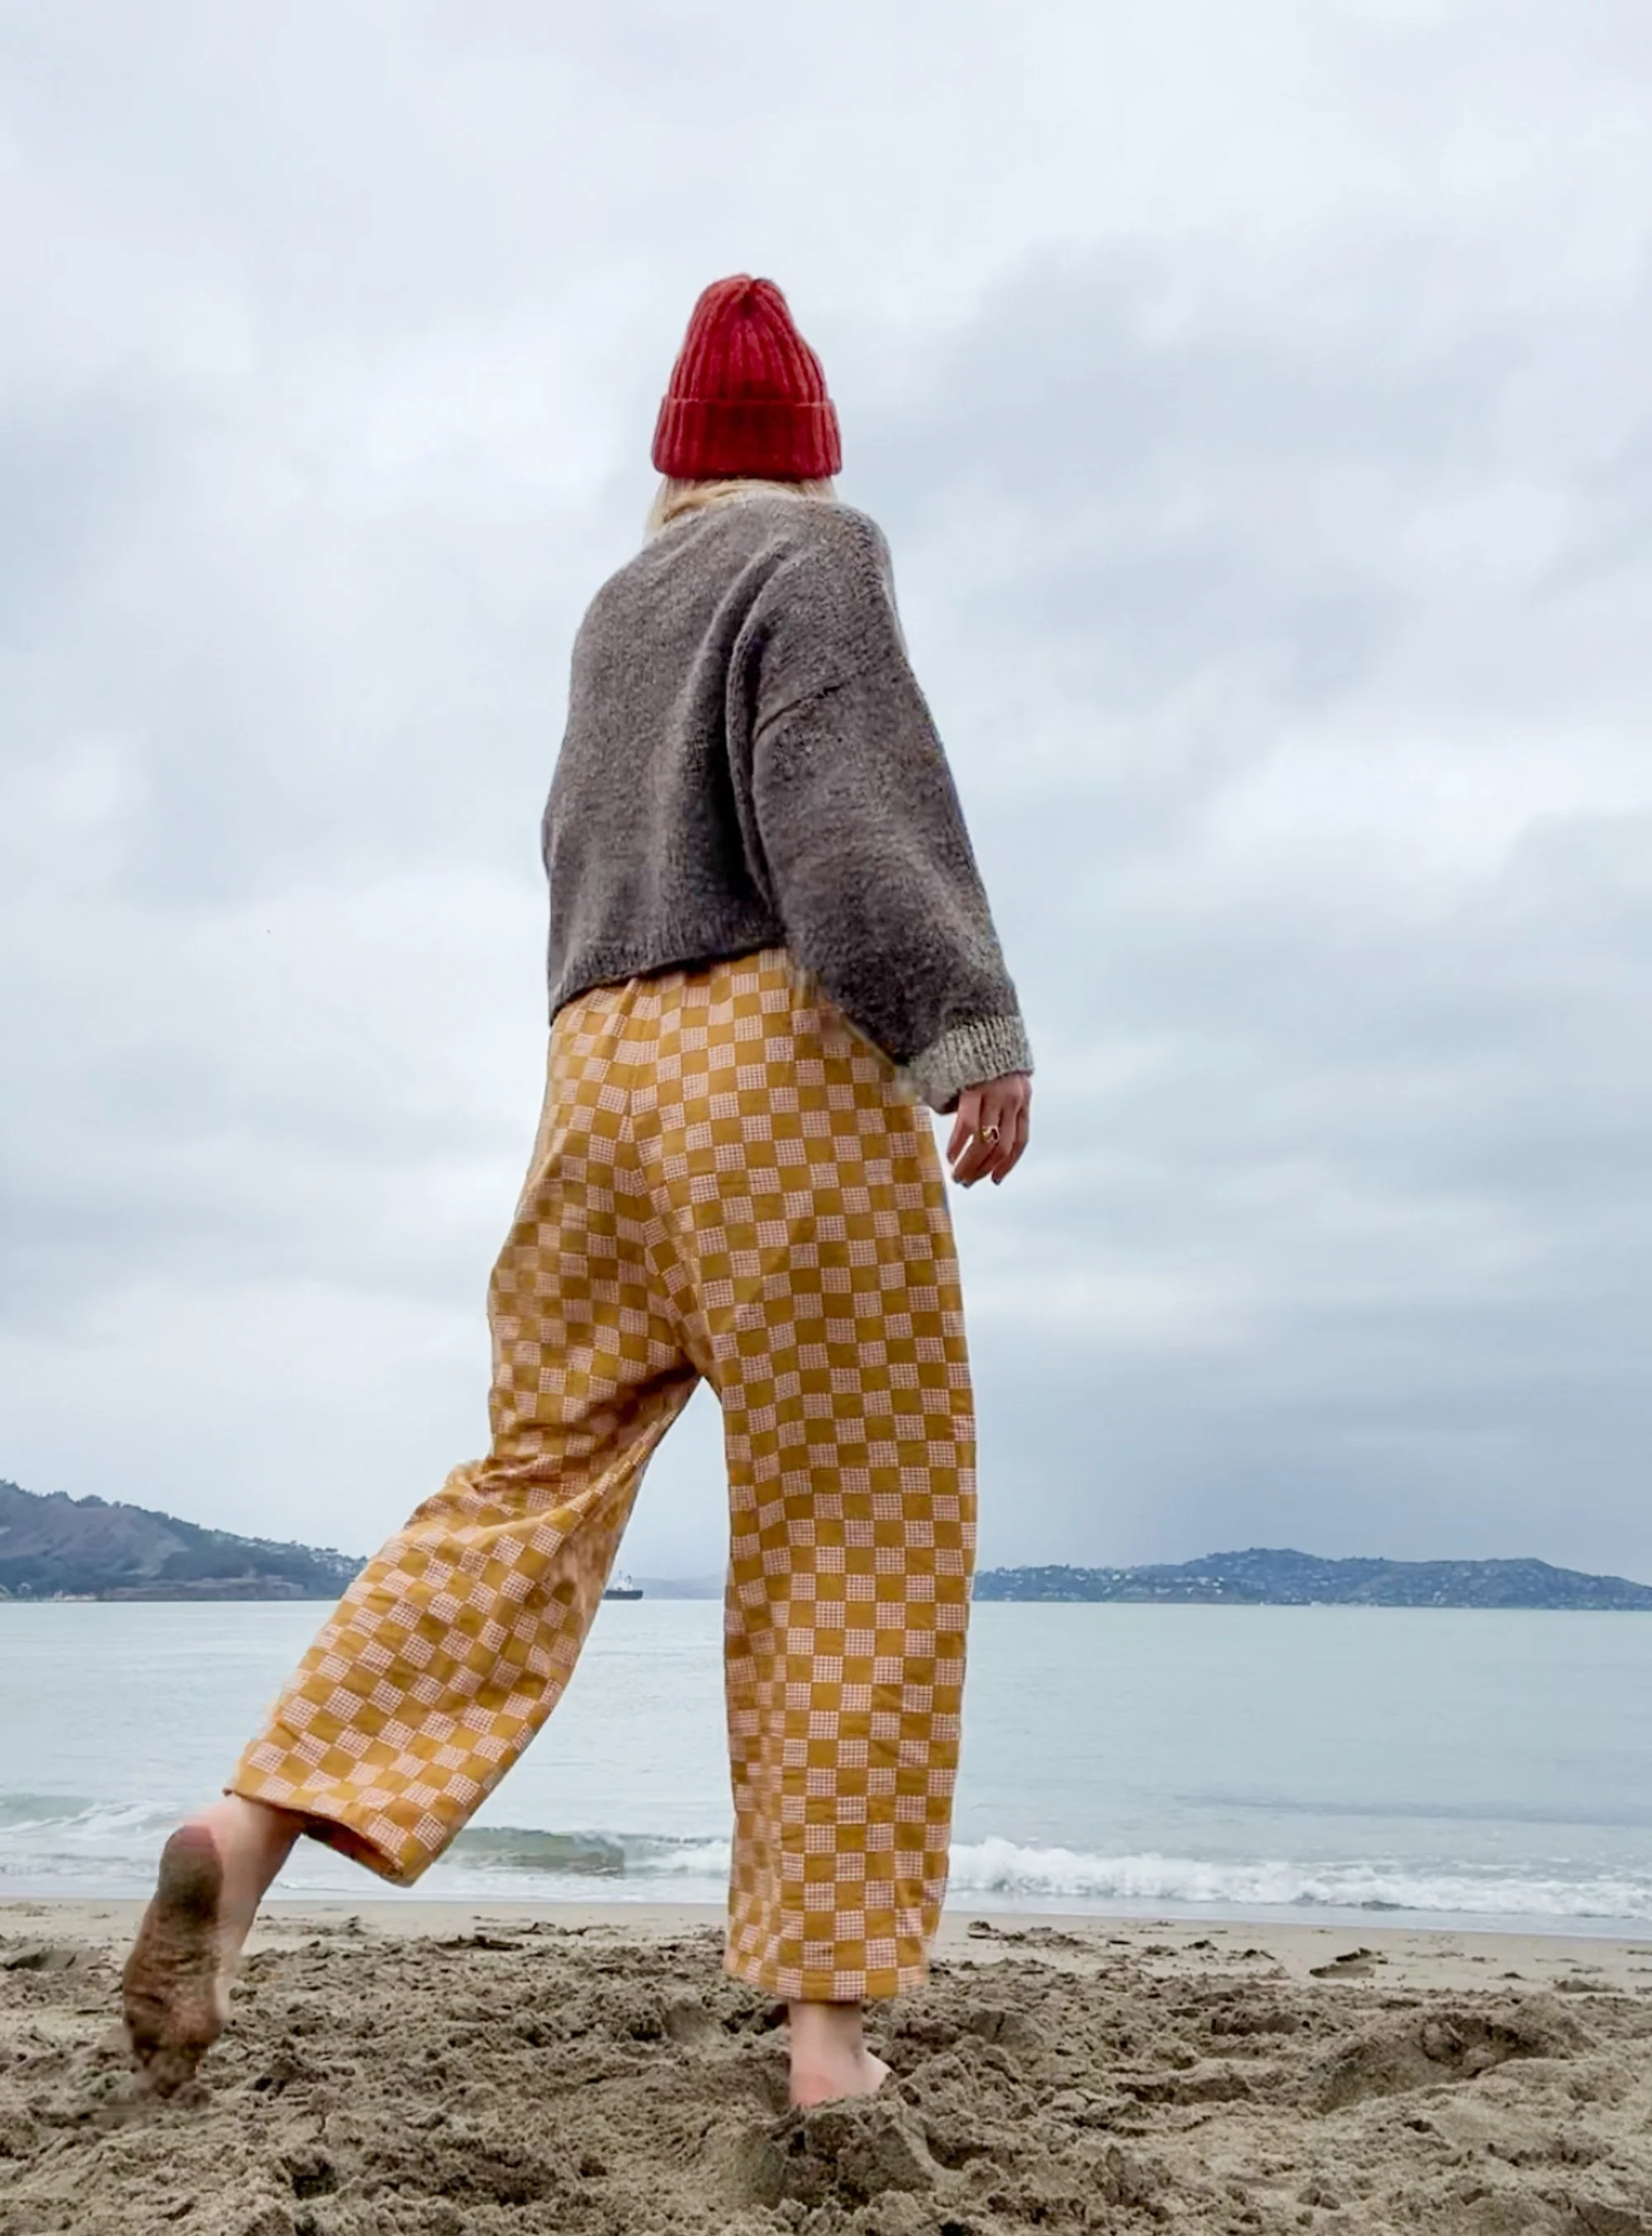
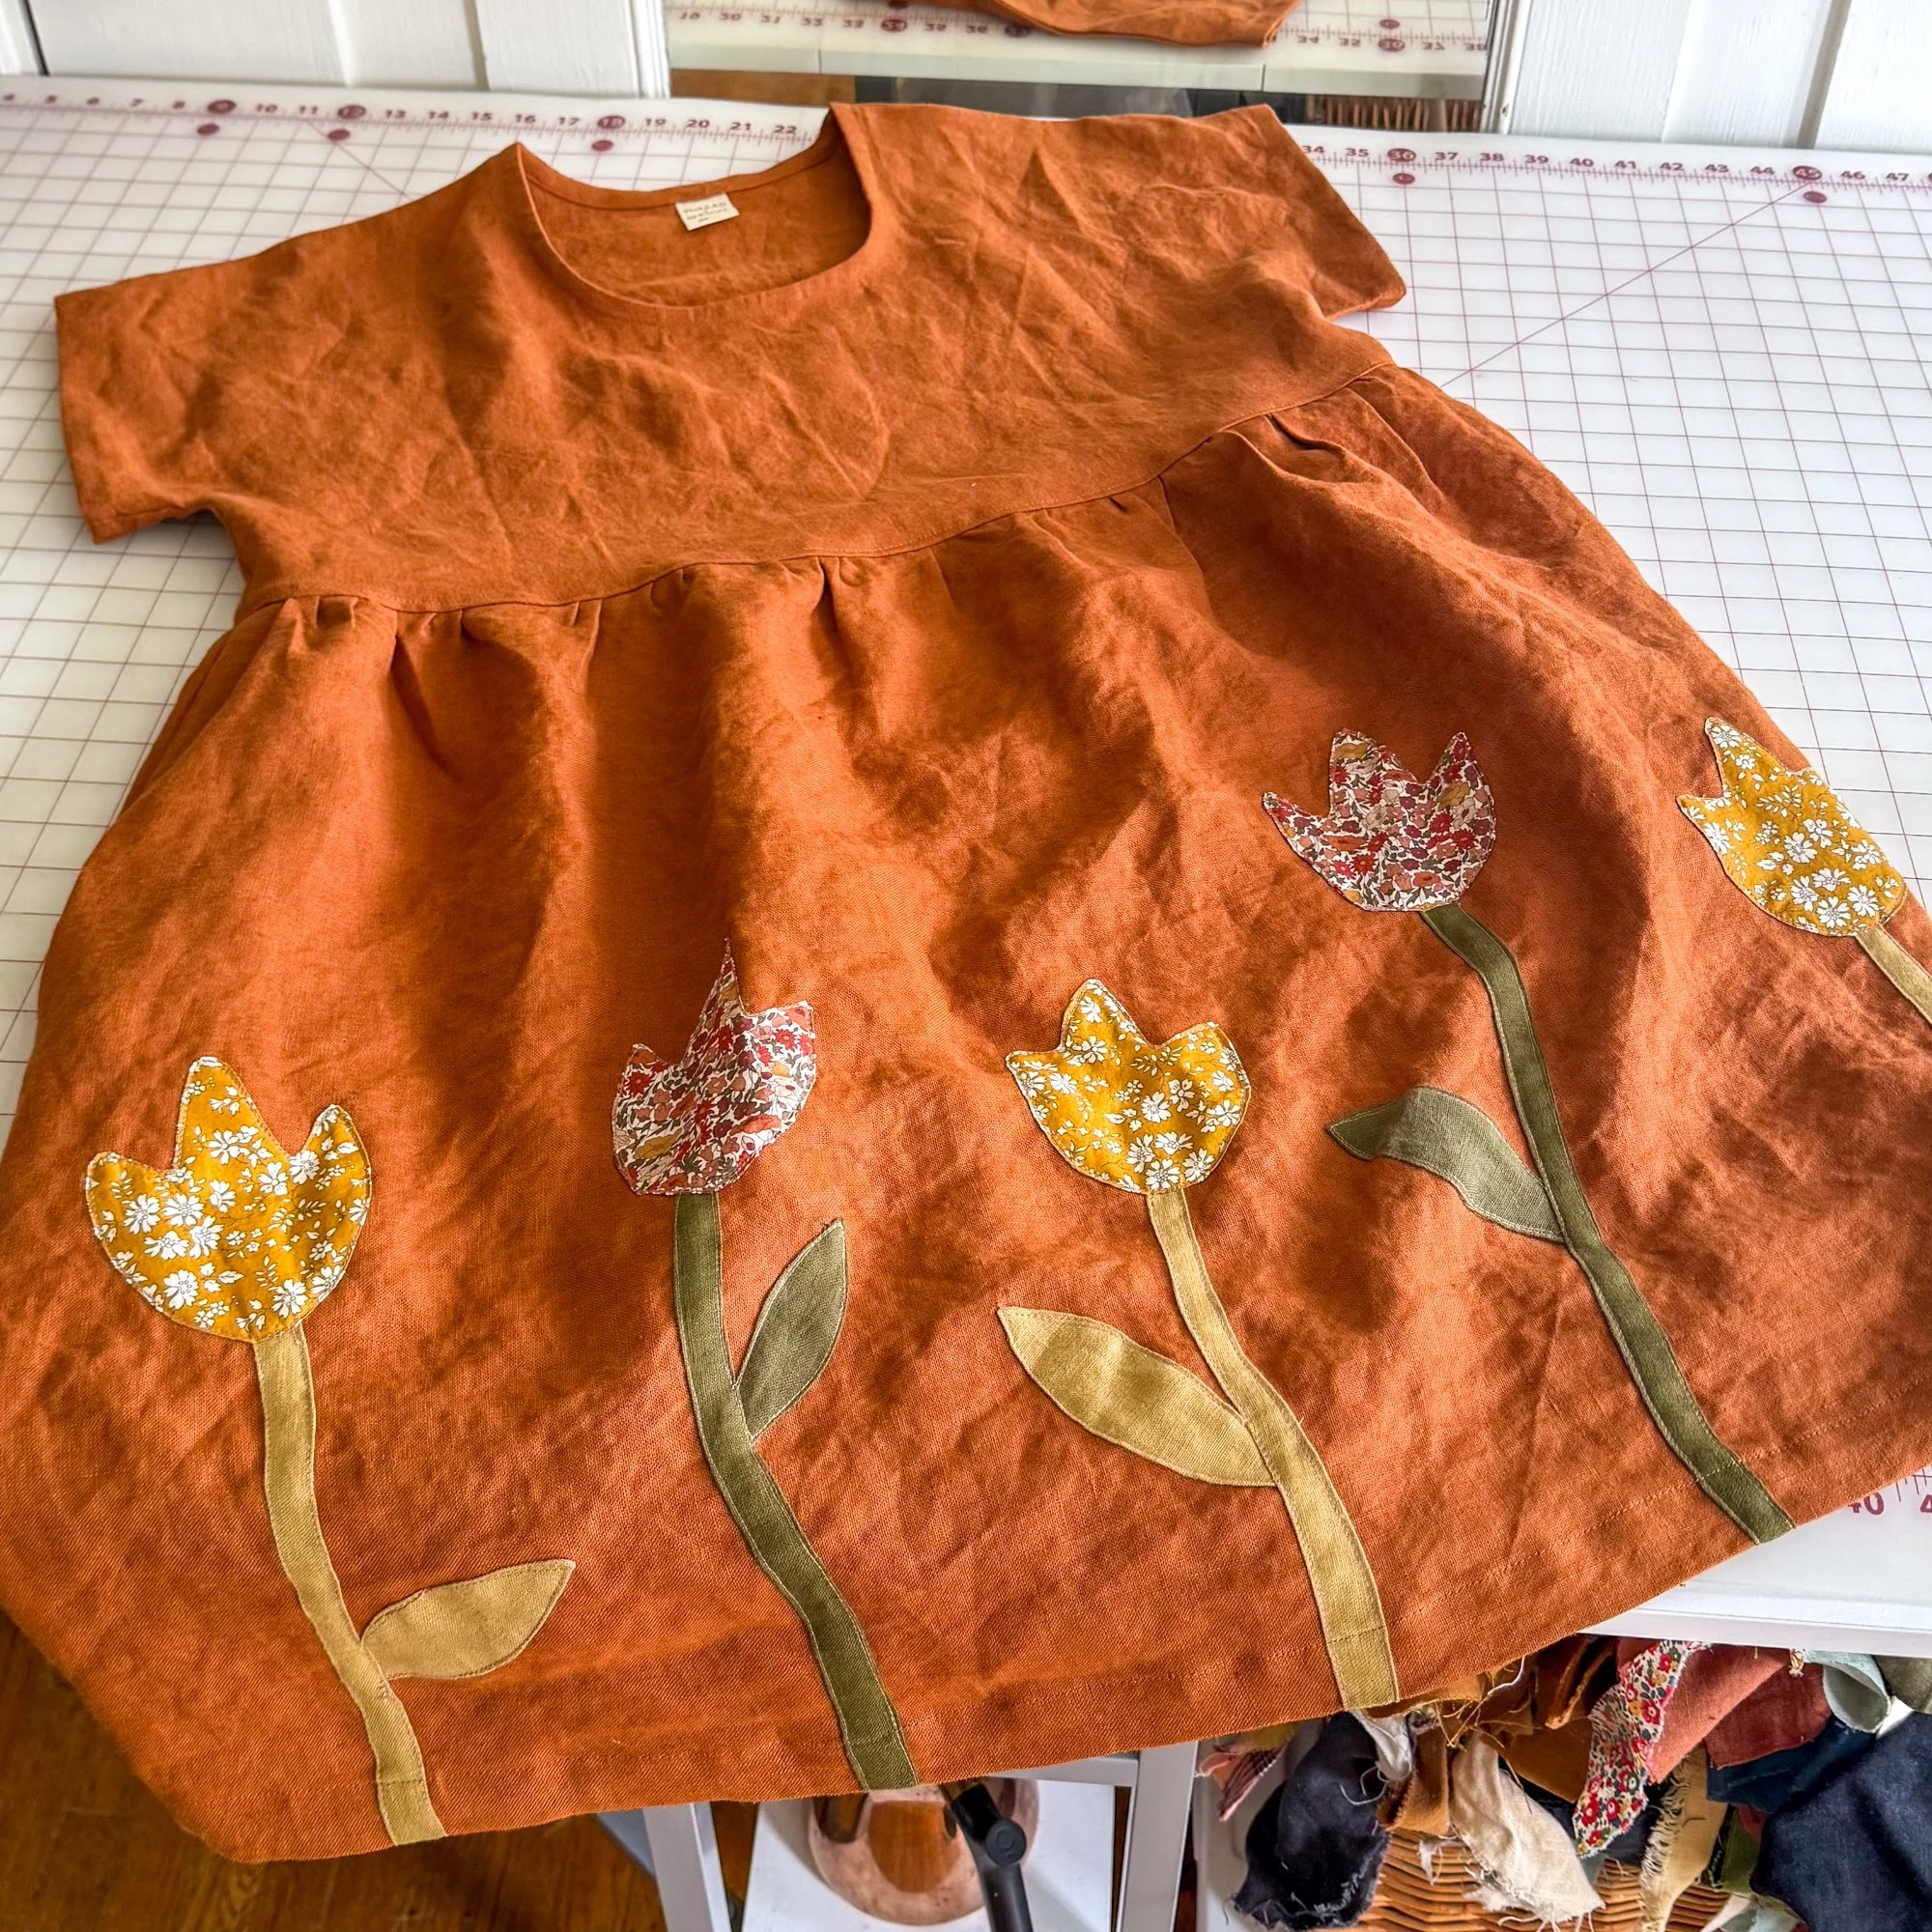
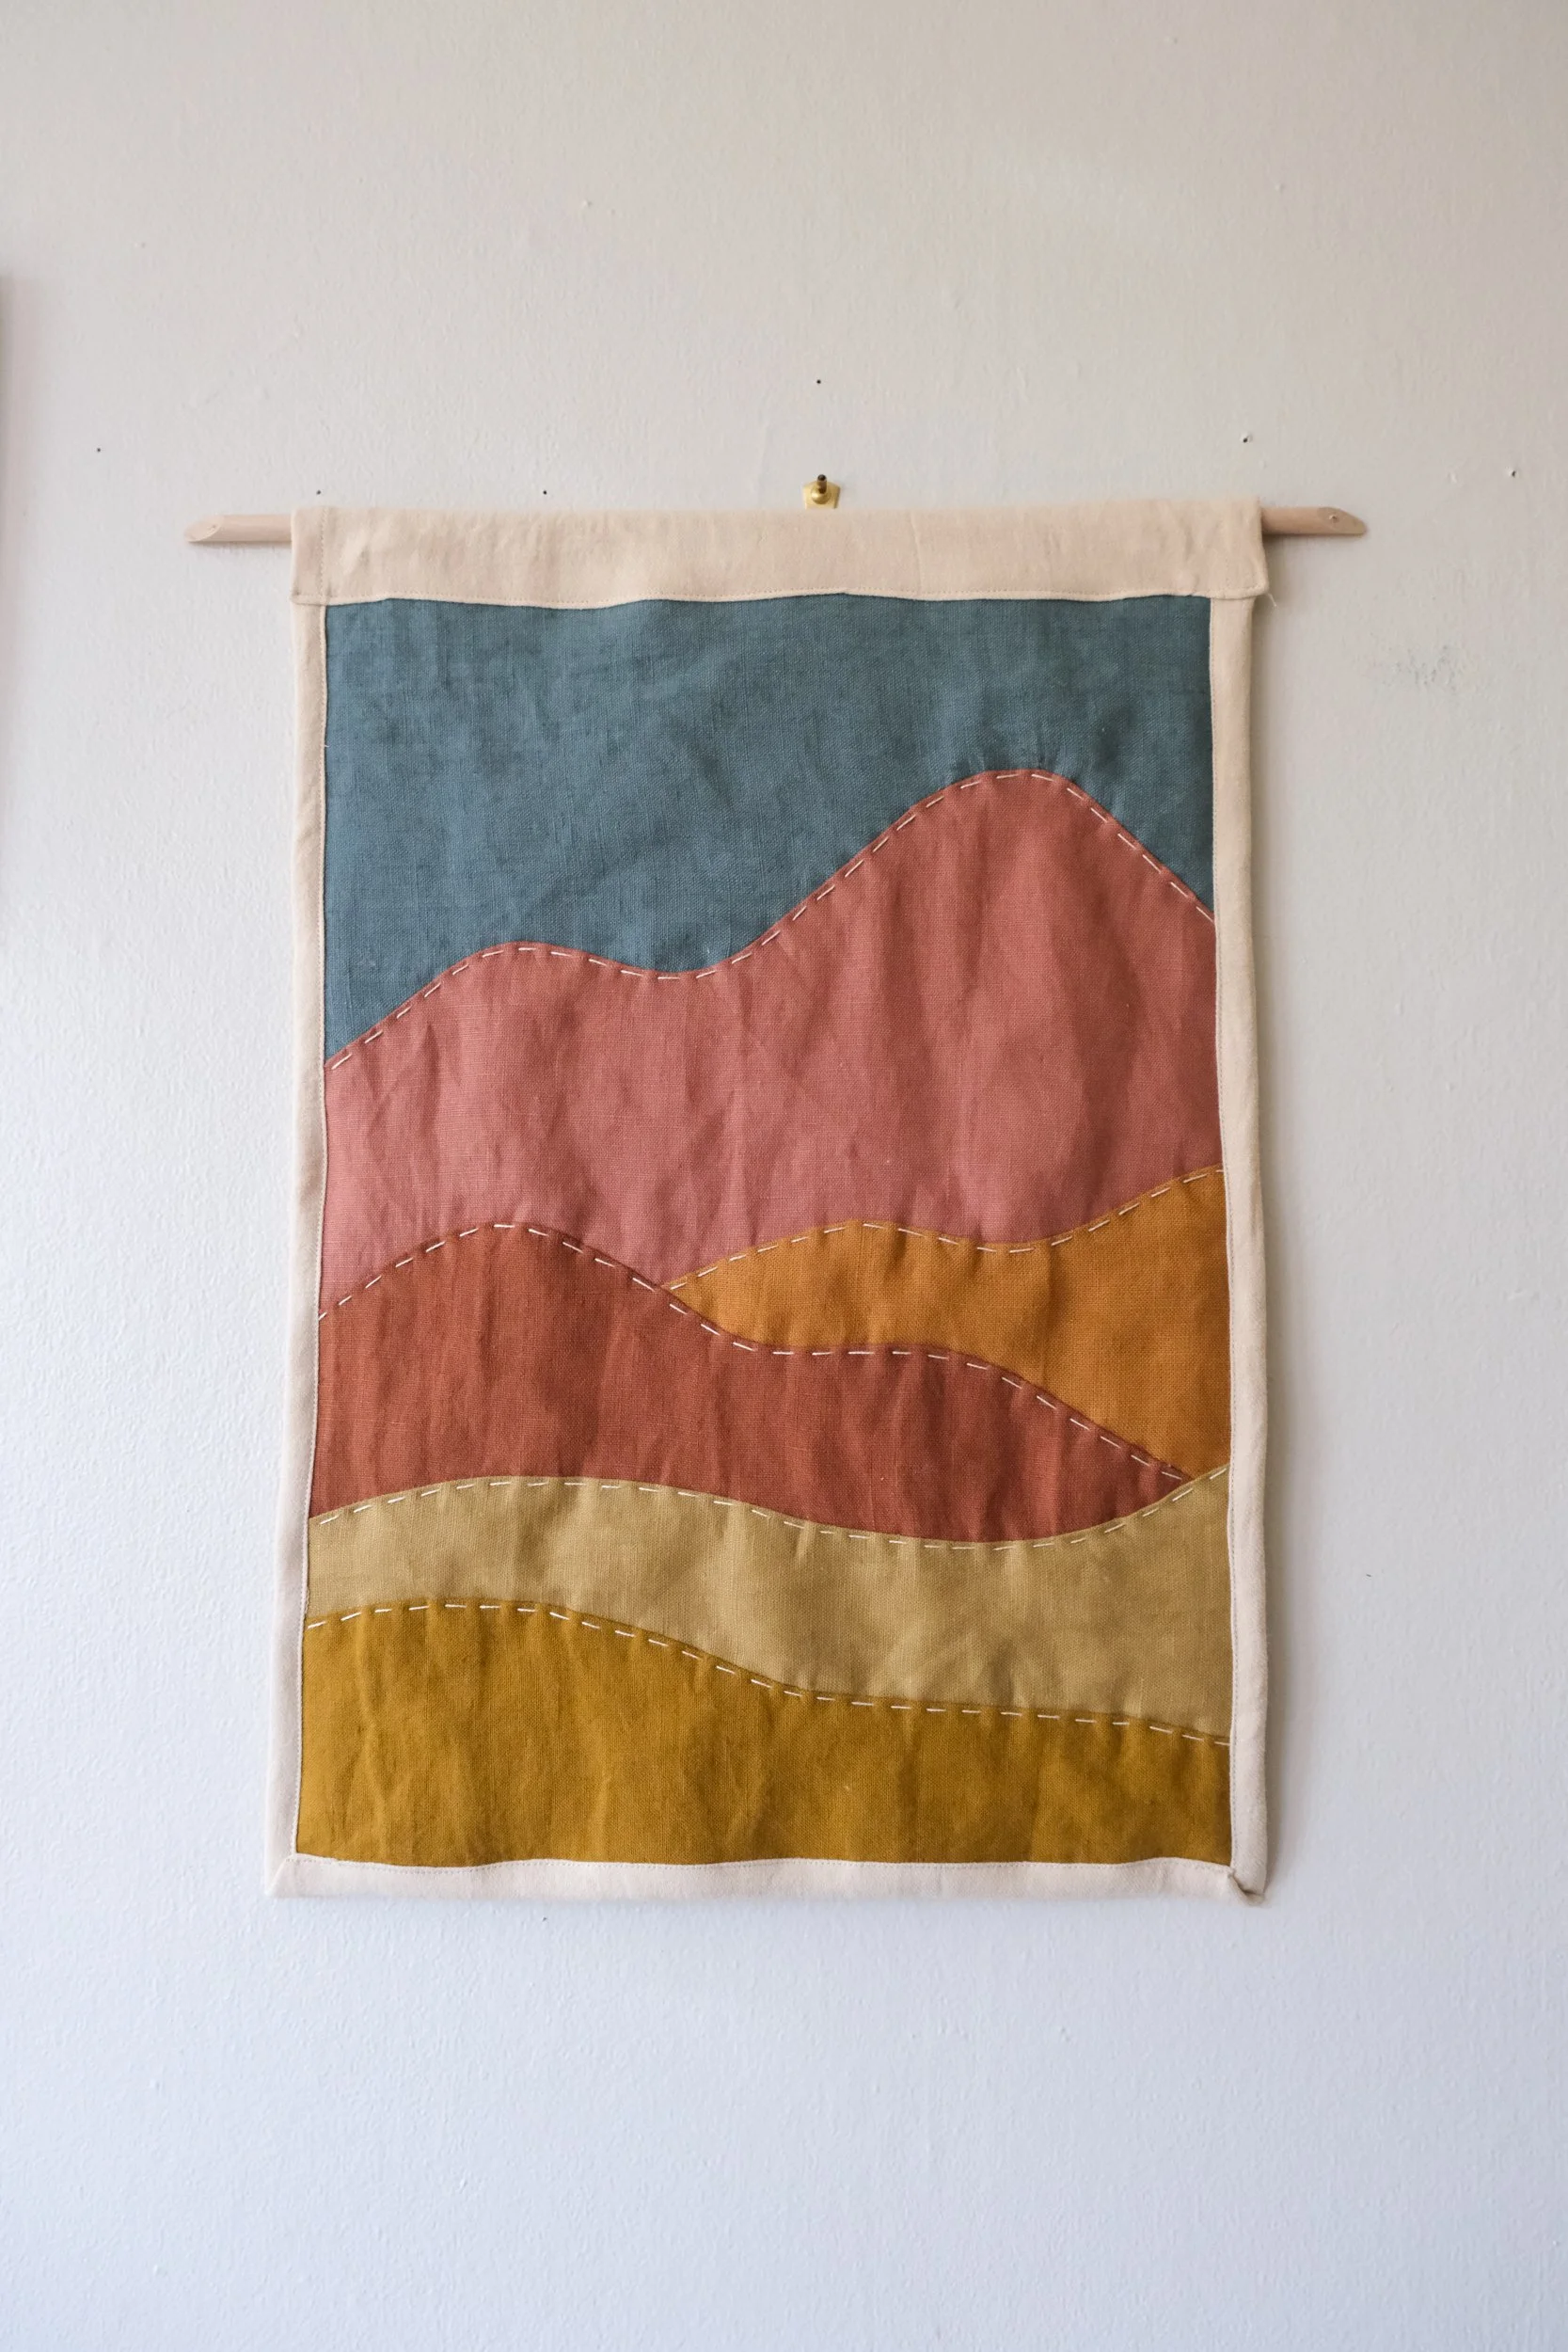 Image 3 of 10
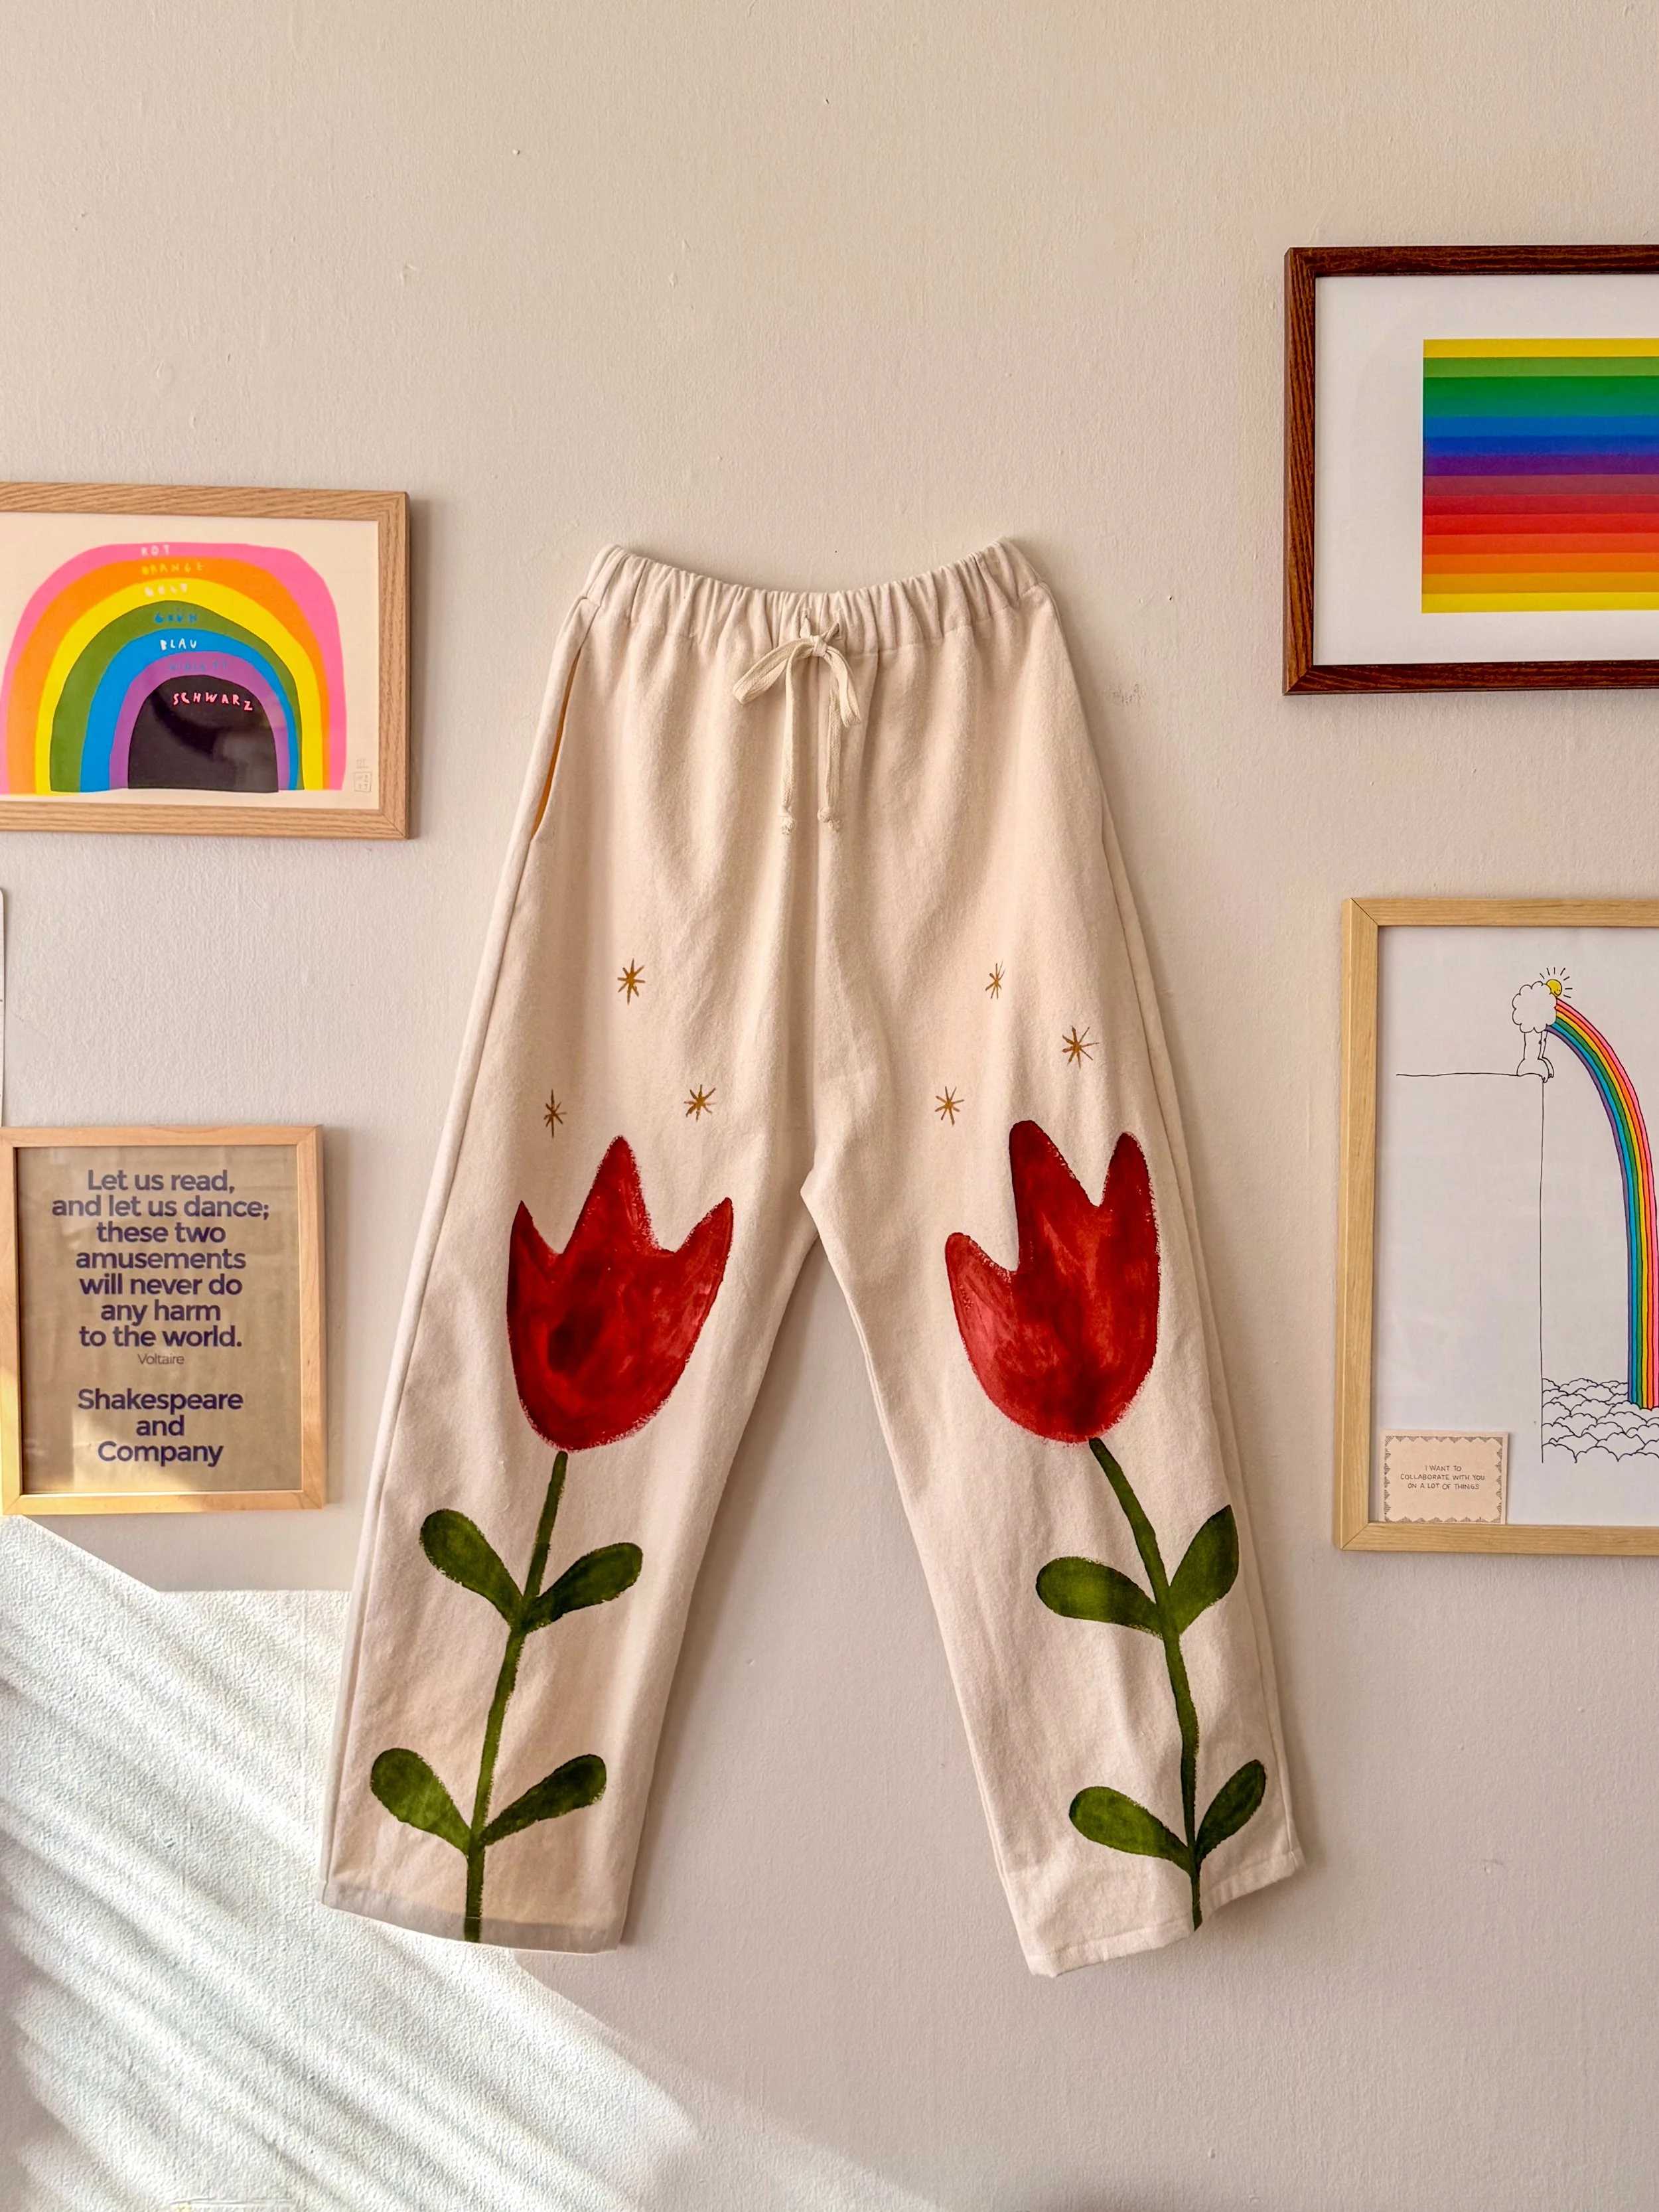
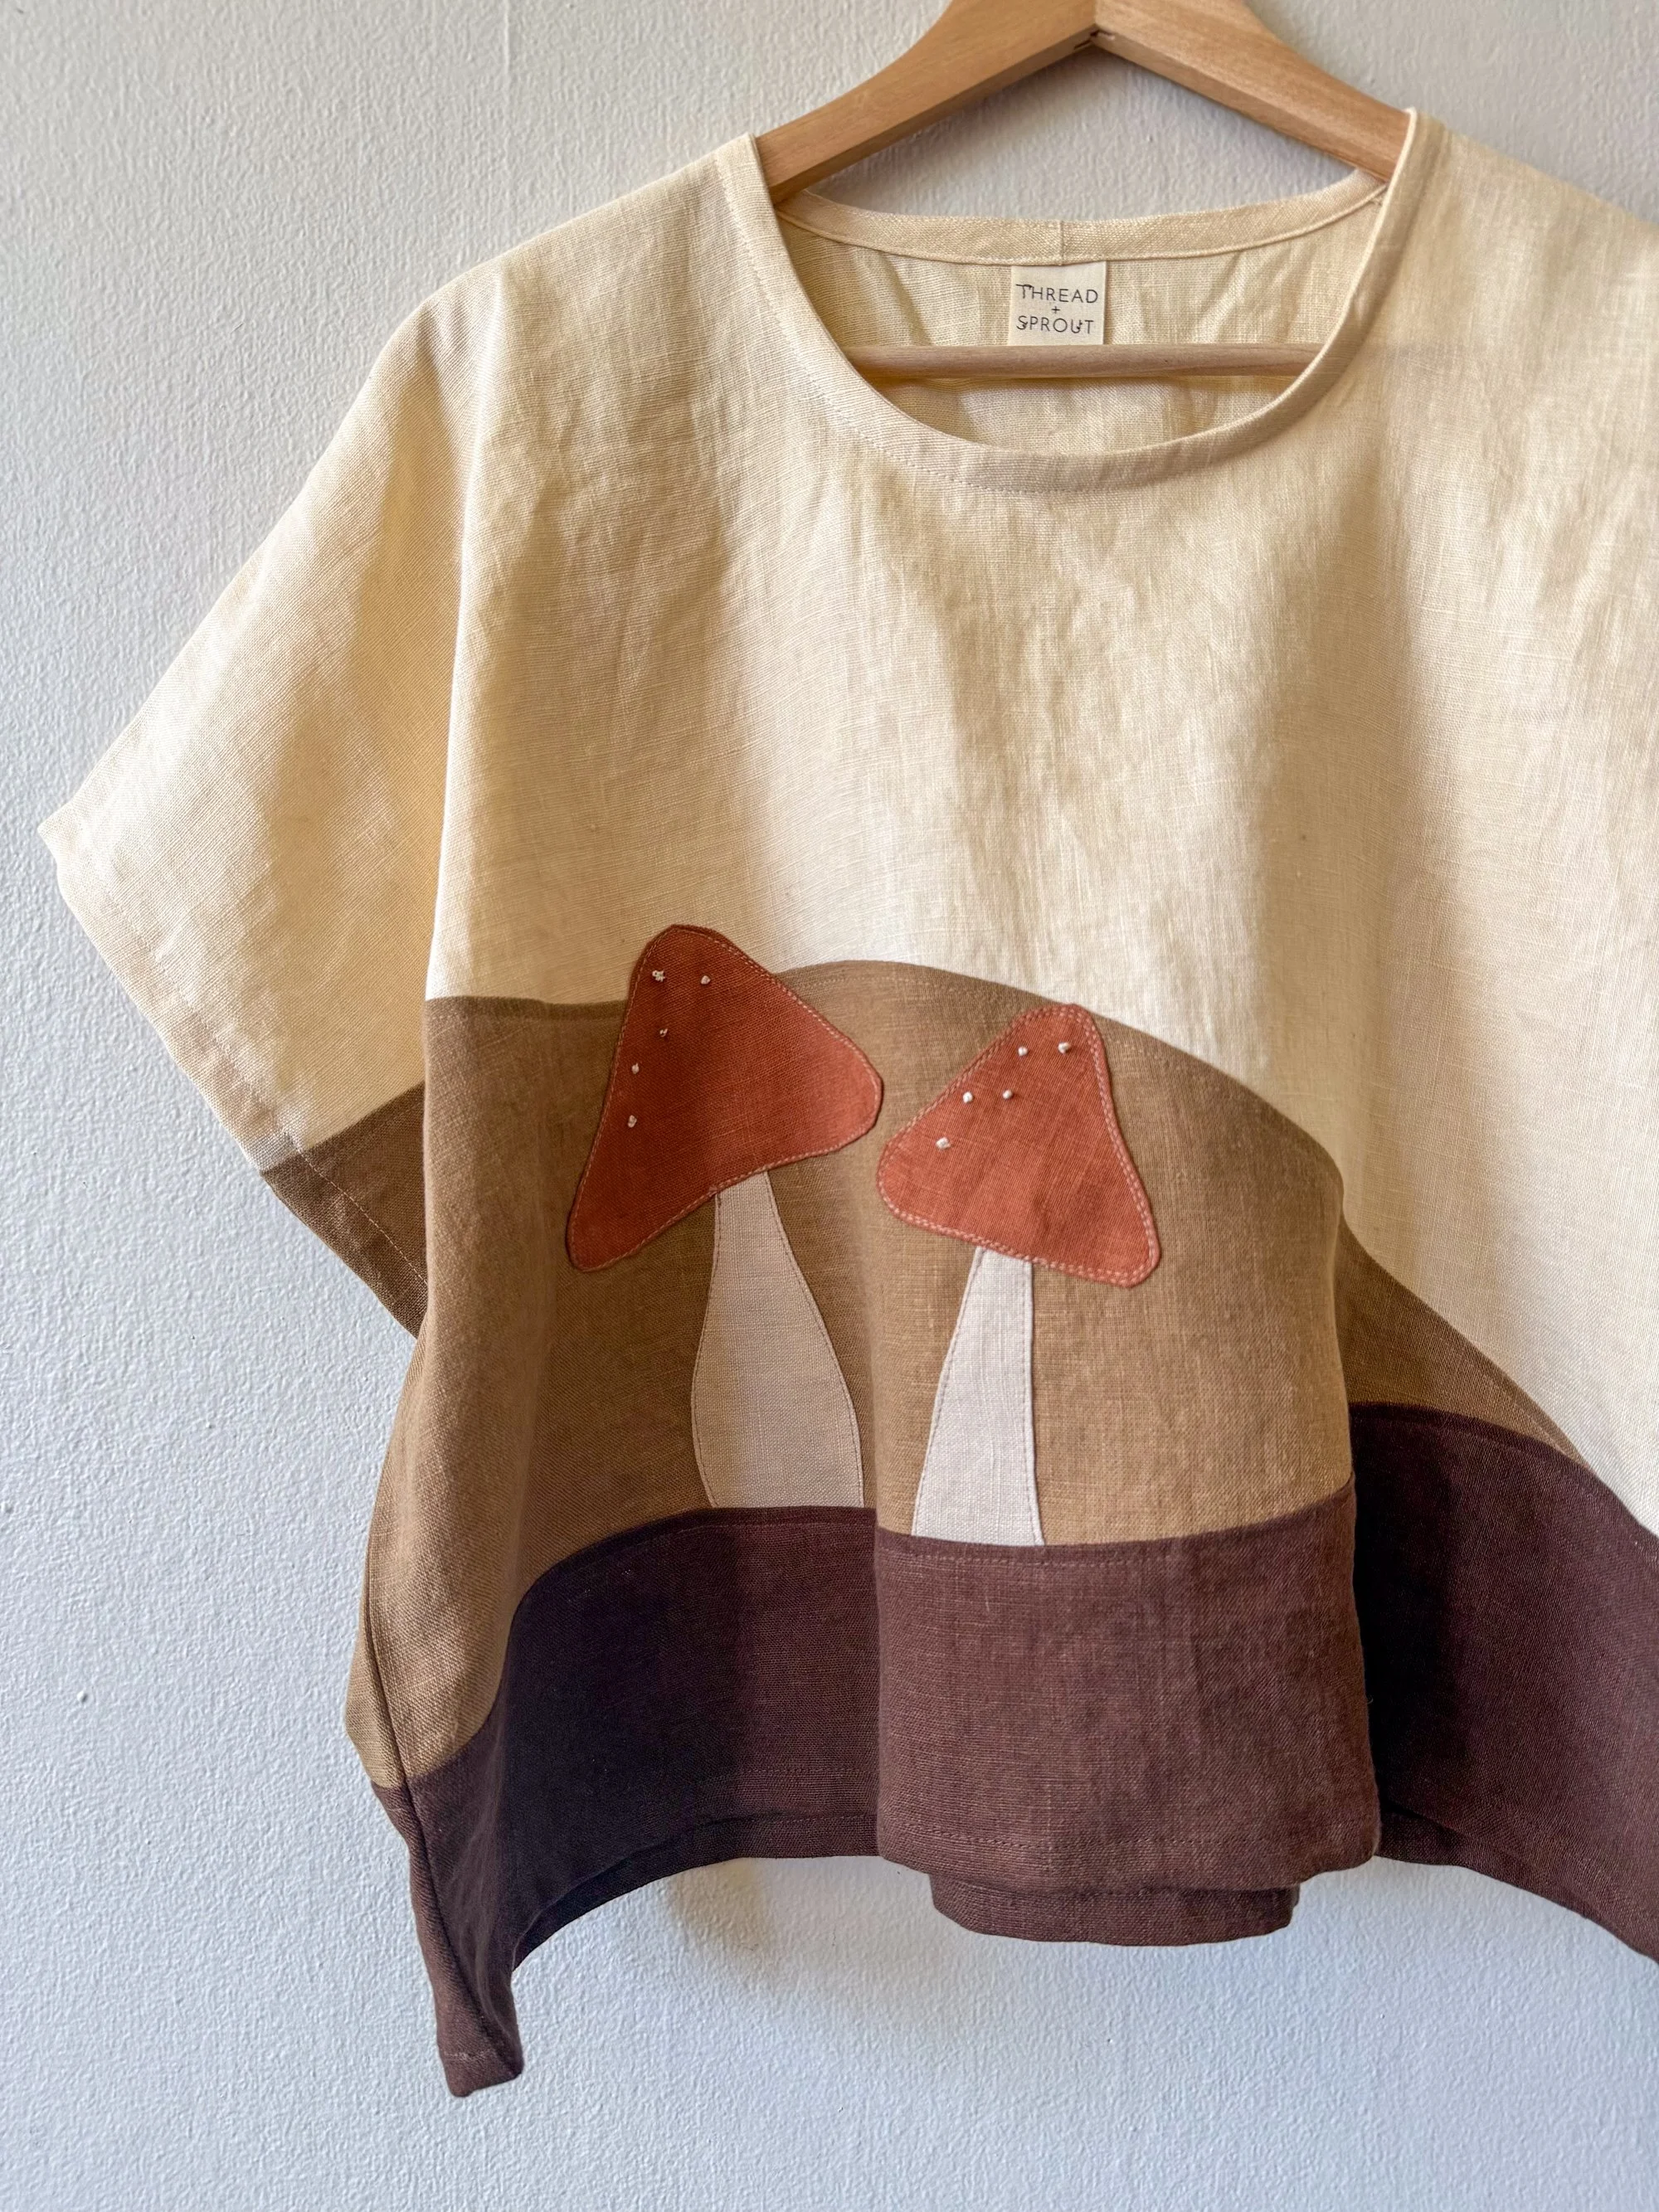
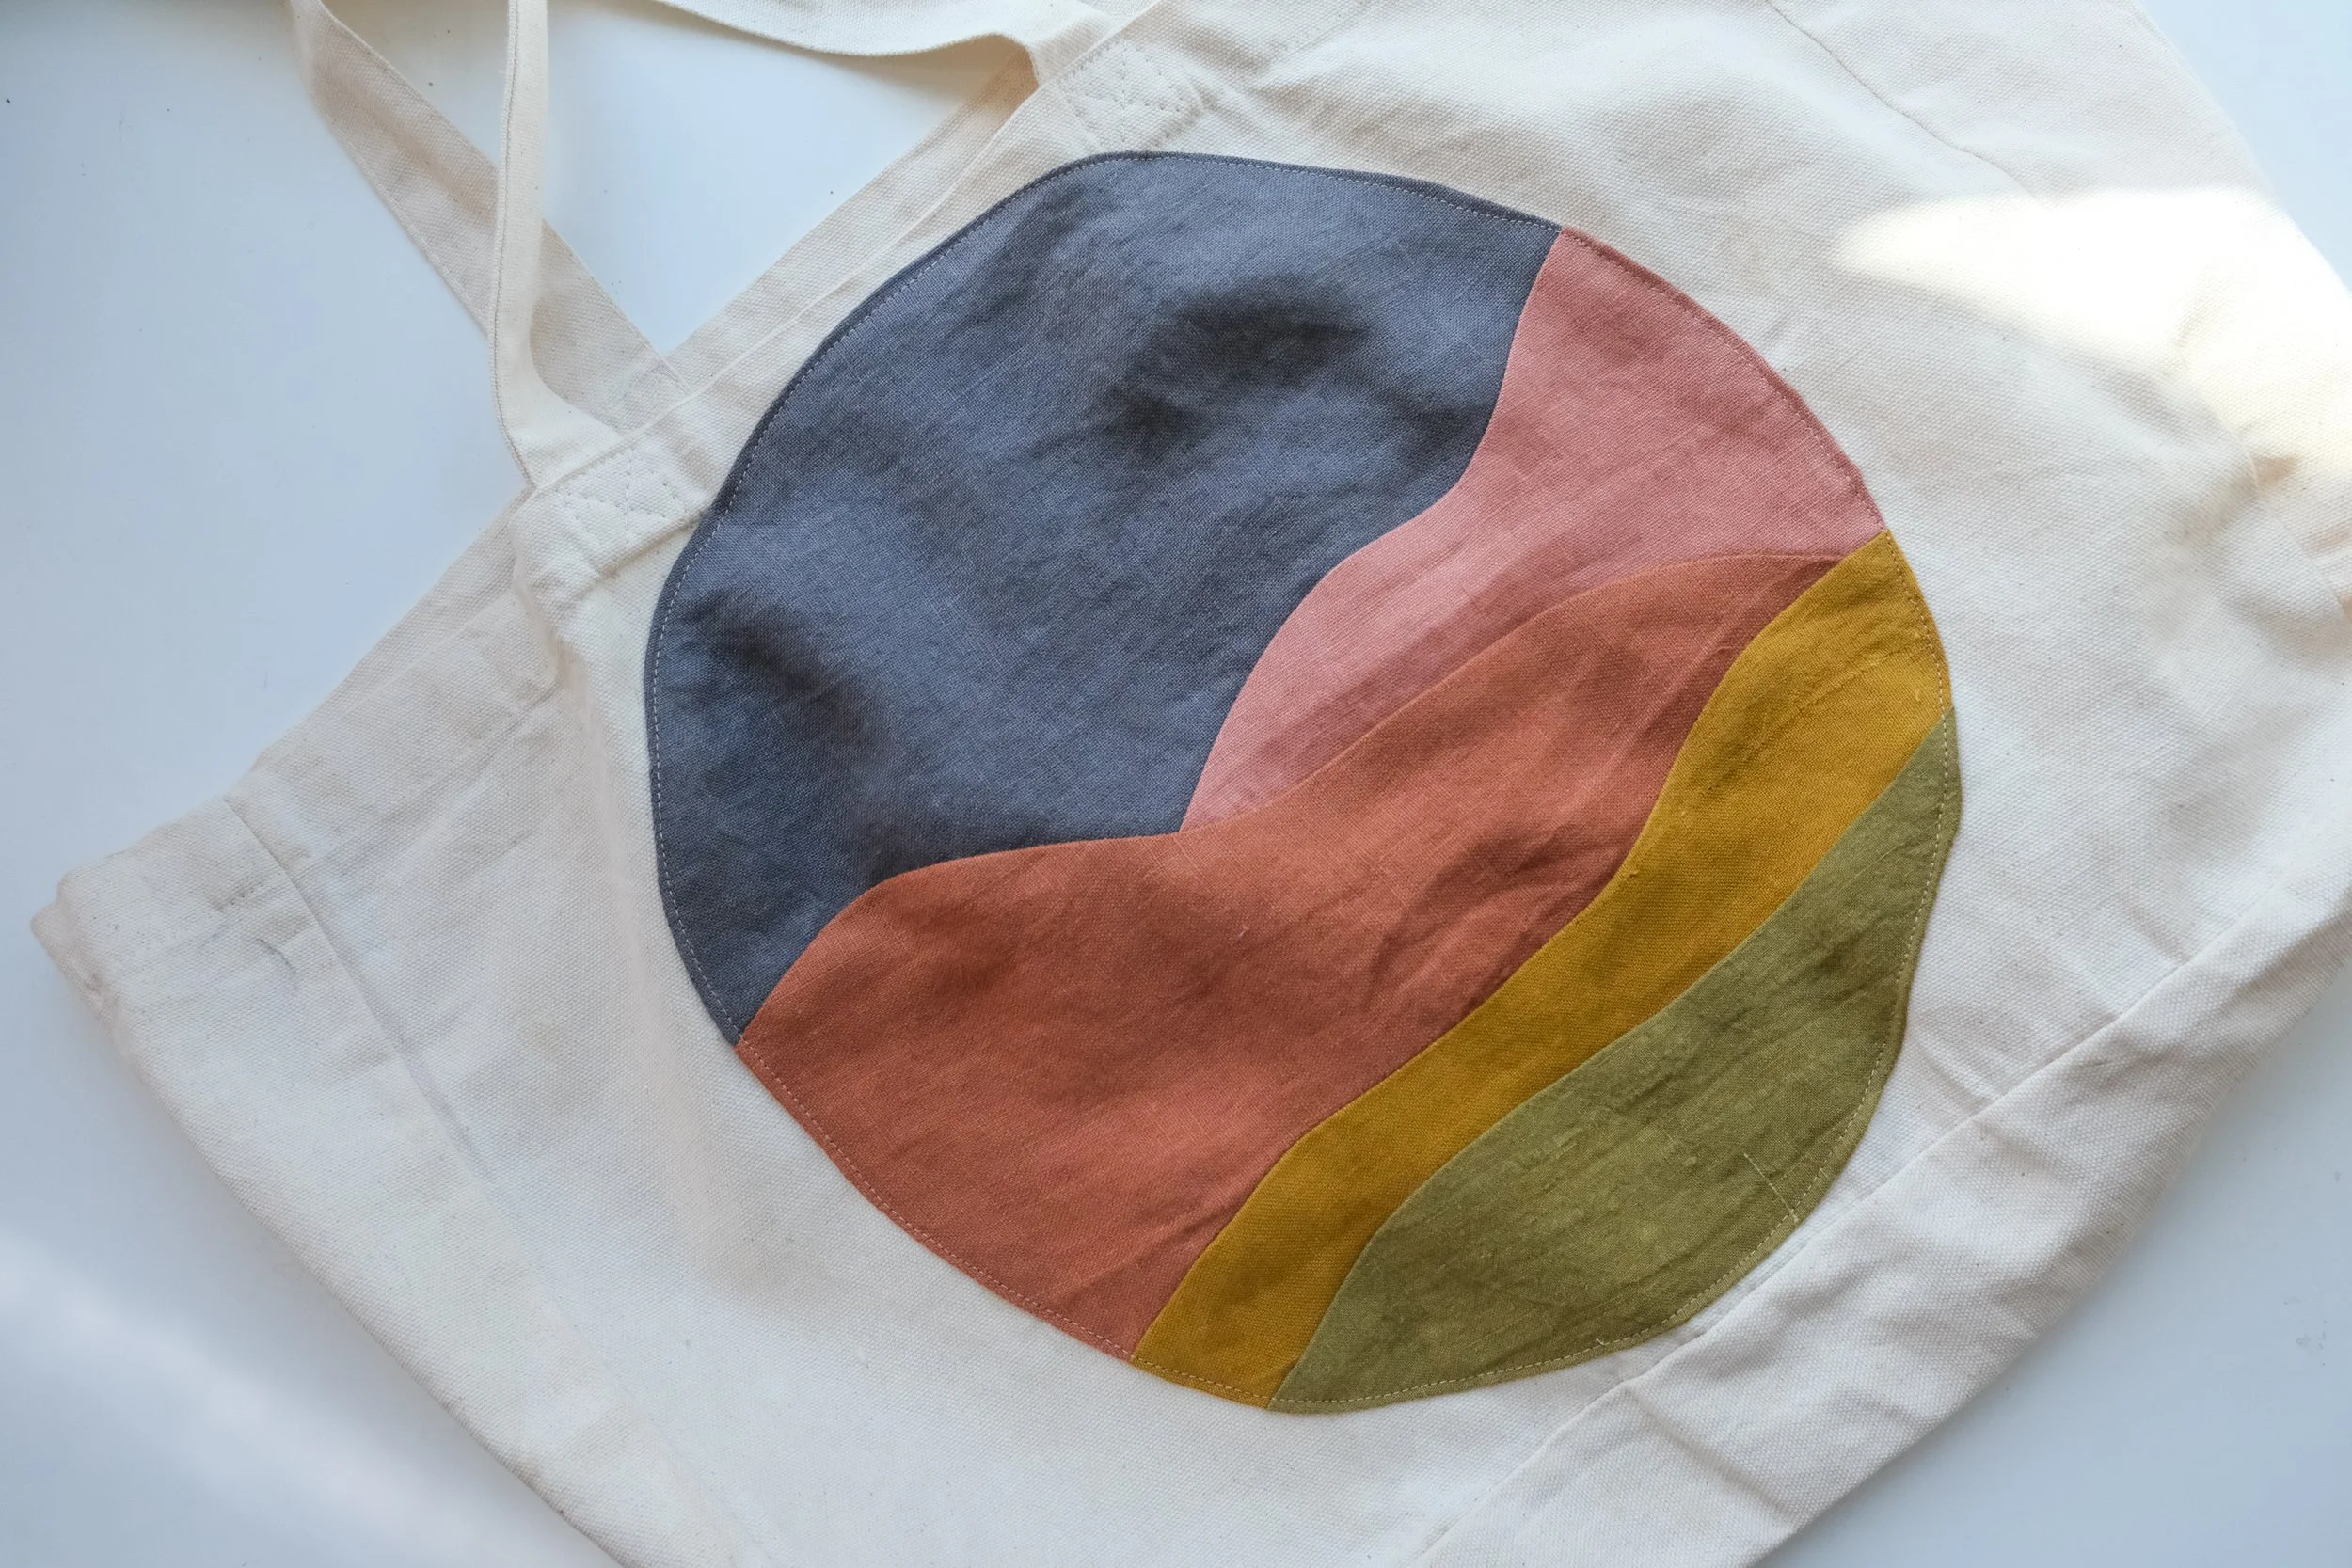 Image 4 of 10
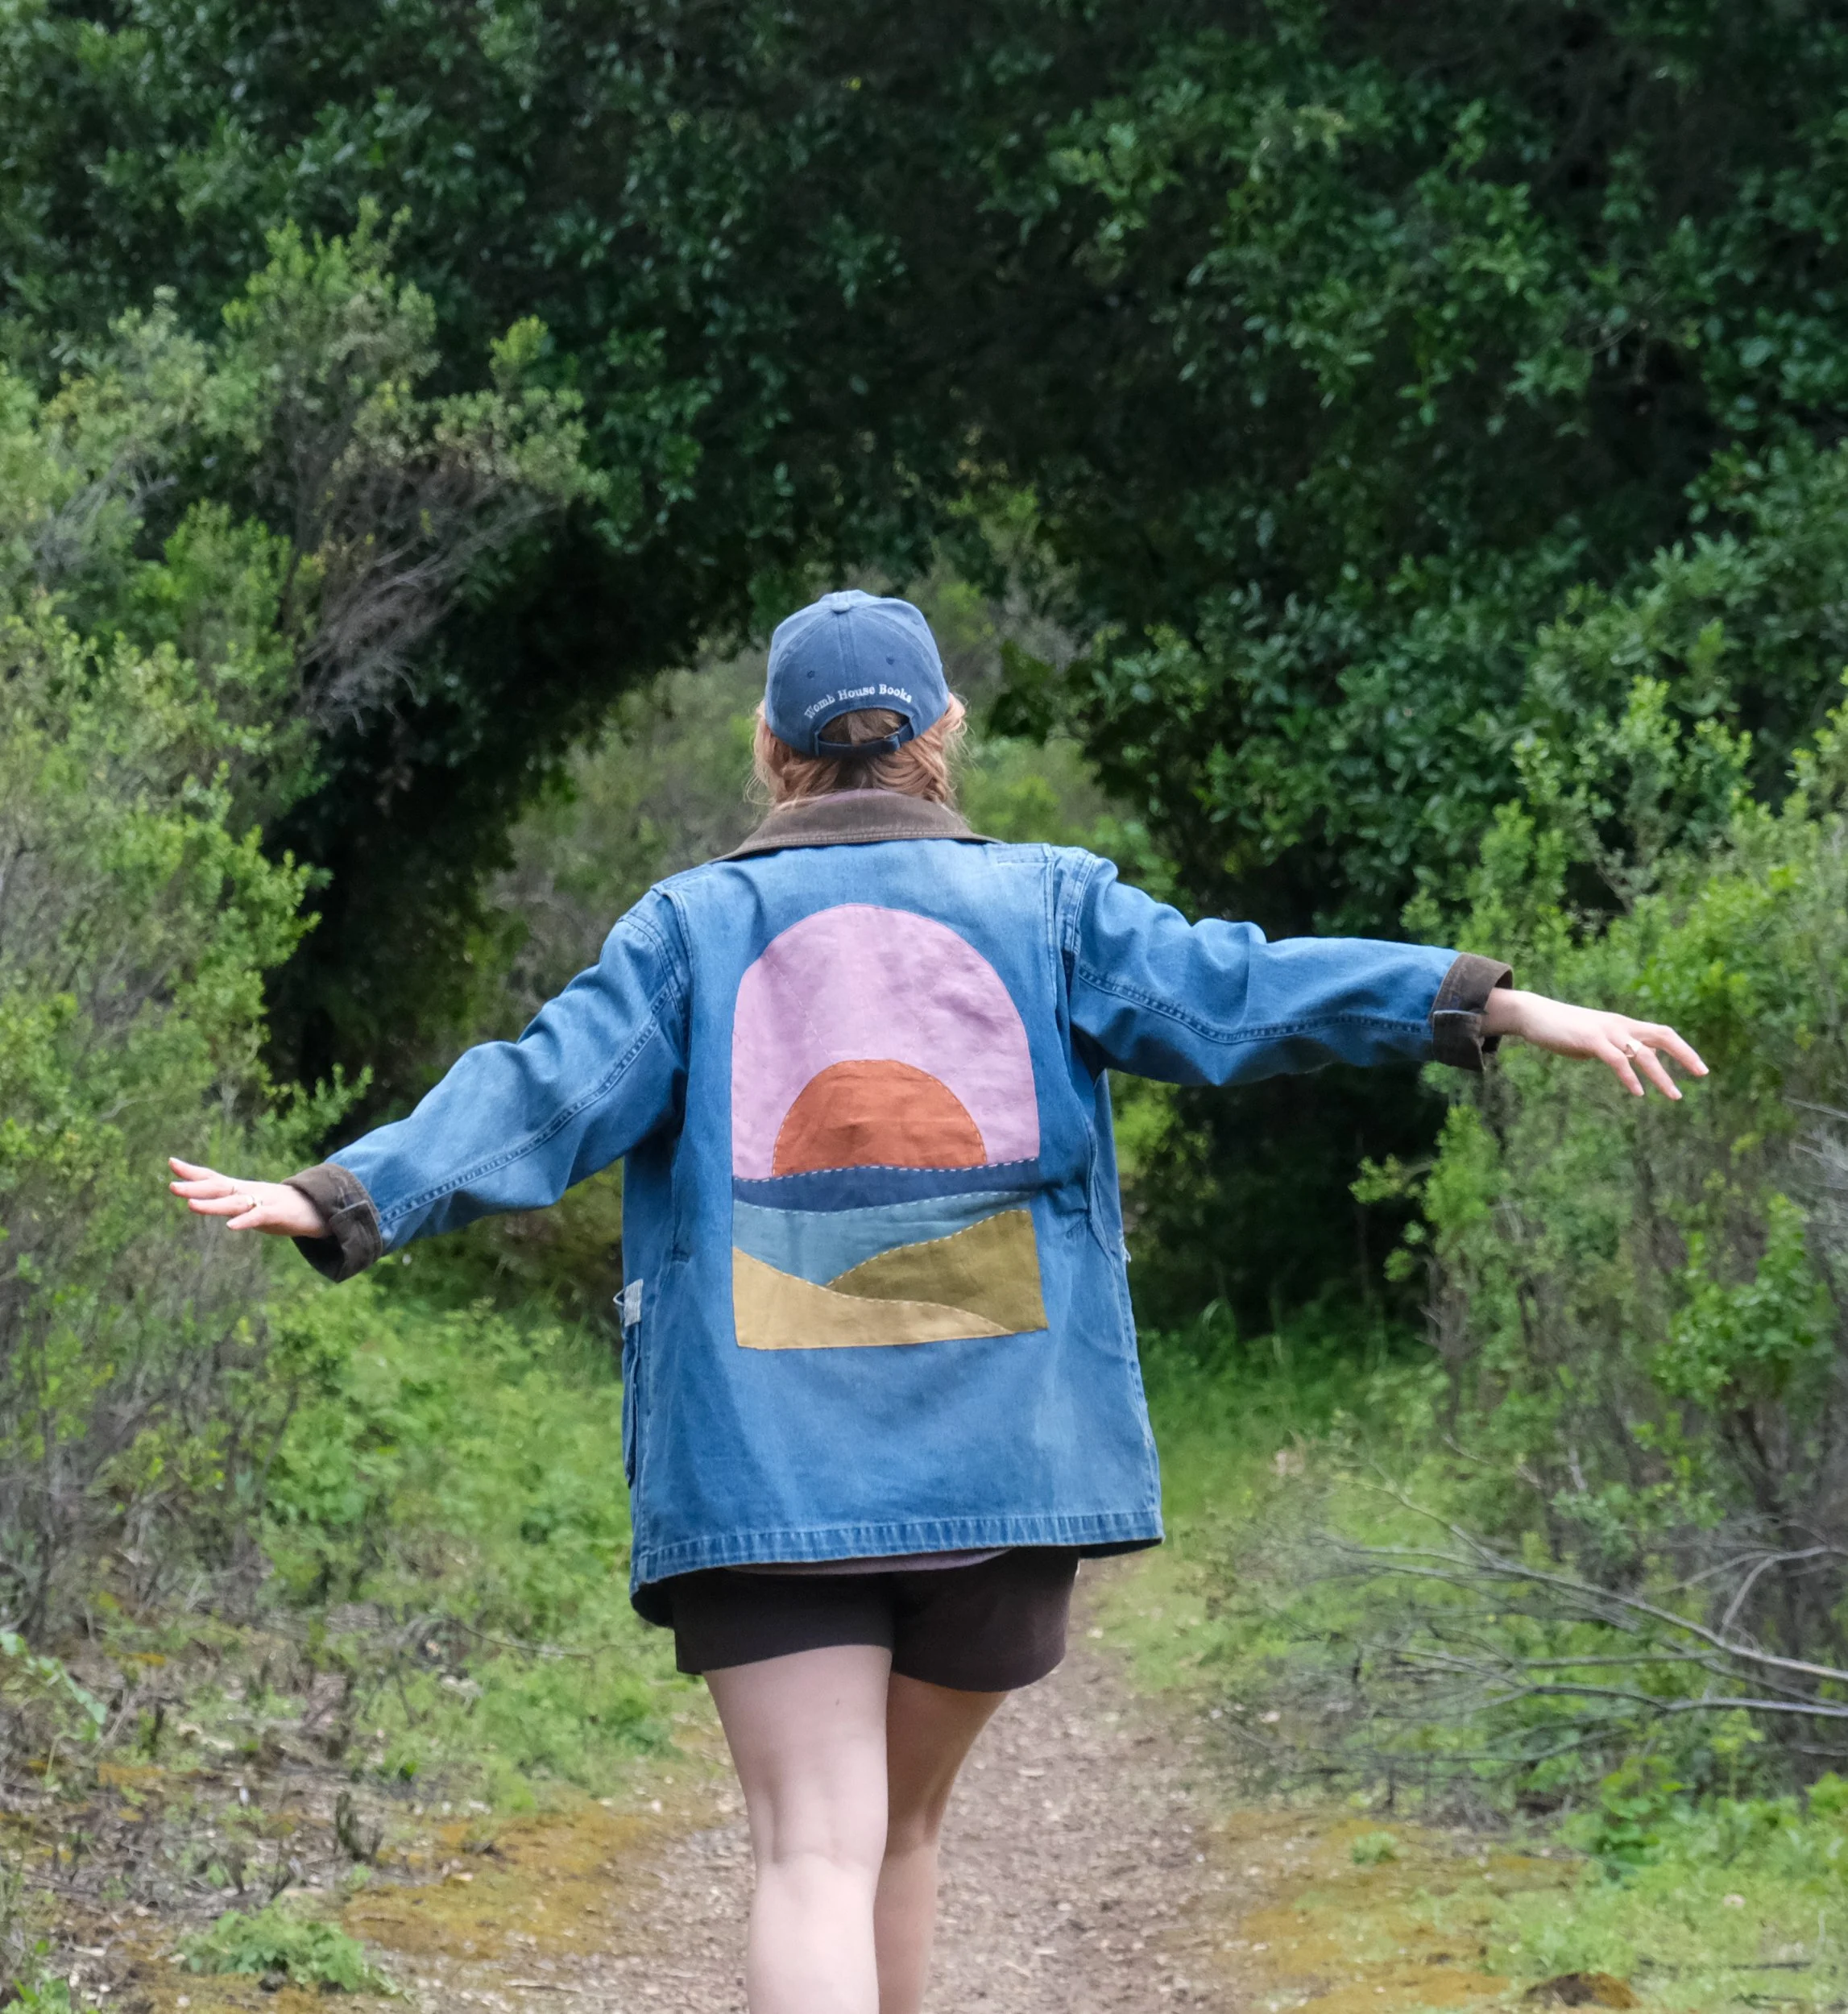 Image 5 of 10
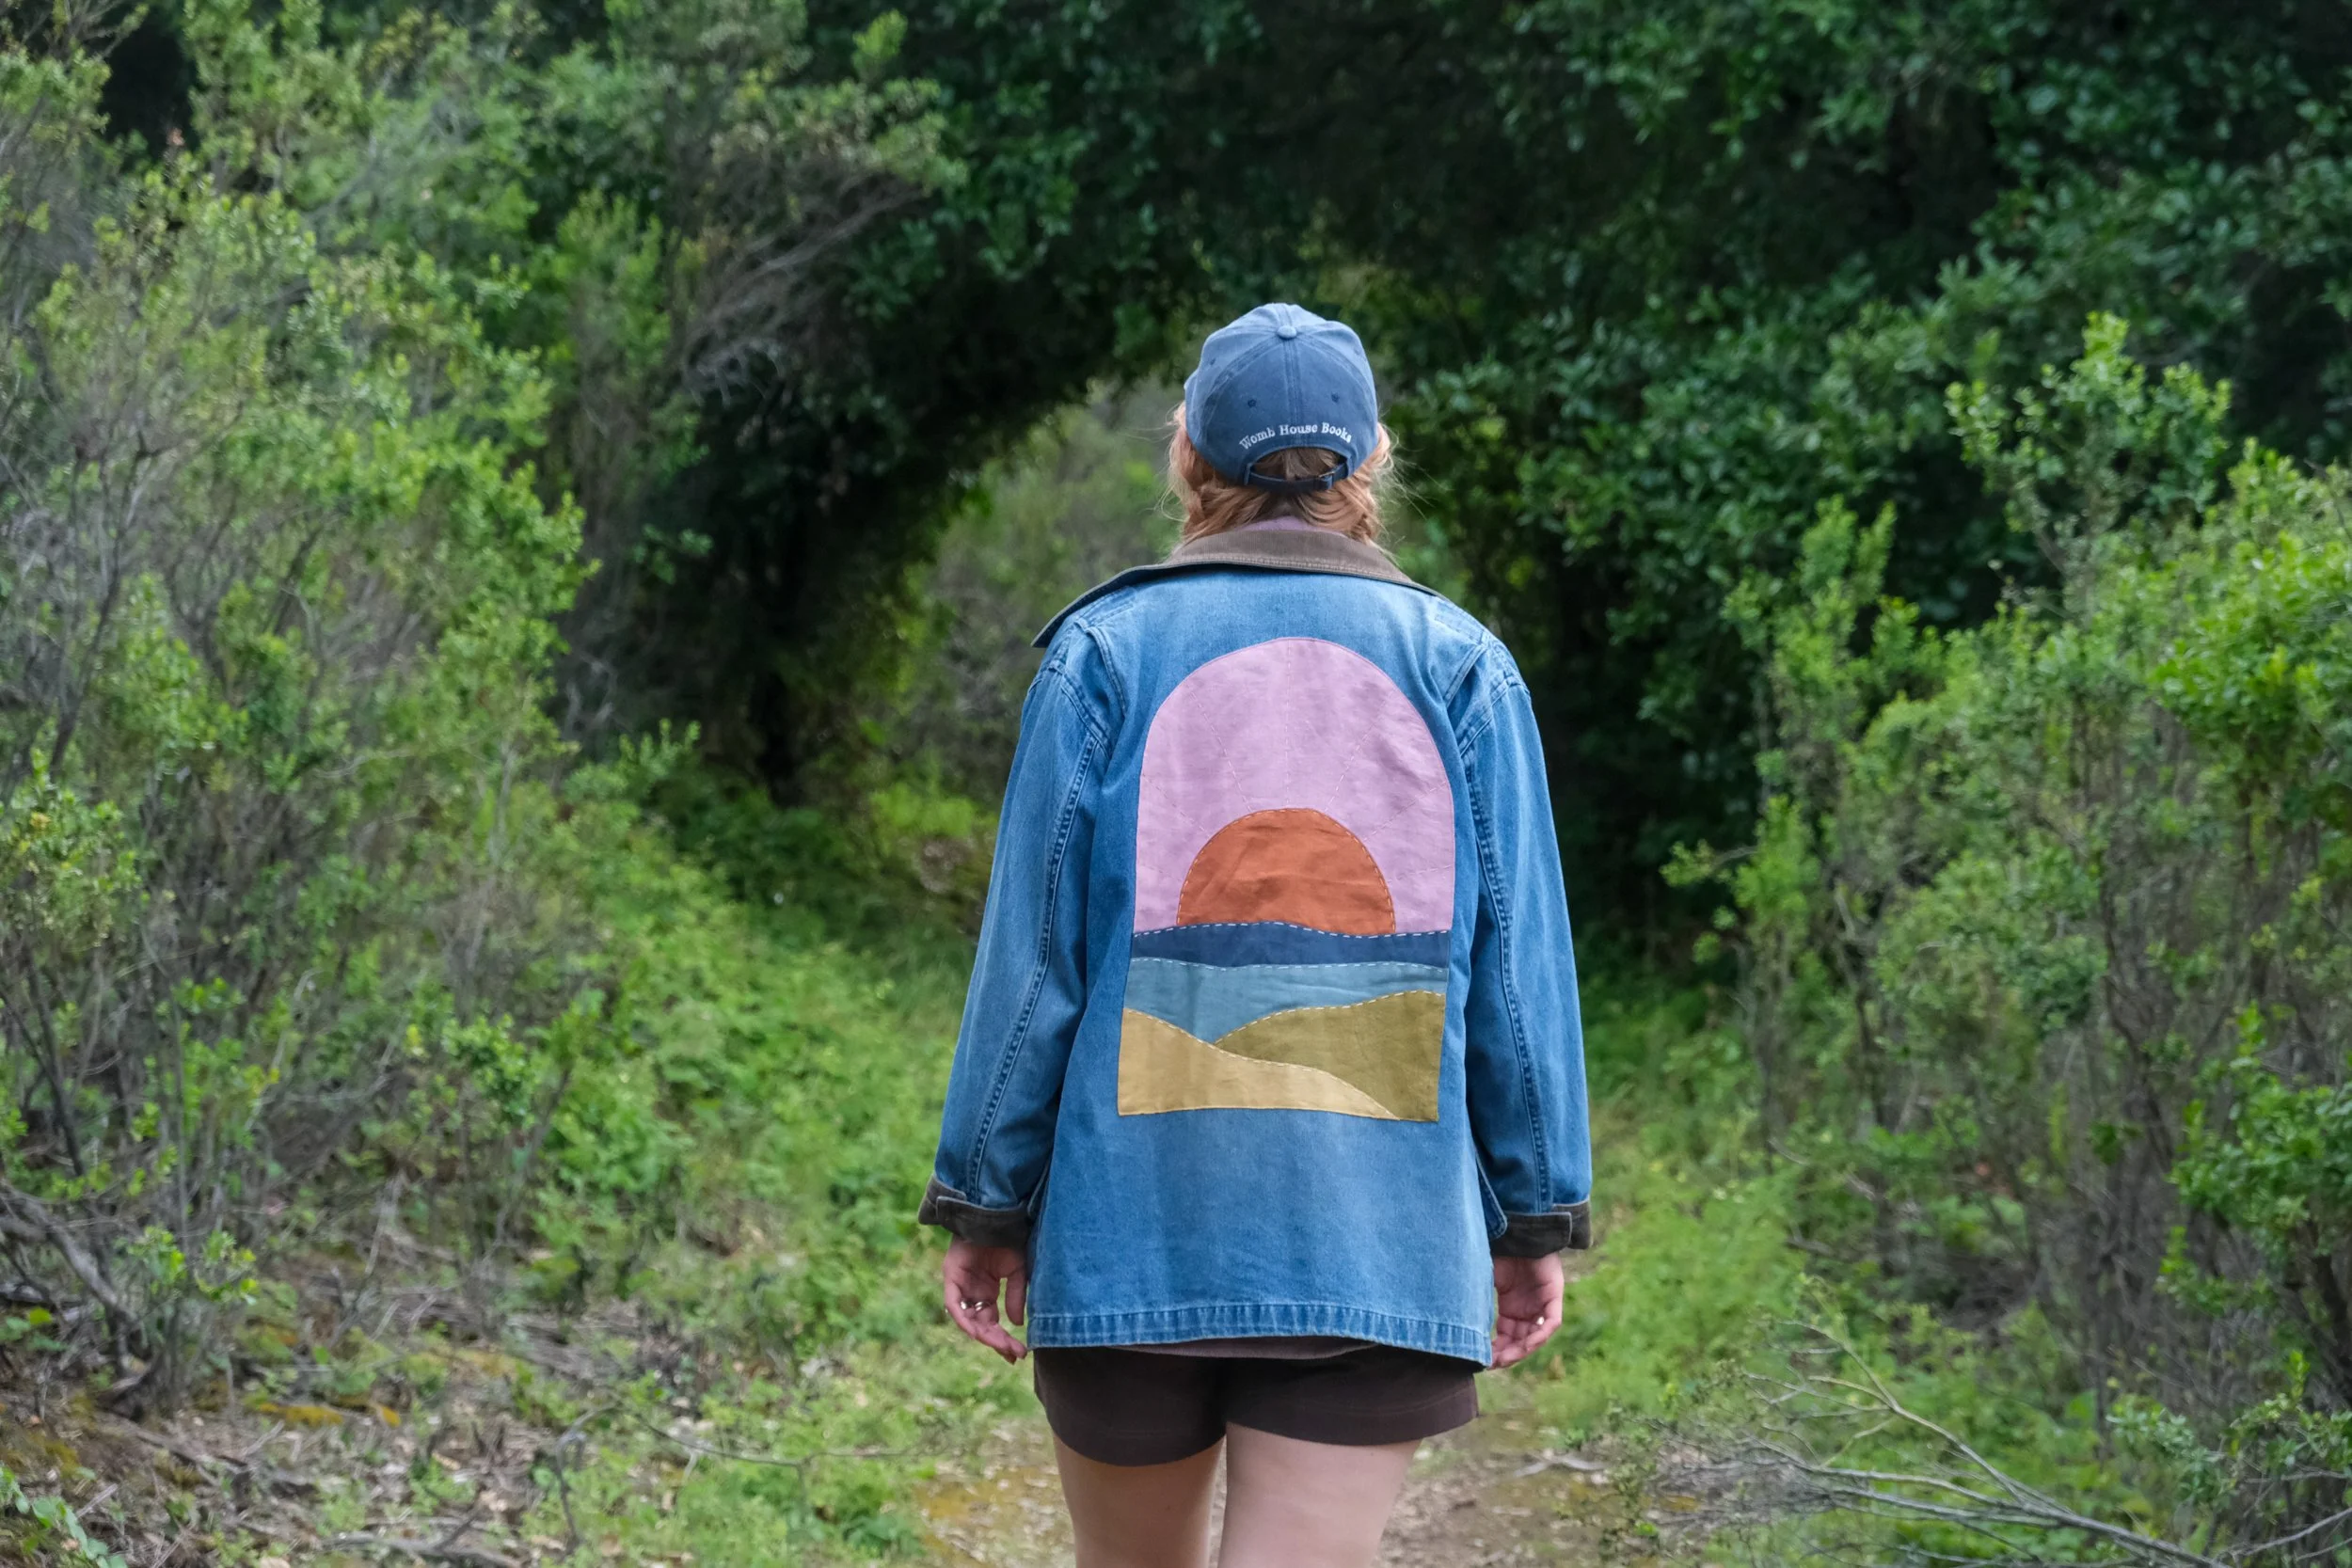 Image 6 of 10
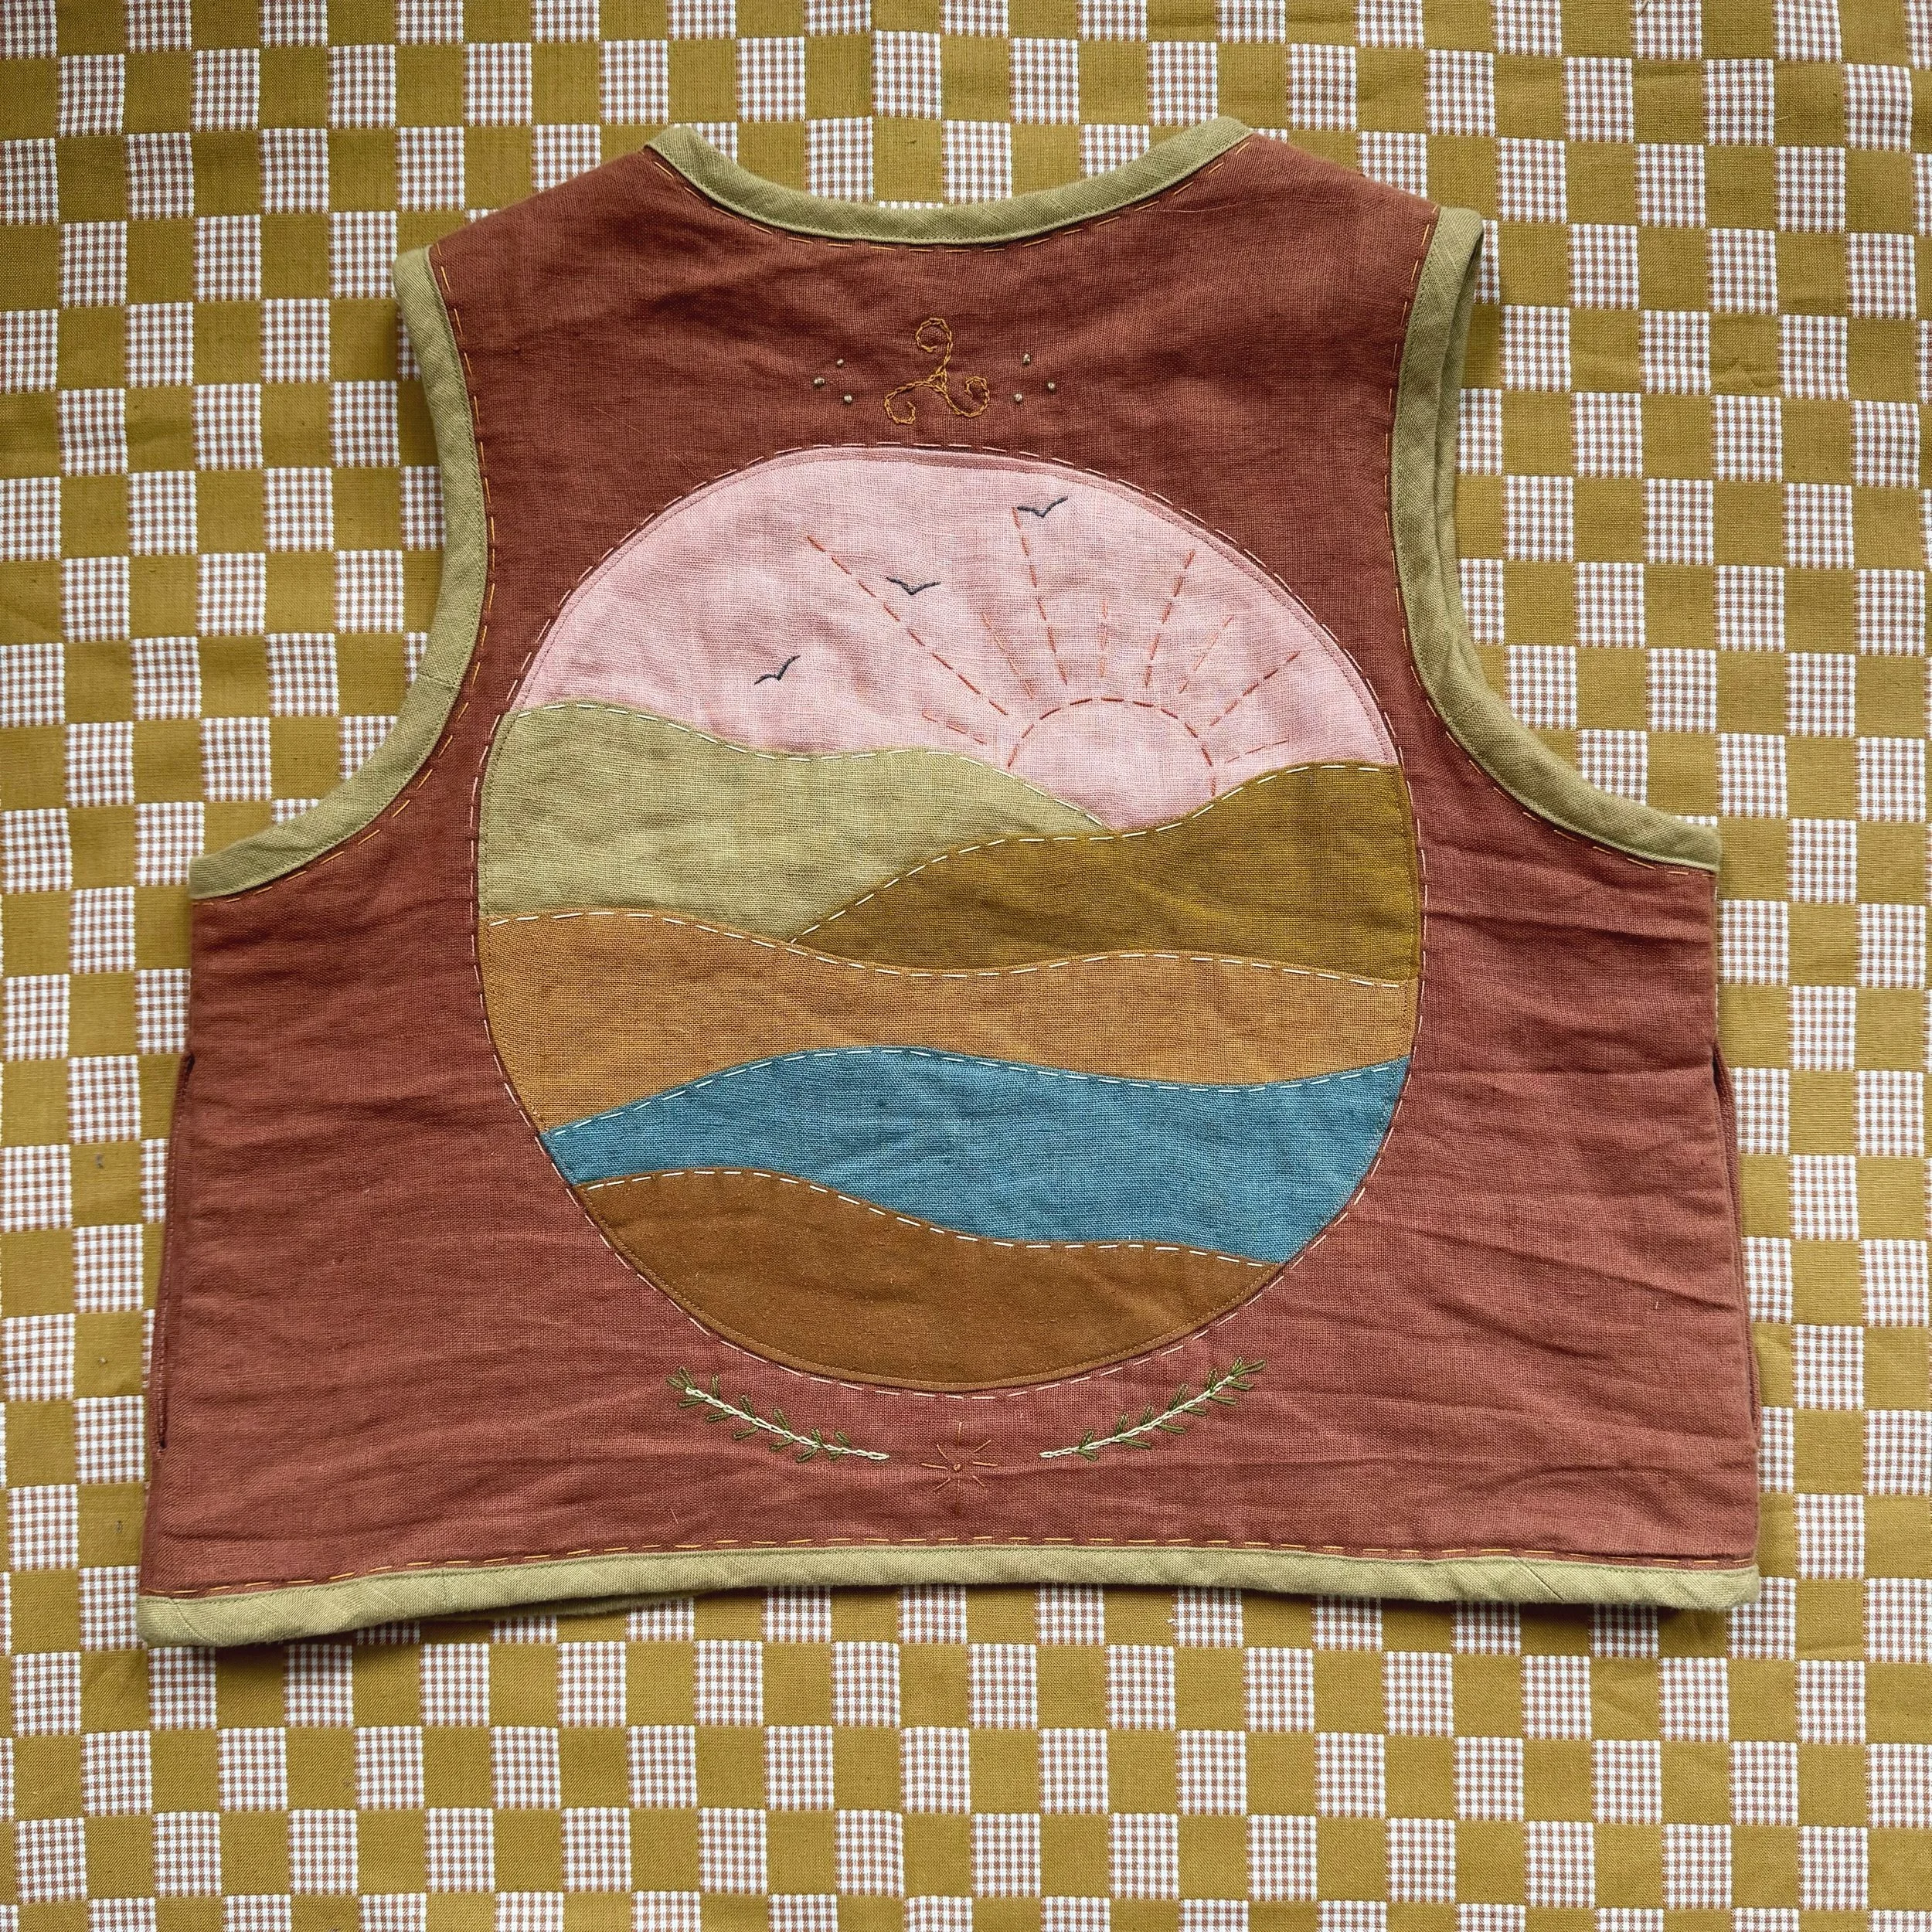 Image 7 of 10
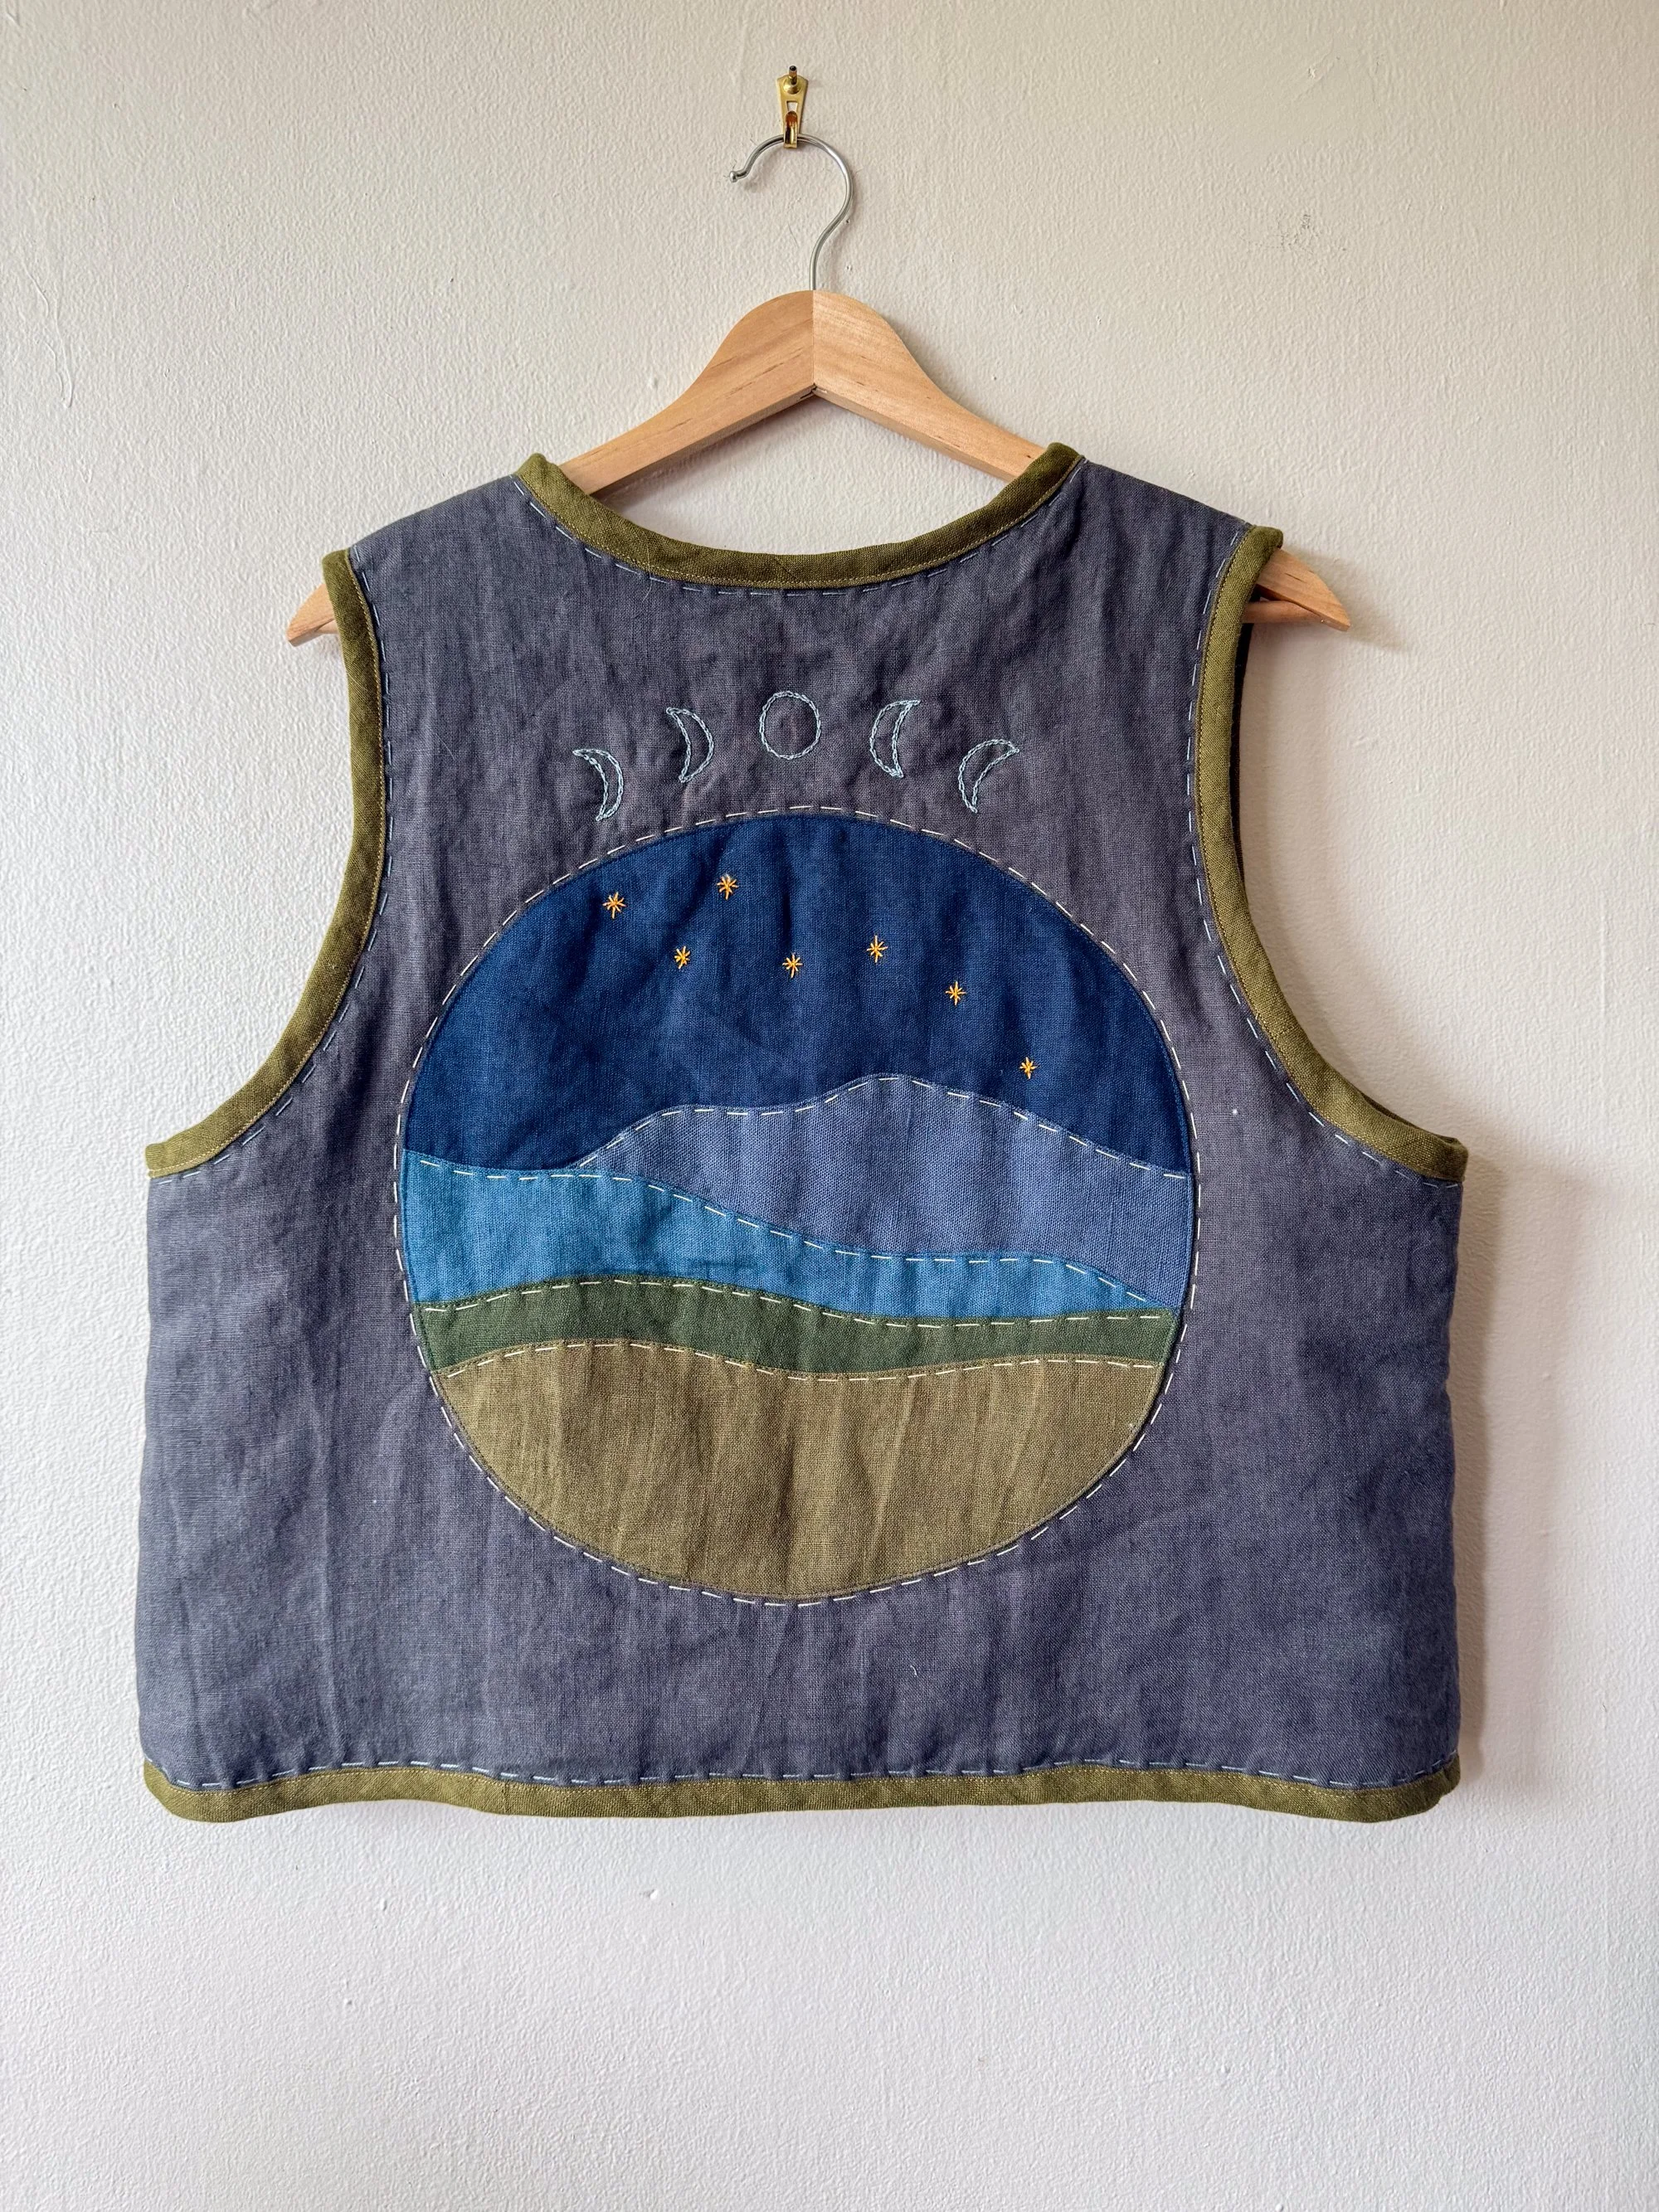 Image 8 of 10
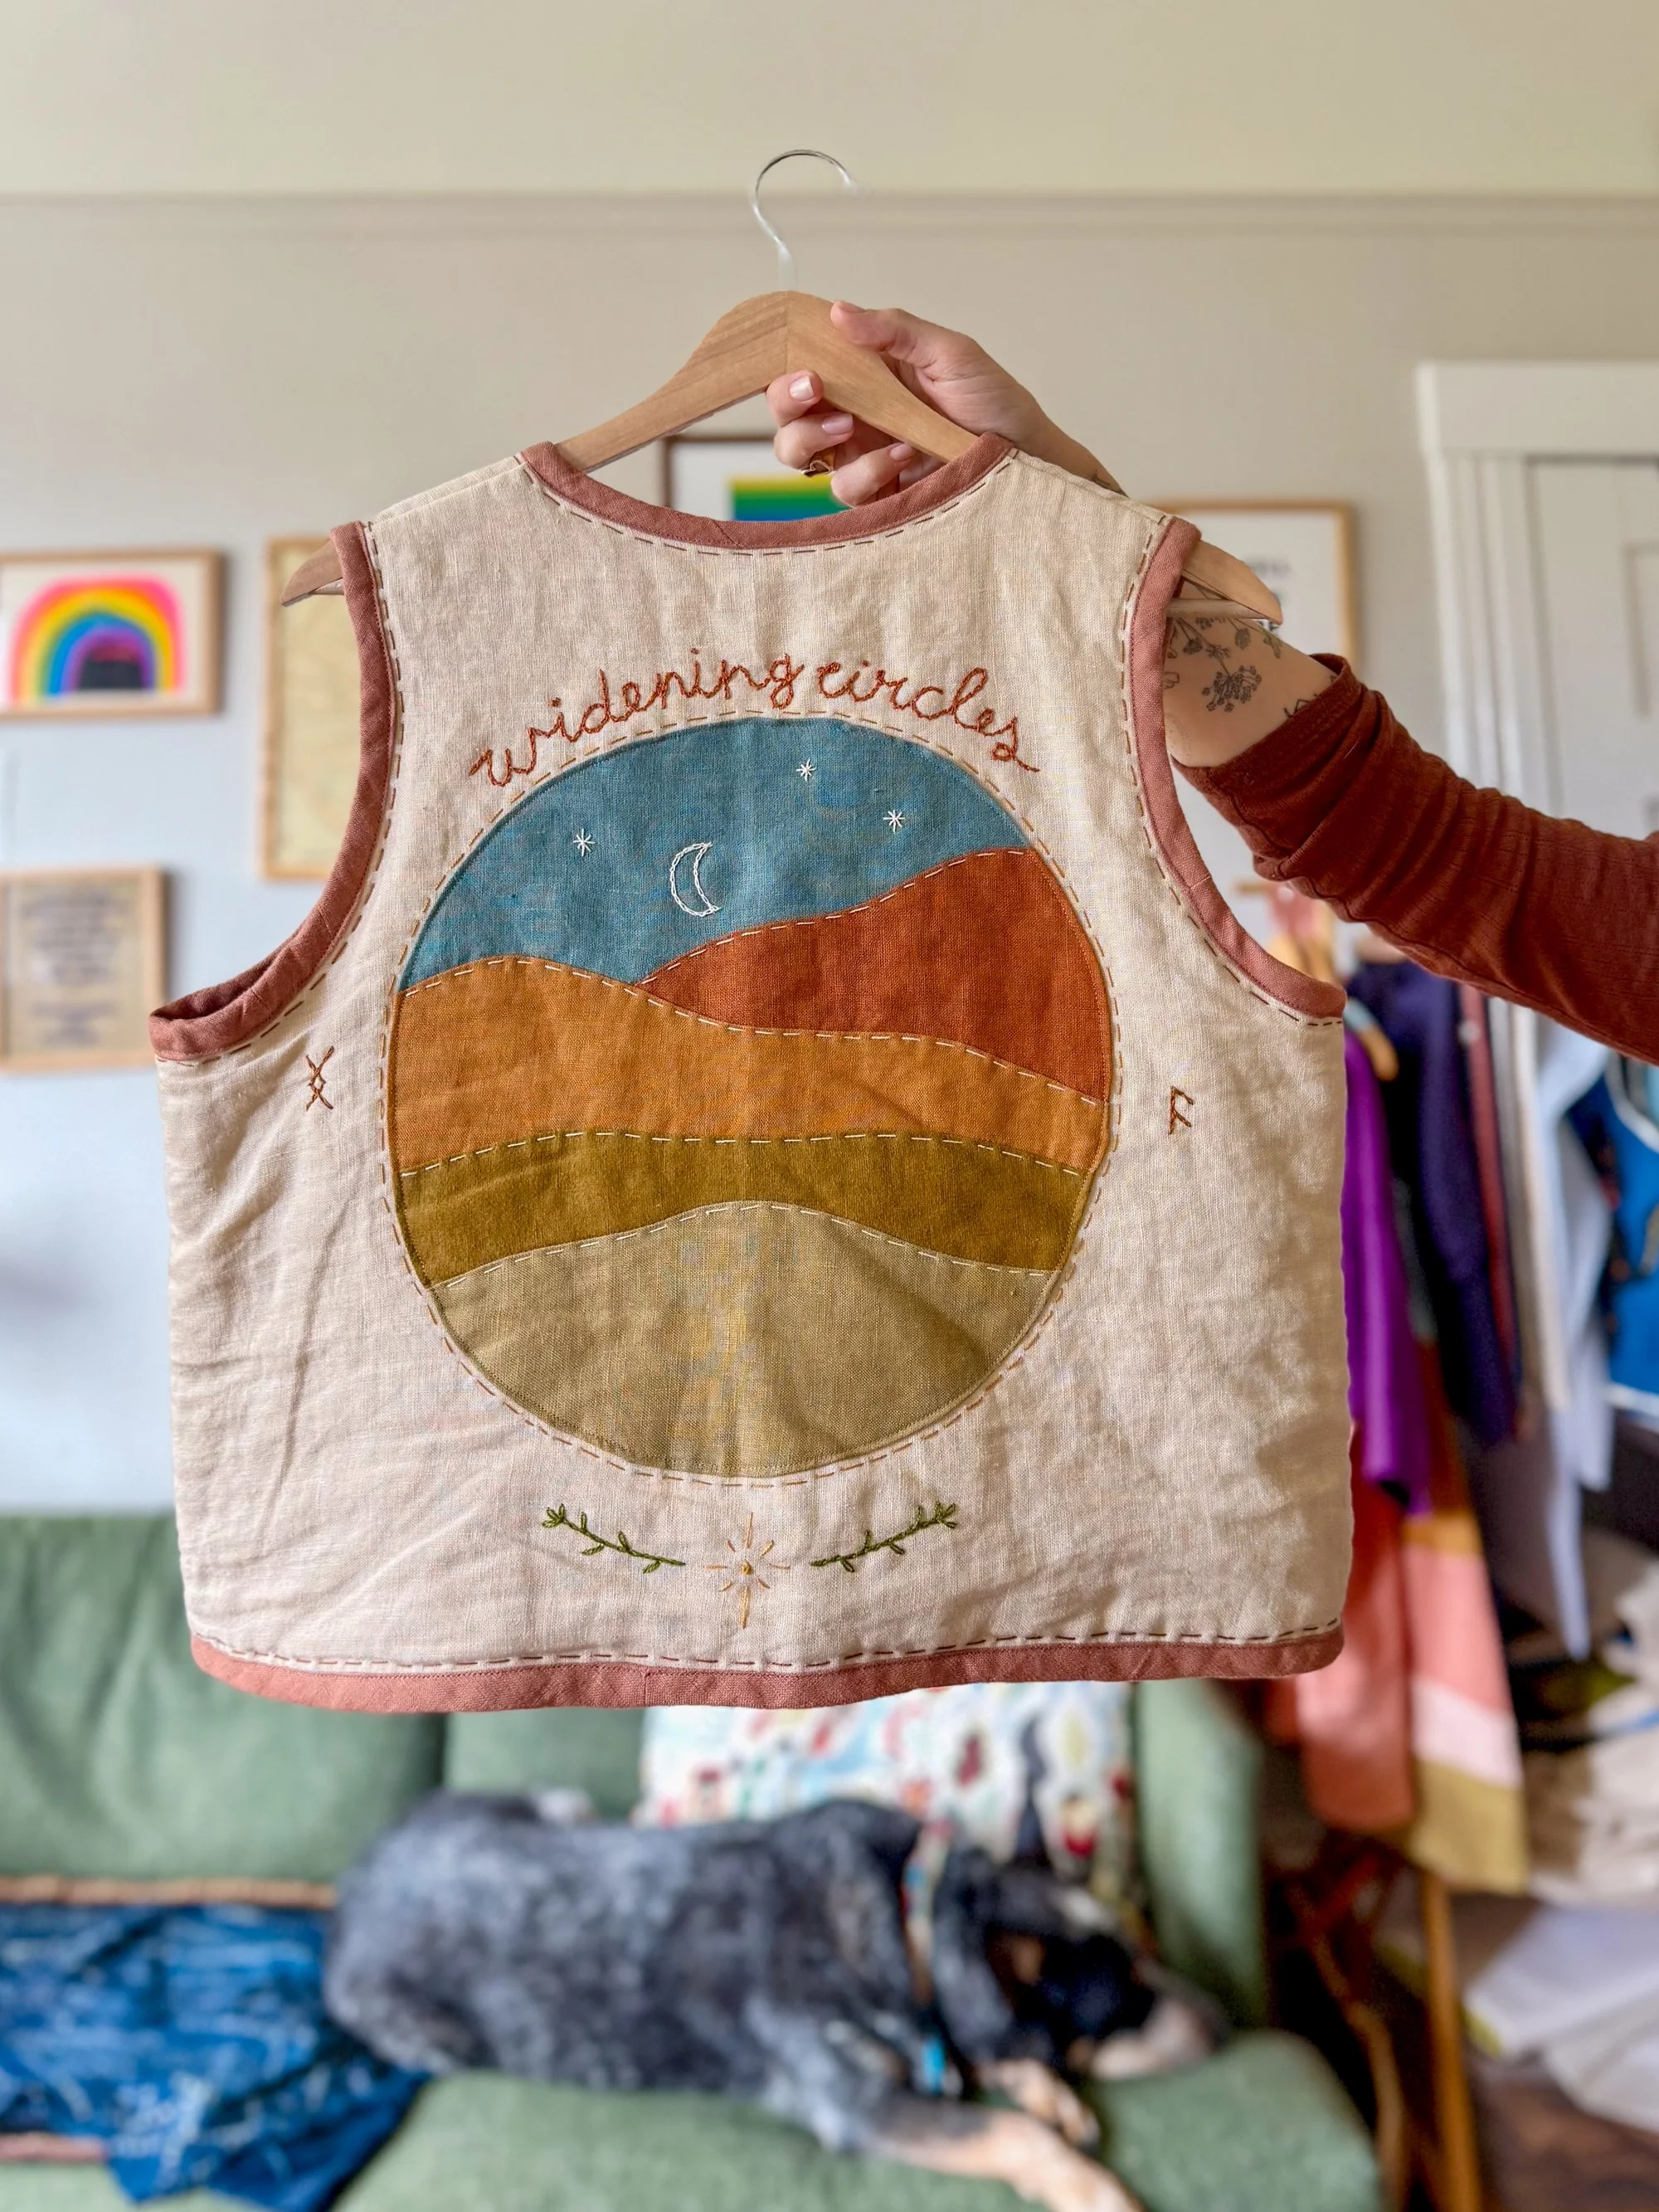 Image 9 of 10
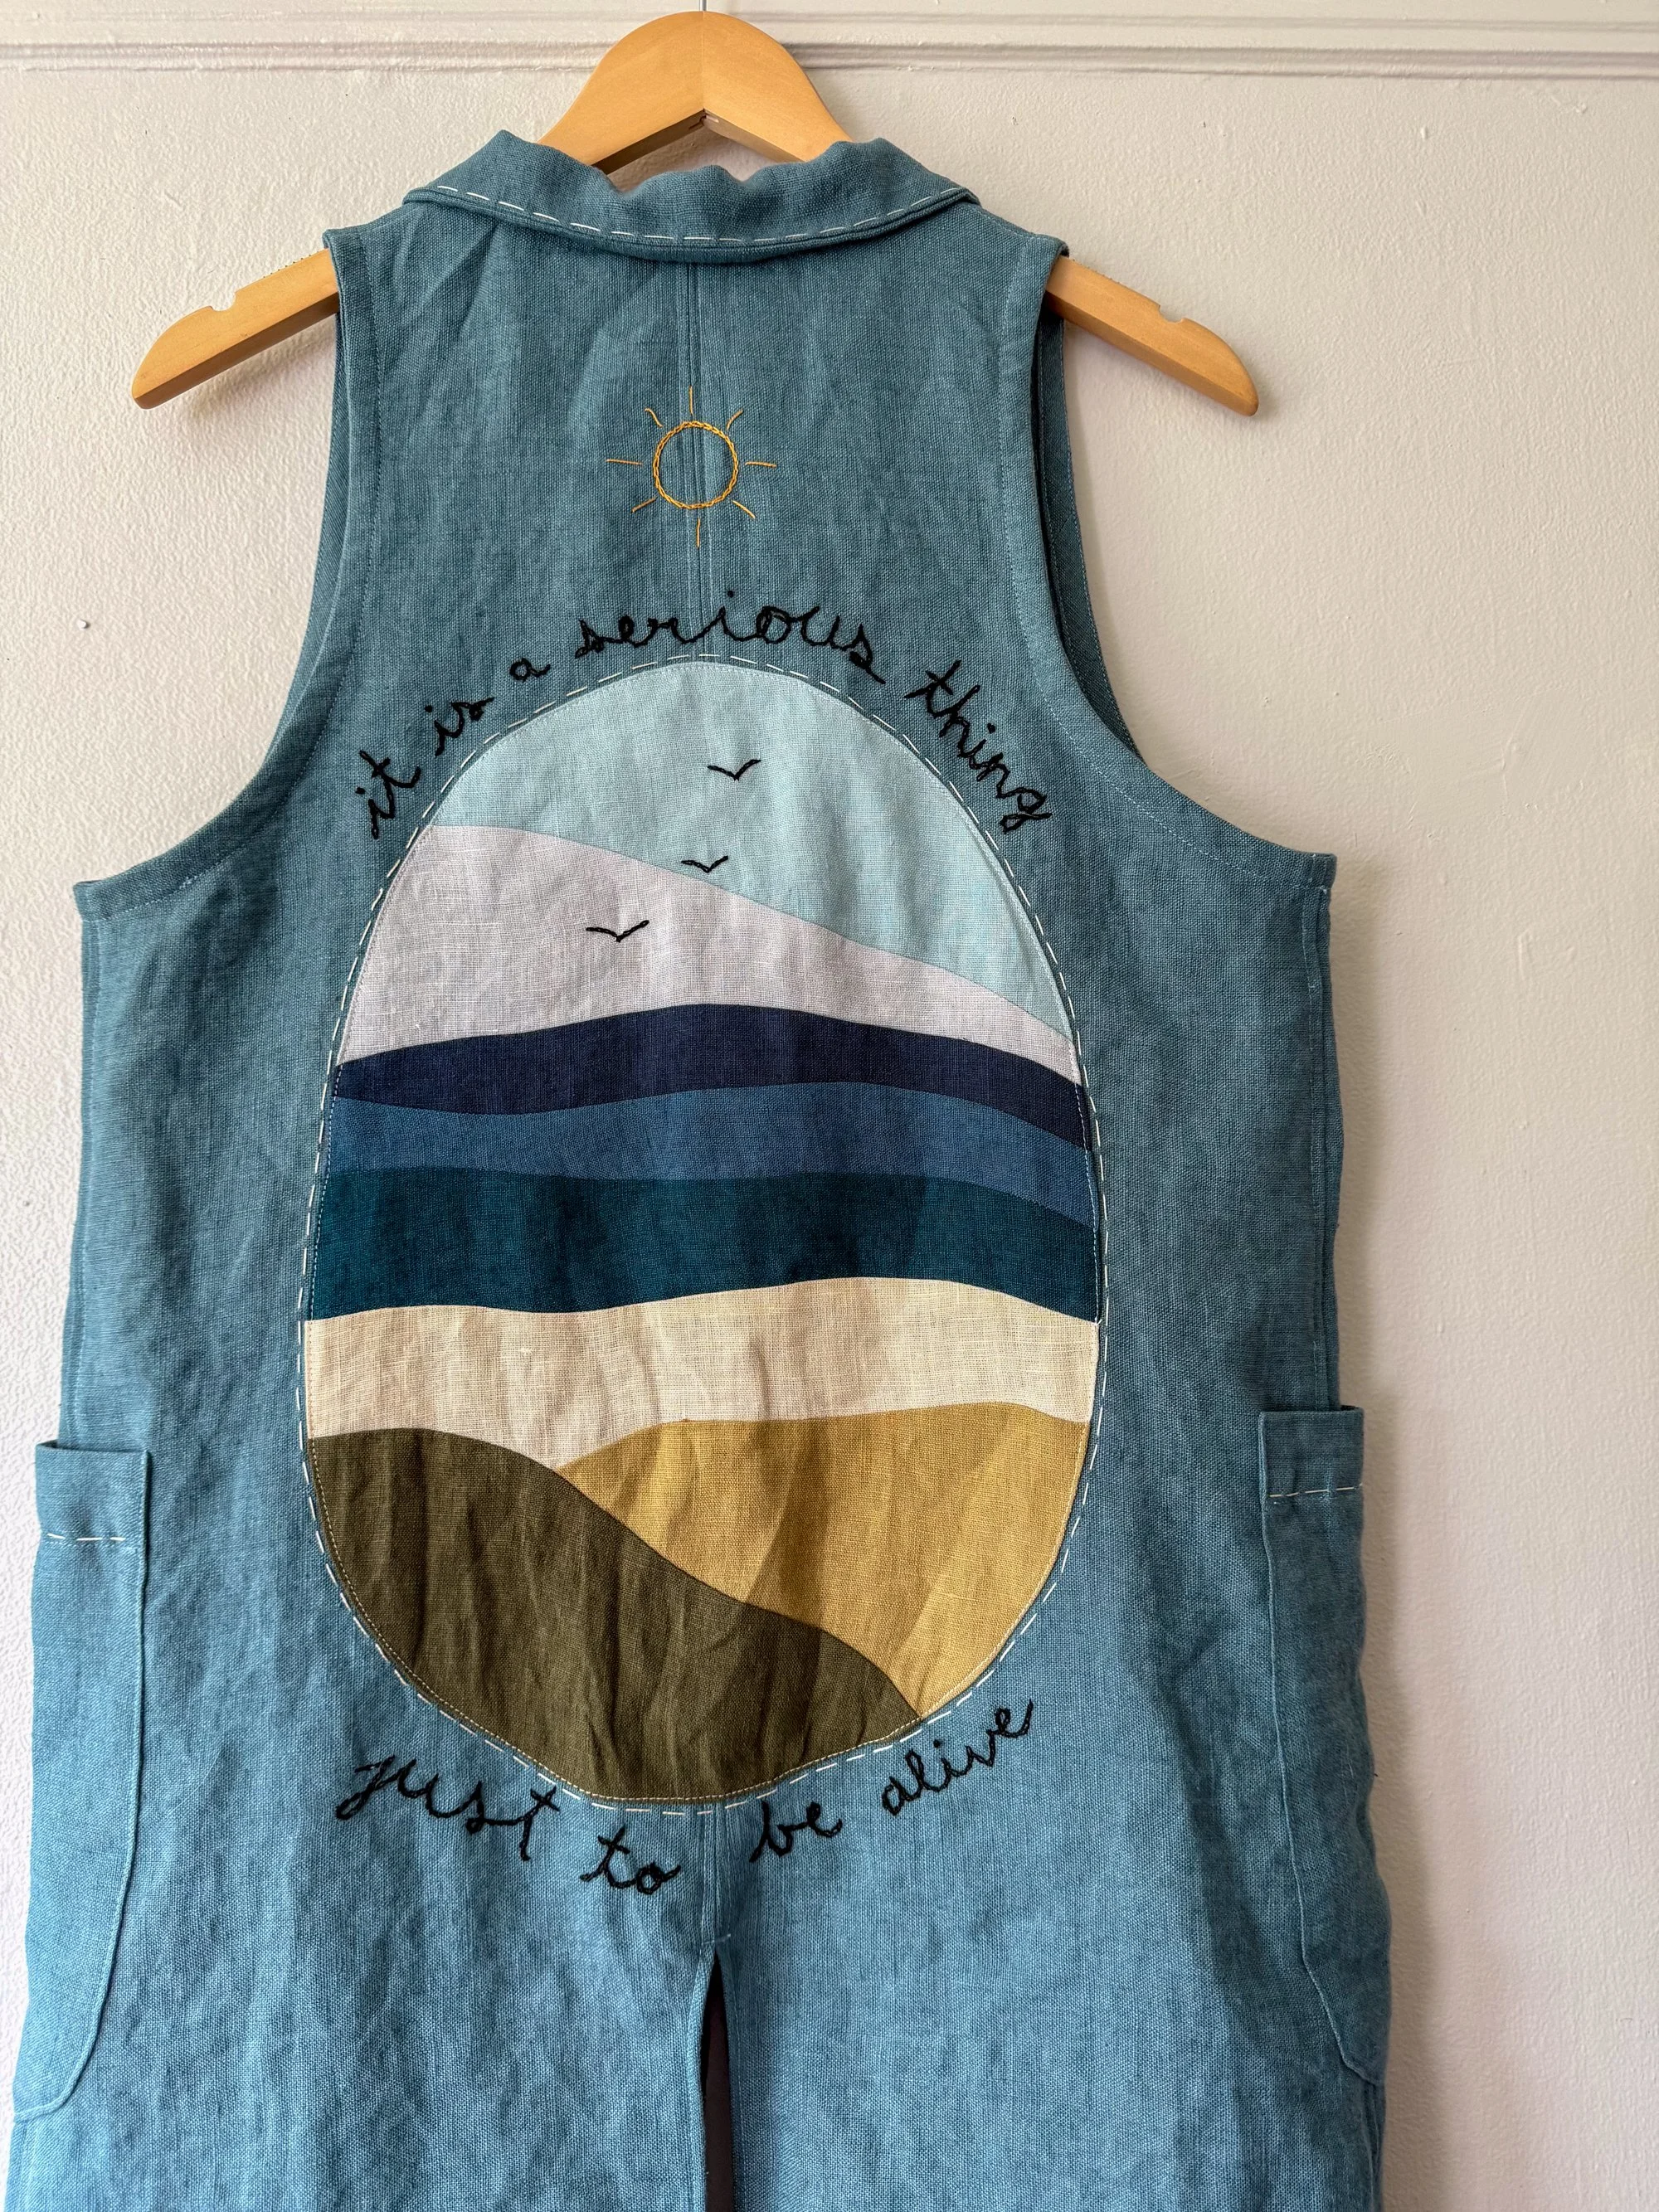 Image 10 of 10
-
Sewing curved lines can be tricky!
I recommend anyone who wants to, to try this tutorial out but be patient with yourself and know that it may take a few tries :)
It may be good to practice a bit before you cut into your nice/favorite fabric.
-
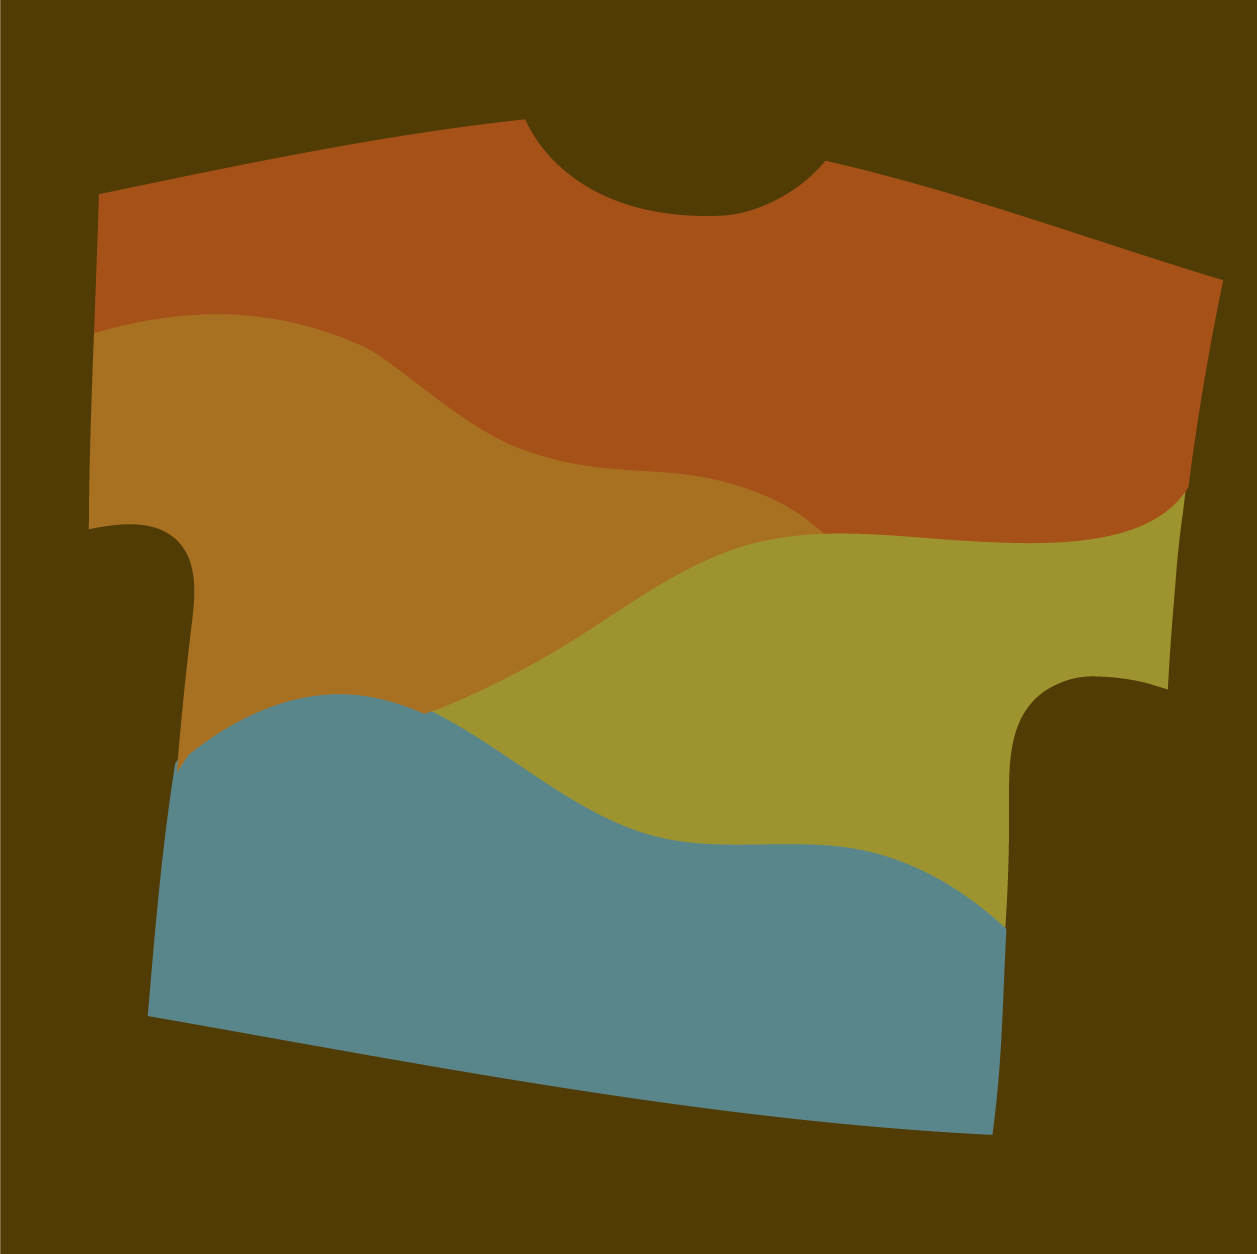
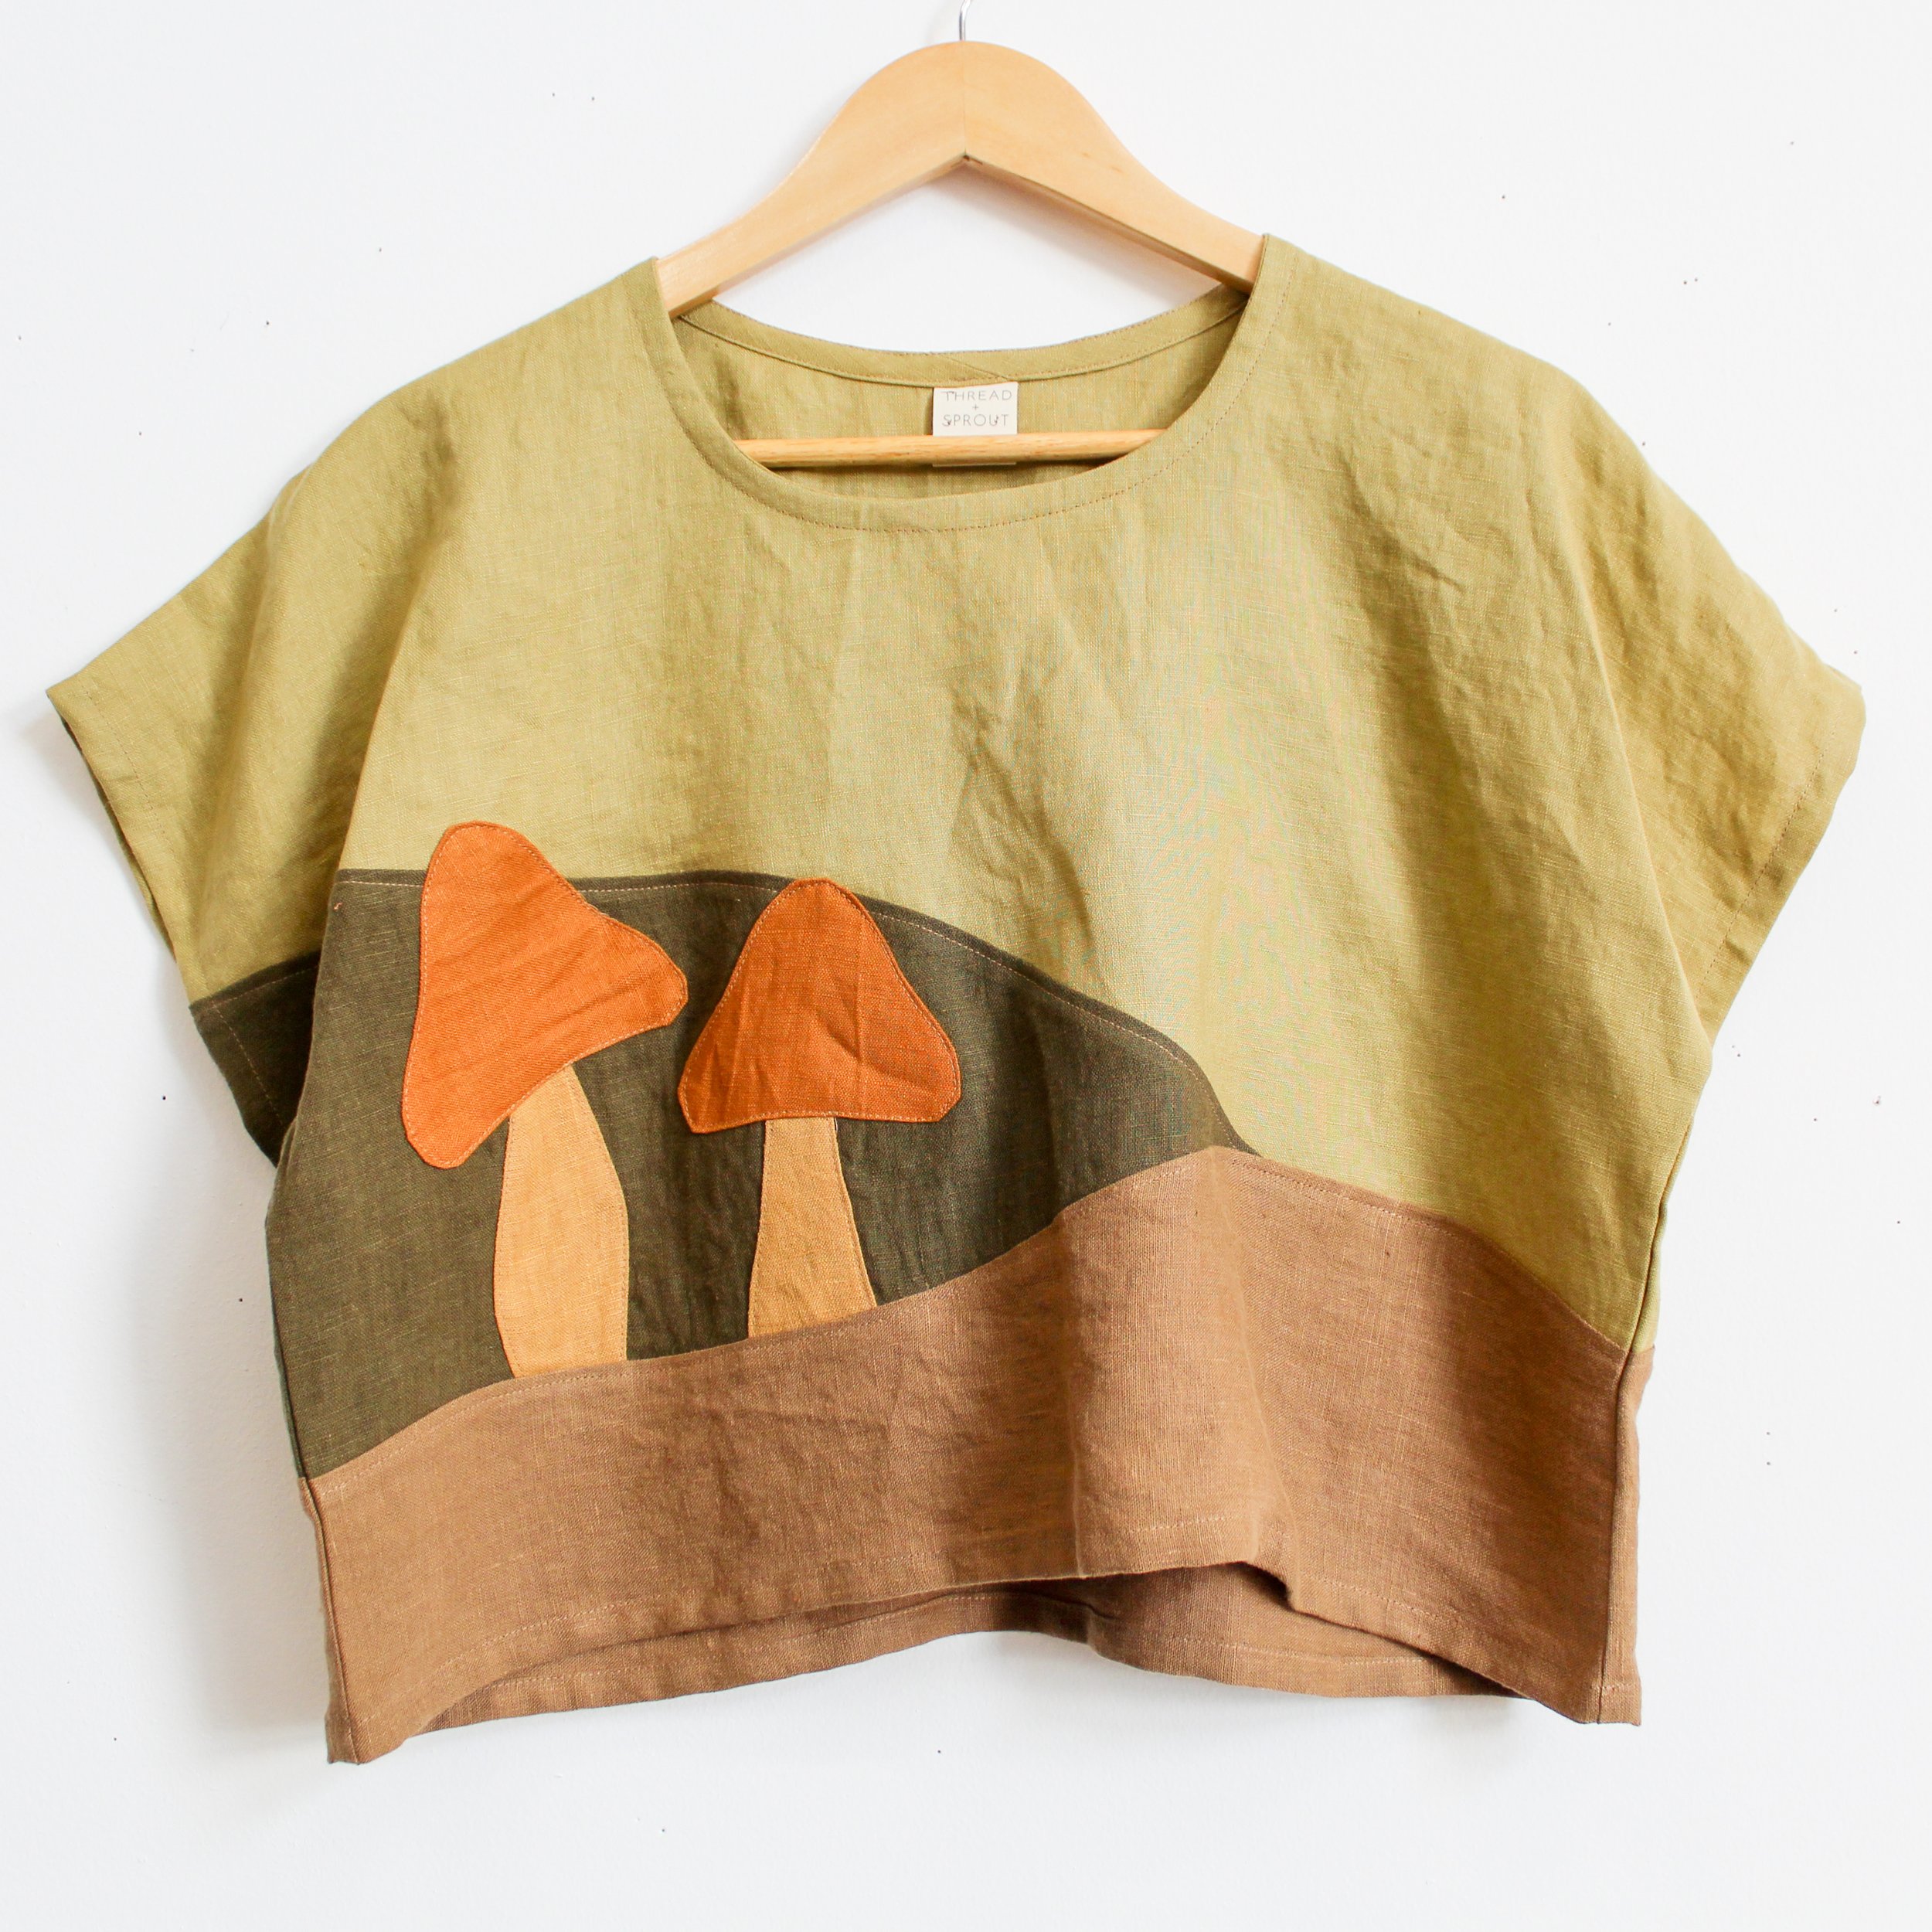
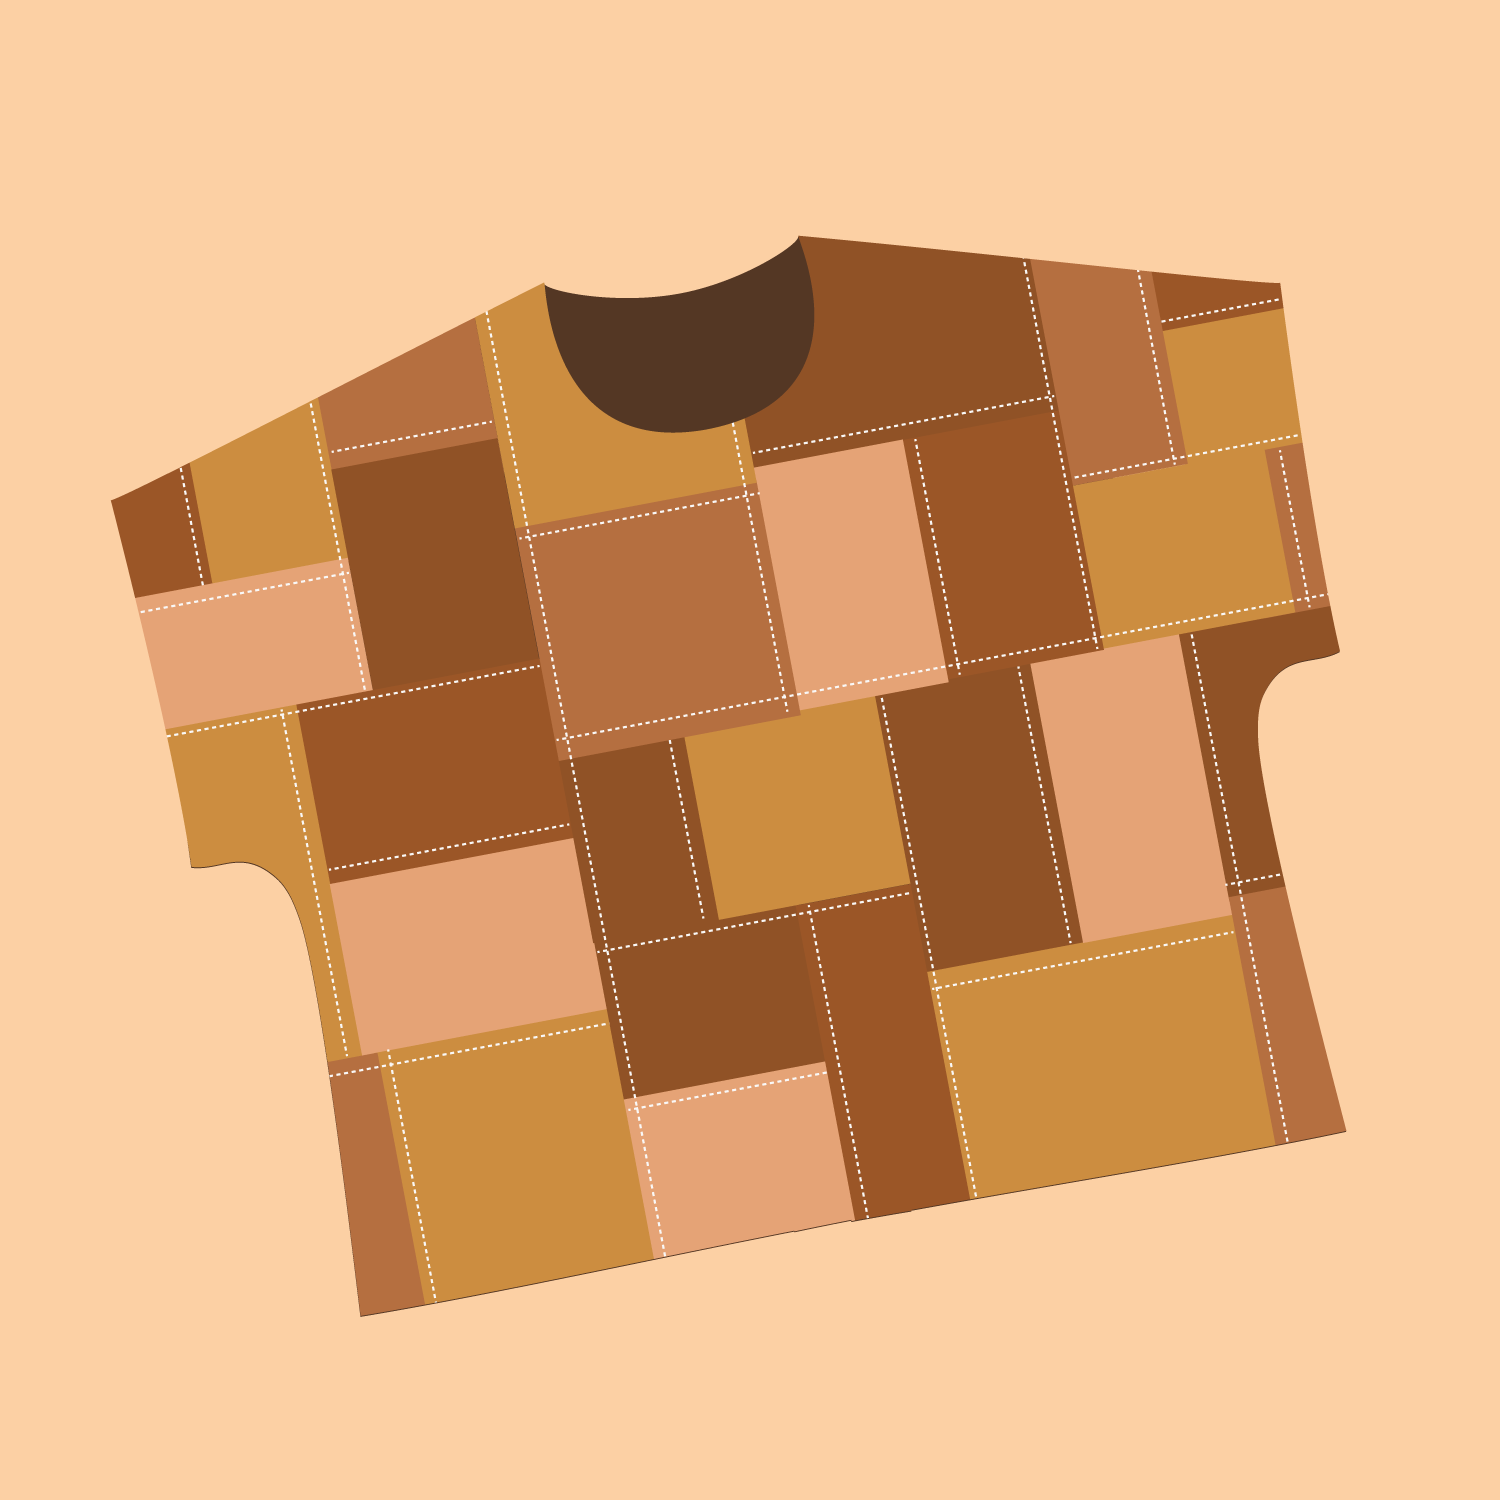
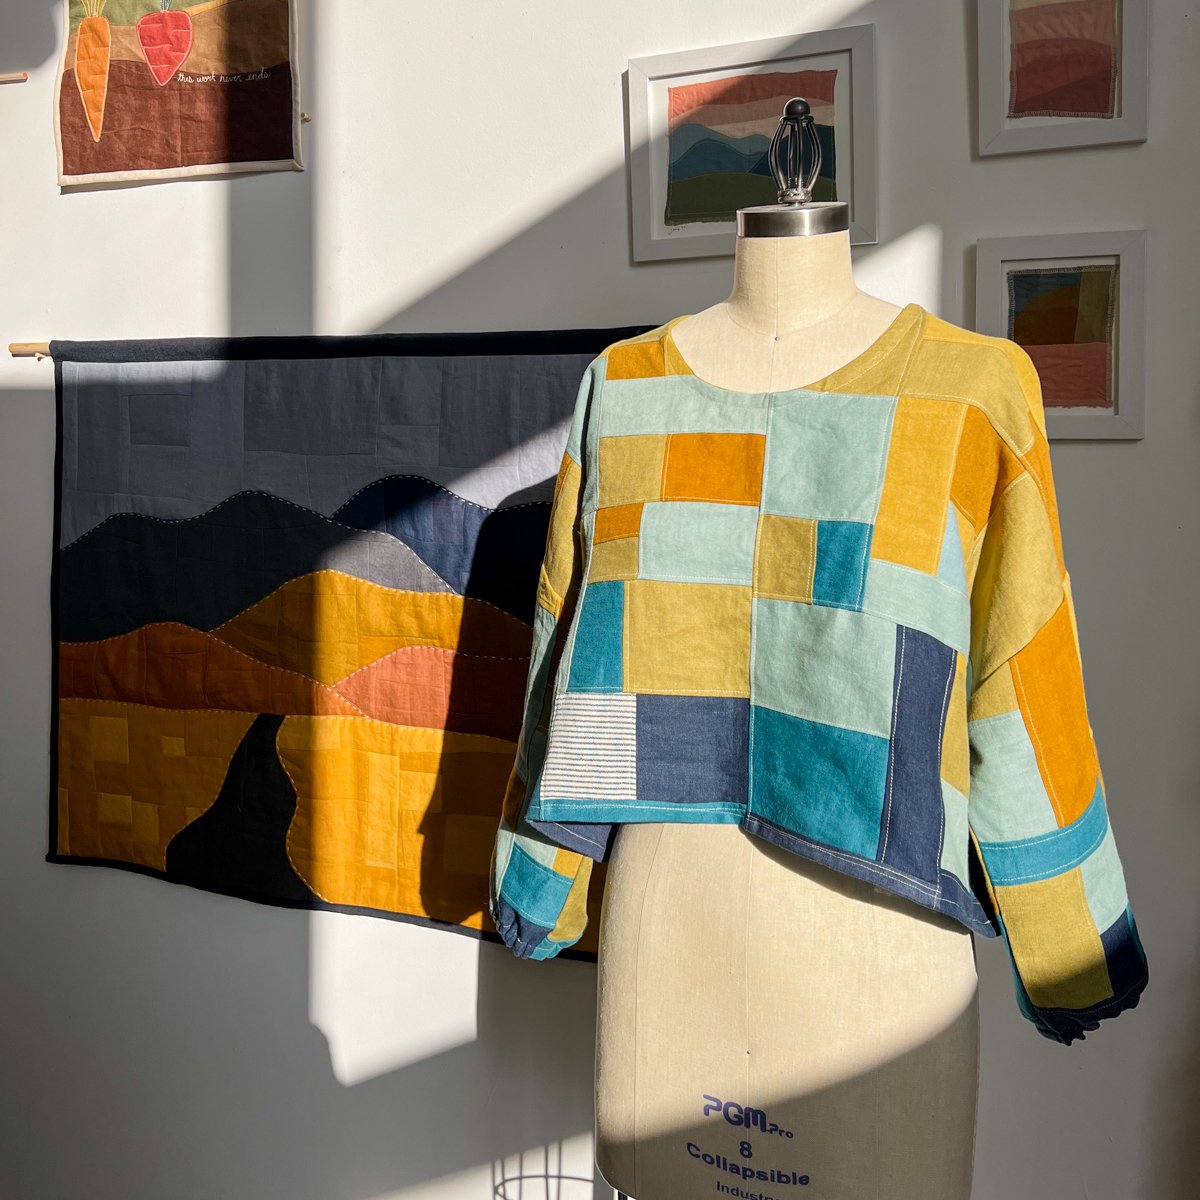
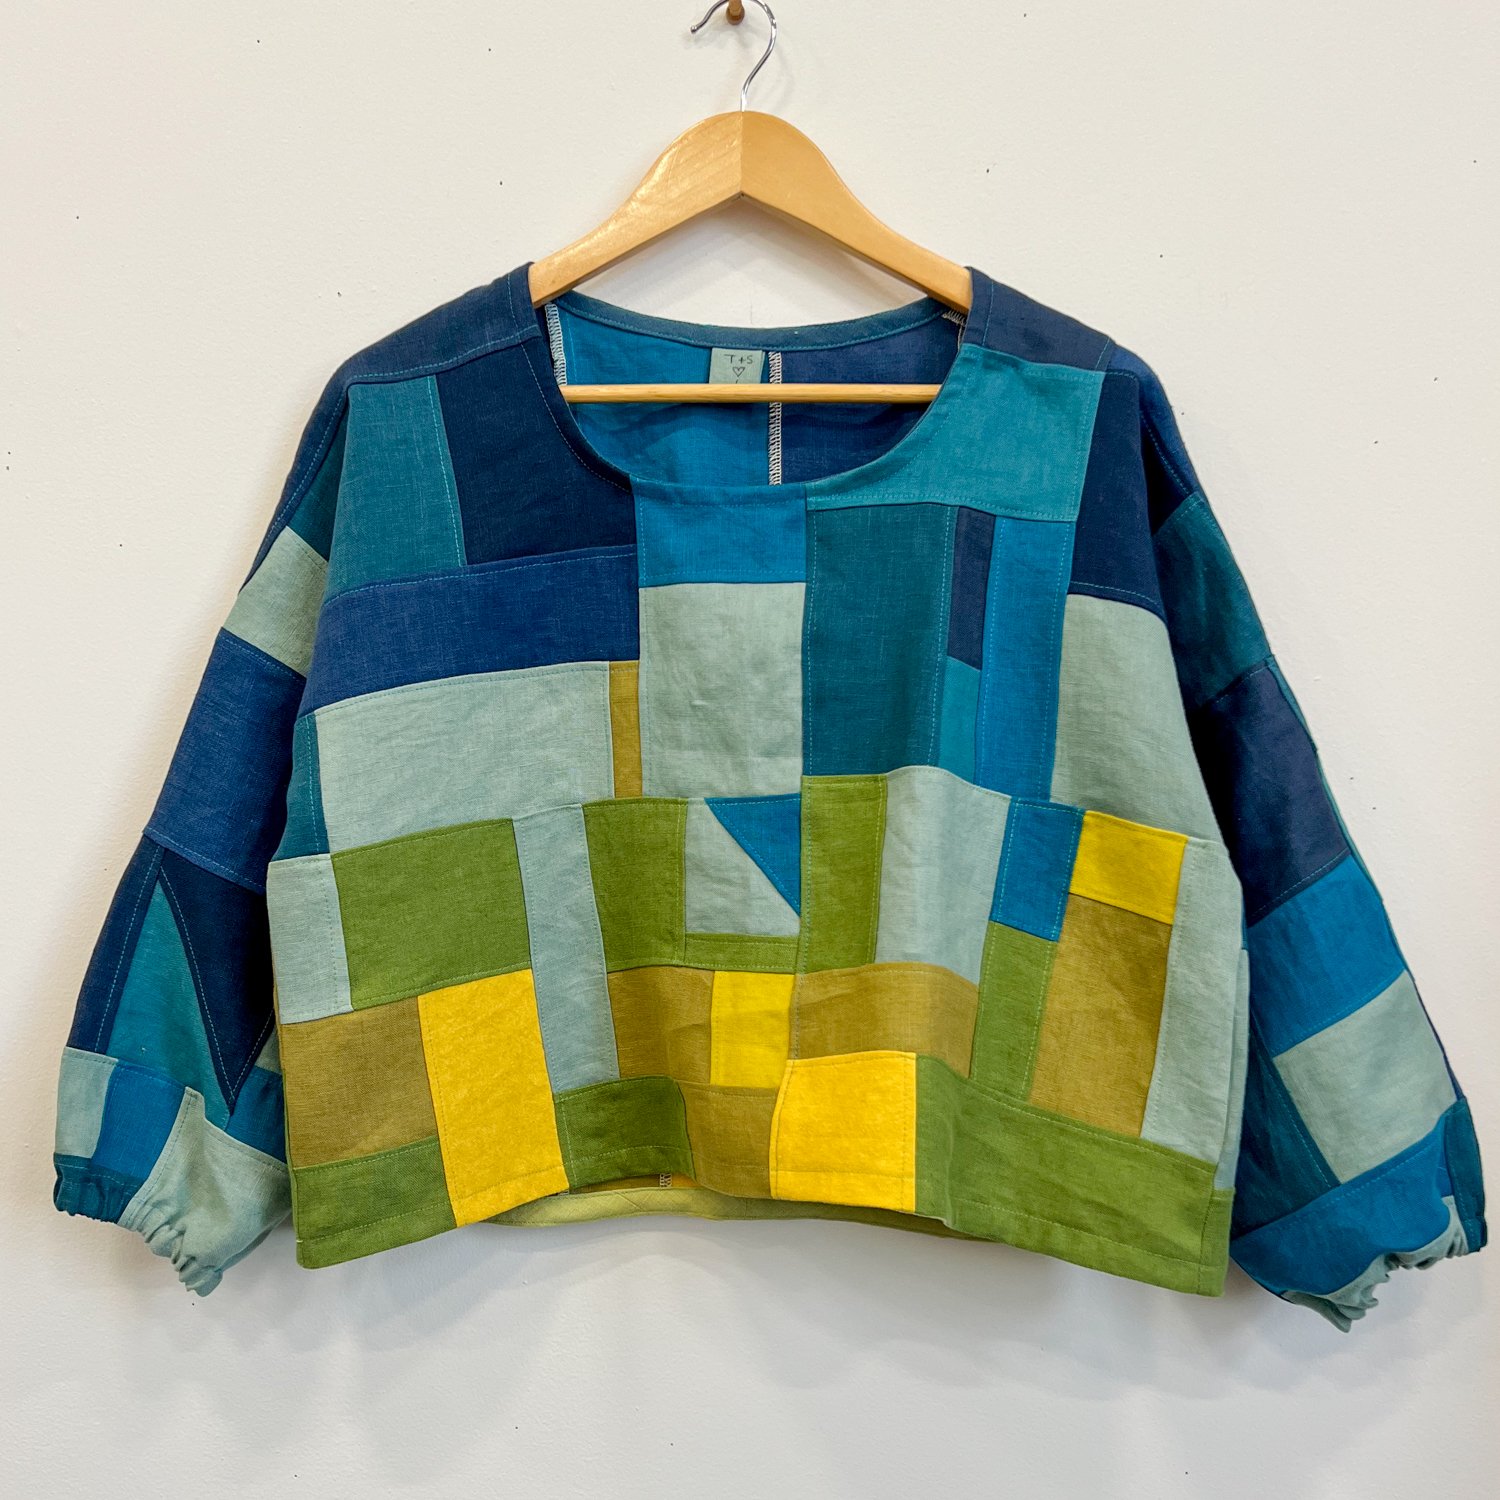
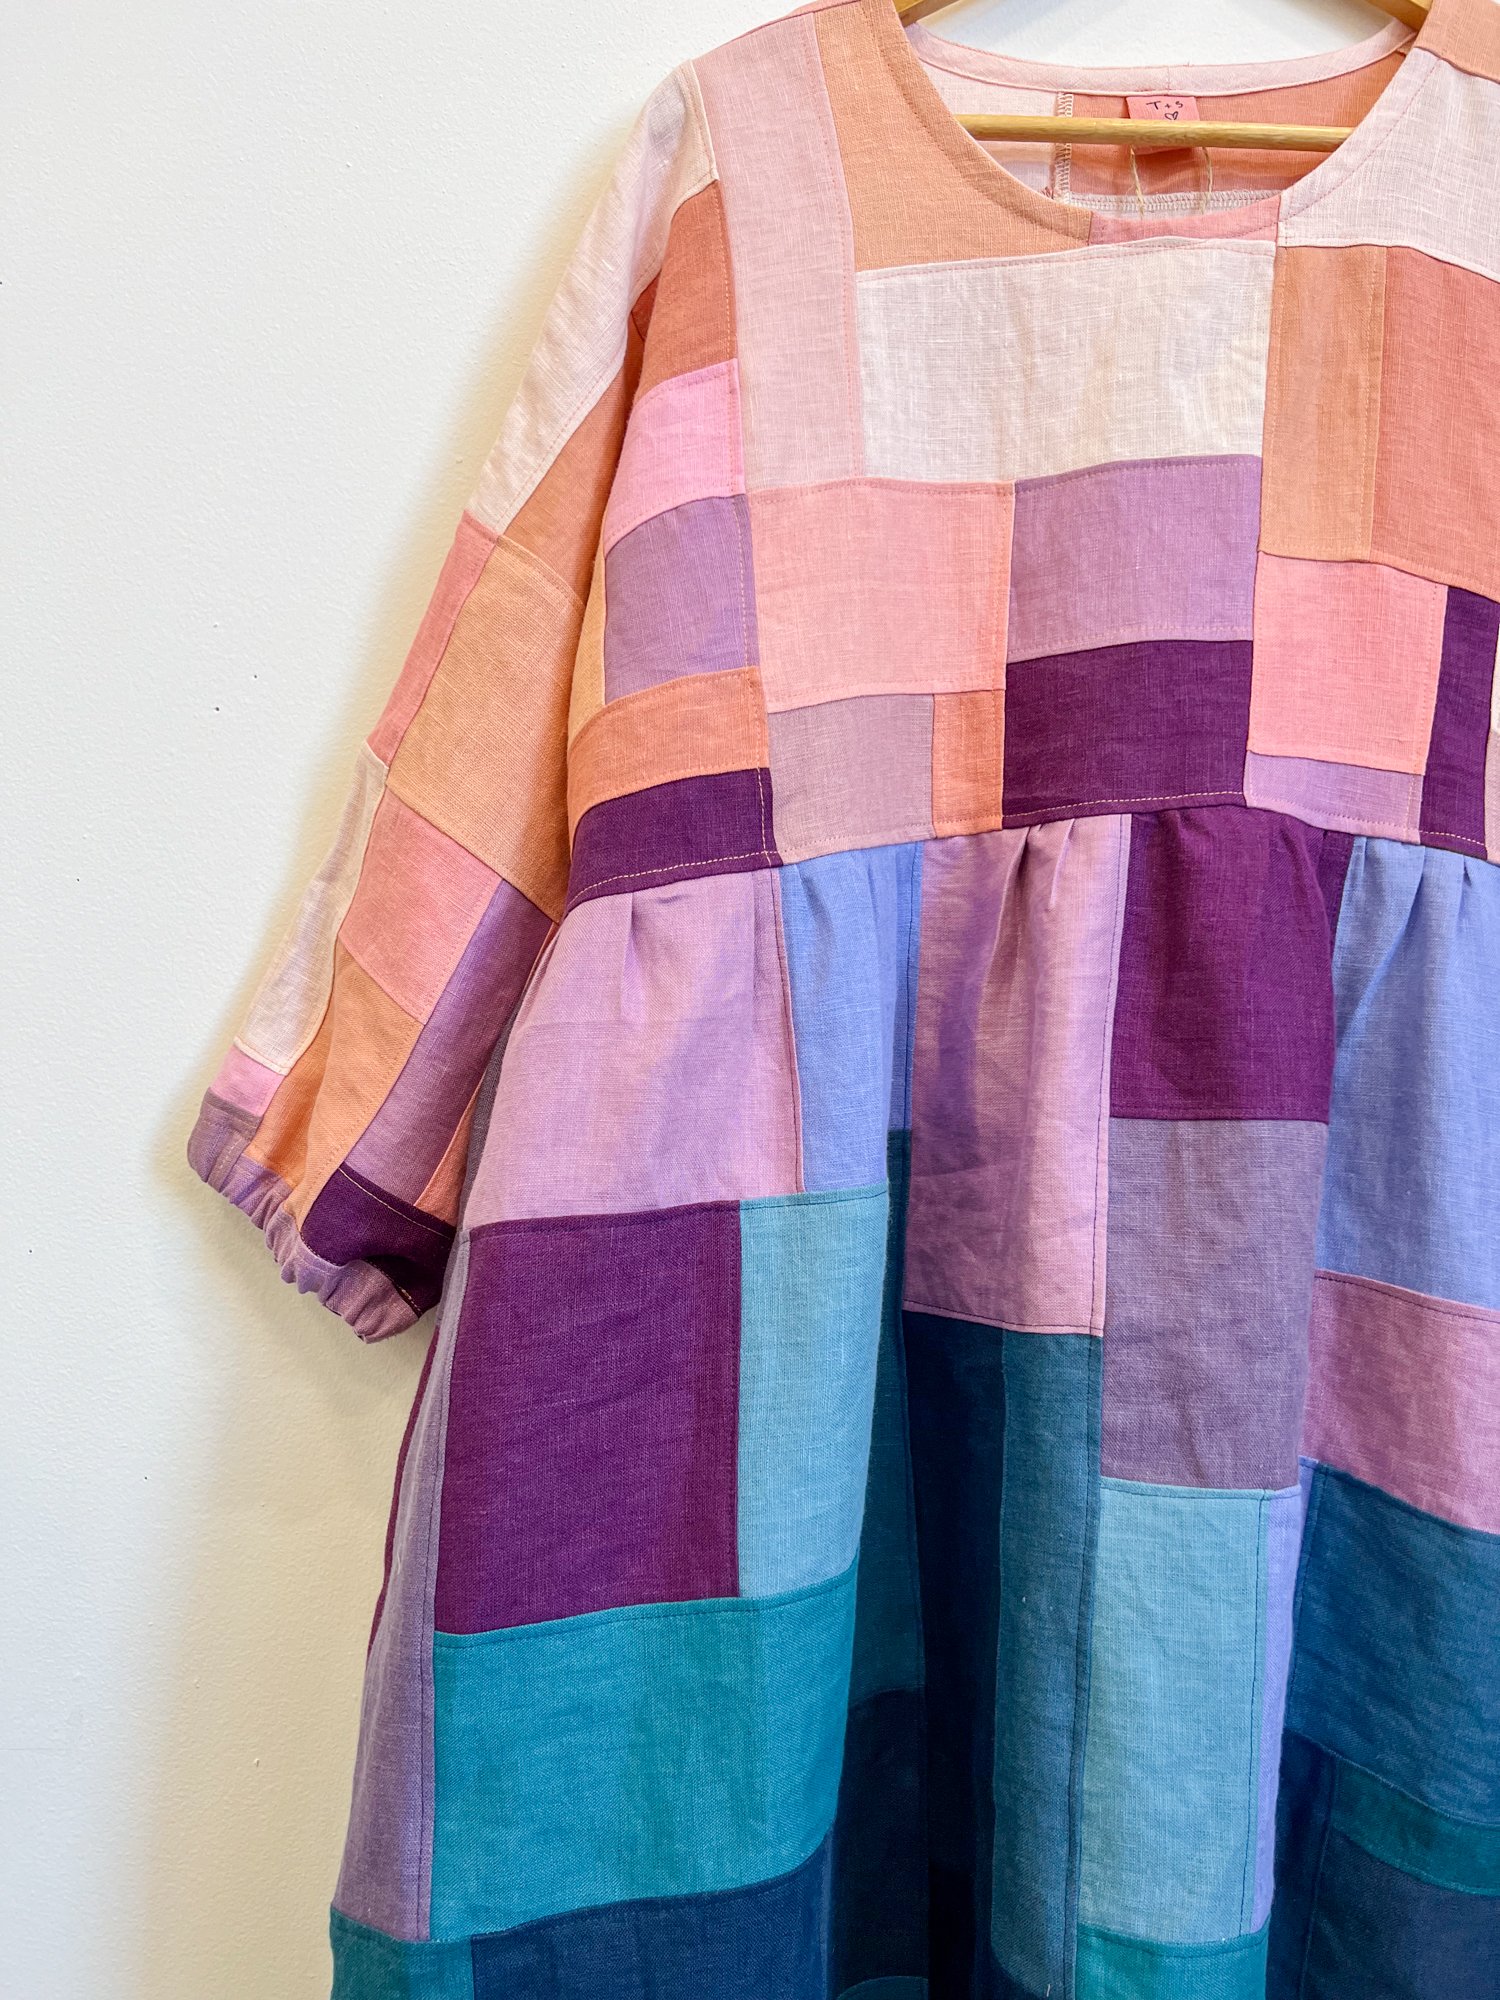
This project is great for using up scraps of woven, non-stretch fabric. It works best to use fabric that is similar in weight, texture and fiber content. I recommend using light to mid-weight fabrics as heavier weight or thicker weaves may be challenging.
You can sew your Landscape Portal onto the back of a shirt or jacket, onto a bag, or use it to make a wall hanging by adding a backing (maybe some batting) and binding the edges. I encourage you to have fun with it and explore all of the possibilities! If you are going to attach your Landscape Portal onto a garment, make sure that all of your fabric is pre-washed and shrunk.
-
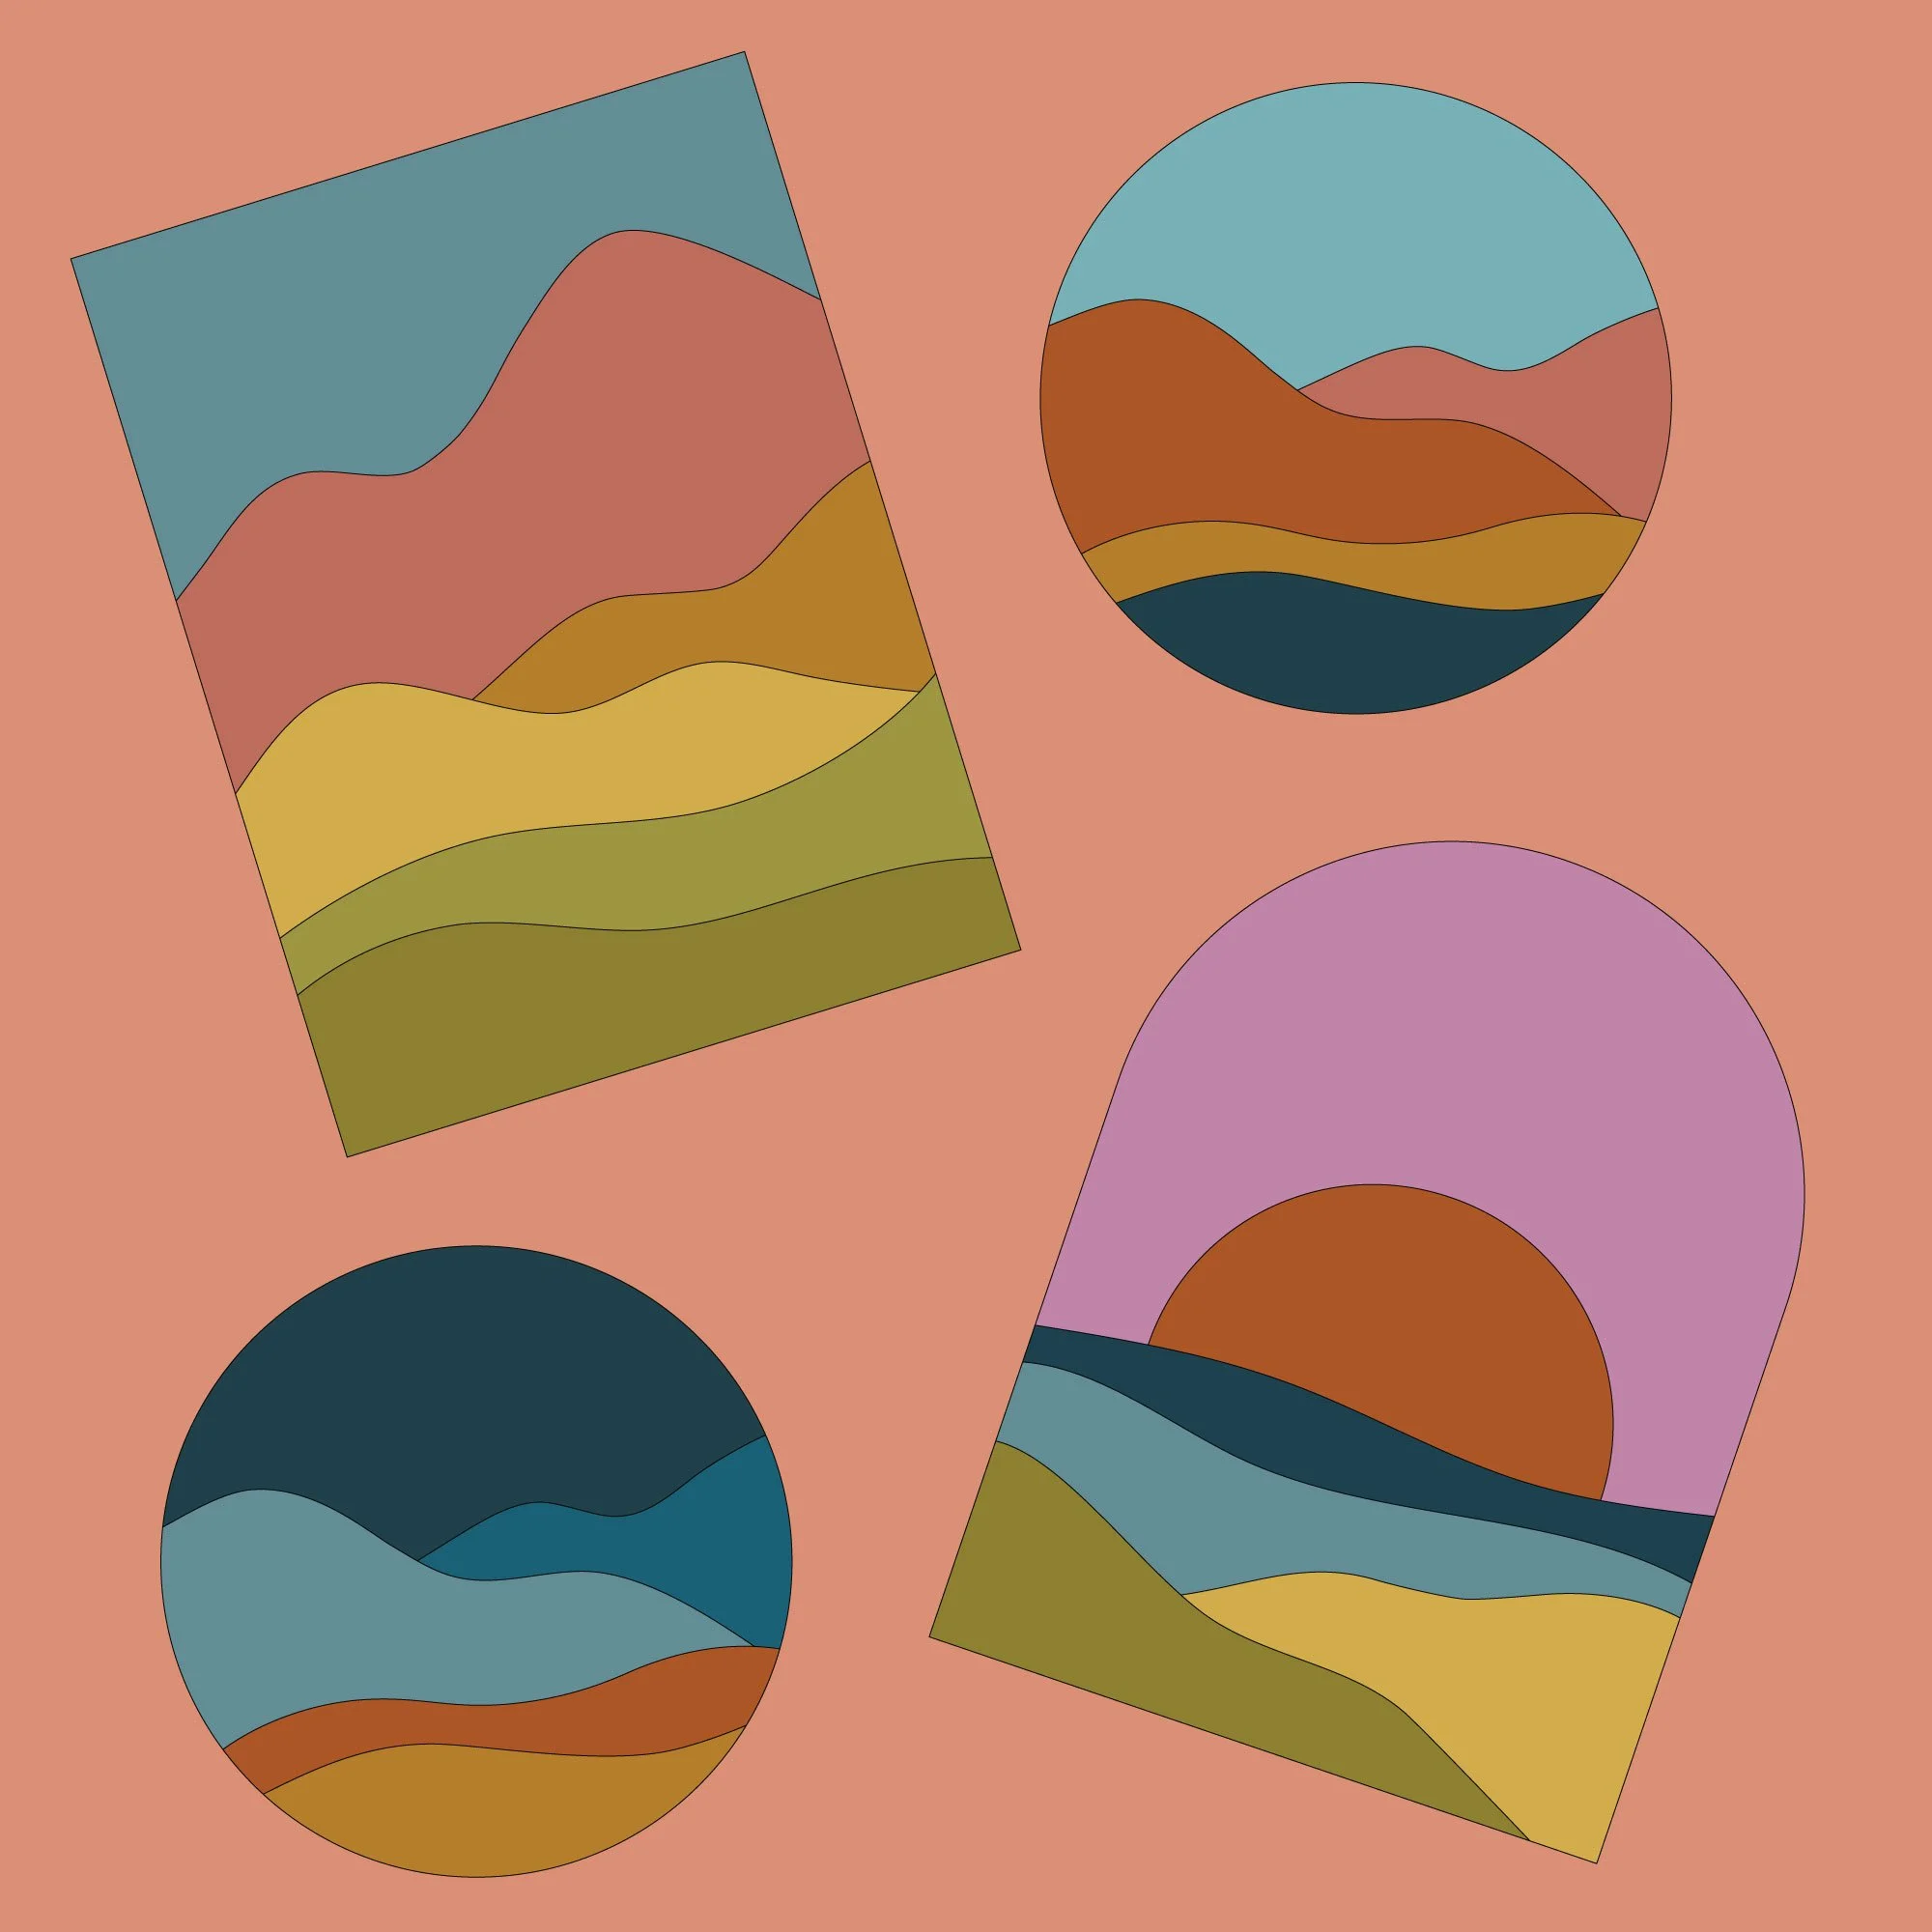
3 pre-made patterns for making your Landscape Portal
A Rectangular Mountainscape (12” x 16”
An Ocean Sunset (12” x 16”
A Circular Landscape (12”x 12”
A PDF with instructions on:
making your own pattern for your landscape portal
sewing the curved colorblocking to create the landscape
sewing the portal onto another piece of fabric or a garment
a 6-minute video sew-along walking through the steps of sewing the Landscape Portal
-
This tutorial is for personal use only. Please do not use this to make pieces to sell. Please do not share or redistribute this tutorial (either the PDF or video) with others.
PLEASE READ: The email with the links will be sent within a few minutes after the confirmation email.
The link to the video sewalong is on the second page of the instructions.
If you don’t receive it, first check your spam/junk folder. If you don’t receive it within a couple of hours, please reach out via email!